Step-by-Step Guide to Painting Kitchen Cabinets
Transforming your kitchen with a fresh coat of paint on your cabinets can truly breathe new life into the space without the need for a complete renovation.
You’ll discover the myriad benefits of painting cabinets, along with the essential materials and tools required for the task. You’ll also find invaluable tips for preparing, painting, and maintaining your newly updated look.
From selecting the perfect paint to expertly reinstalling hardware, every step is crafted to ensure your project is a resounding success. Jump in and discover how your kitchen can shine!
Contents
Key Takeaways:

- Transform your kitchen on a budget by painting instead of replacing cabinets.
- Proper preparation is key to a successful project; gather materials, clean, and sand cabinets before painting.
- Choose the right paint and finish for your cabinets; consider durability, color, and style.
Benefits of Painting Cabinets
Painting kitchen cabinets presents you with a great chance to renovate and can greatly elevate the design and functionality of your space.
This budget-friendly DIY project not only revitalizes tired cabinets but also provides a canvas for your personal style through a variety of decorative colors and finishes.
By applying a fresh coat of paint, you can attain a high-quality finish that competes with professional installations while making a smart investment in your property’s value.
Preparing for the Project
Proper preparation is essential for ensuring a successful DIY project when painting kitchen cabinets, as it lays the groundwork for a durable, high-quality finish.
Gather the right materials and tools, such as a primer, paintbrush, and roller, to achieve the results you desire. Investing time in preparation enhances paint adhesion and creates a smoother, more professional appearance that elevates your kitchen’s aesthetic.
Gathering Materials and Tools
Gathering the right materials and tools is essential for your kitchen cabinet painting project. The quality of your supplies can significantly influence the final result.
You’ll want to have a paint sprayer, paintbrushes, and rollers on hand, along with high-quality paint and primer to ensure durability and a stunning finish. Good-quality painter’s tape is crucial for achieving crisp, clean lines.
A sanding block is key for smoothing surfaces for optimal paint adhesion. Don’t forget a sturdy drop cloth to protect your floors and counters from unwanted spills or messes.
For the best experience, consider getting a respirator mask to shield yourself from fumes, ensuring a safe and healthy workspace.
Each of these items plays a vital role in the efficiency of your project and the professional look of the final outcome. This underscores the importance of selecting premium materials and tools for your transformative endeavor.
Cleaning and Sanding Cabinets
Cleaning and sanding your cabinets are essential steps in the painting process. These crucial actions ensure that the primer and paint adhere properly, resulting in a finish that lasts.
By thoroughly cleaning and sanding the surfaces, you’re setting the stage for paint to stick beautifully and effectively.
To kick off the cleaning process, opt for a degreaser or mix a mild detergent with warm water. This combination will help you eliminate the grease, dirt, and grime that have accumulated over time.
Once you’ve rinsed the cabinets and allowed them to dry completely, it’s time to sand. Using fine-grit sandpaper, around 220-grit, is key to smoothing out imperfections and creating a surface that enhances primer adherence.
For larger projects, employing a power sander can speed things up. However, meticulous hand-sanding allows you to reach tricky edges and corners effectively.
After sanding, applying a tack cloth will whisk away any lingering dust particles, leaving you with a pristine surface for the primer and paint. This attention to detail will elevate both the durability and aesthetics of your final coat.
Don’t miss out on this chance to transform your kitchen on a budget! Start your painting project today!
Choosing the Right Paint
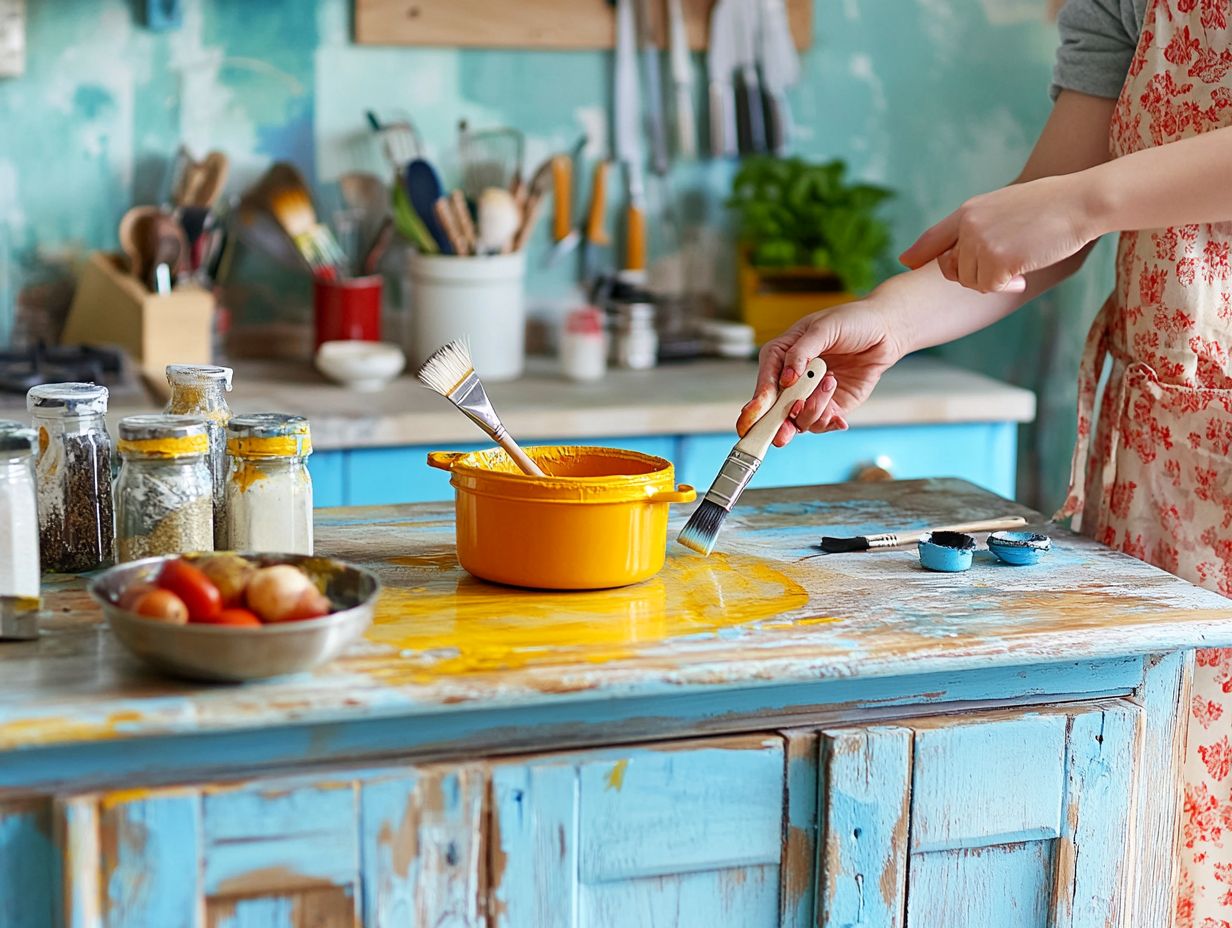
Selecting the perfect paint for your kitchen cabinets is an important choice that can greatly impact the success of your renovation project.
With choices spanning from oil-based to latex paints, you’ll want to explore the various types and finishes available. Consider options like high-gloss and low-VOC paints, which are low in volatile organic compounds, making it safer for your indoor air quality, to achieve both durability and visual elegance in your kitchen design.
Types of Paint and Finishes
Understanding the various types of paint and finishes available is crucial for achieving the look and durability you desire for your kitchen cabinets. Options like oil-based paint offer a robust finish. Latex paint provides ease of application.
Low-VOC alternatives ensure a healthier environment.
You might also want to explore specialty paints, such as chalk paint, which gives a vintage, matte finish perfect for that rustic charm.
Satin or semi-gloss finishes, on the other hand, offer a subtle sheen that makes them easier to clean and more resistant to moisture.
Each paint type significantly impacts not just aesthetics but also longevity and resilience against everyday wear and tear. Therefore, it’s essential for you to carefully consider your options. Armed with this knowledge, you’re ready to make exciting choices that not only align with your style preferences but also stand up to the demands of daily use.
Steps for Painting Kitchen Cabinets
Regarding painting kitchen cabinets, embracing a systematic approach is key, allowing you to execute each stage of the project with a flawless finish.
You’ll find great value in a clearly defined process that guides you through every step—starting with the removal of hardware and culminating in the final installation of those freshly painted doors—ensuring a truly transformative outcome for your space.
Removing Hardware and Doors
Removing hardware and doors from your kitchen cabinets is an essential prep step that paves the way for a flawless painting experience while minimizing the risk of damage during your project.
This meticulous disassembly enables you to thoroughly clean, sand, and paint, ultimately elevating the finish of your cabinets.
Taking the time to detach all knobs, pulls, and hinges not only protects these smaller components from unwanted paint splatter but also provides easier access to every nook and cranny of the cabinet surfaces.
Ensuring your cabinets are clean and free from grease and dust will significantly enhance paint adhesion.
By handling each piece with care during this stage, you can prevent scratches or mishaps that often occur when trying to navigate around attached hardware. A well-prepared environment is key for achieving a professional-looking result, contributing to the longevity of both the paint and the cabinets themselves.
Priming and Painting
Priming and painting are pivotal stages in your cabinet transformation journey, where the caliber of your materials and techniques significantly influences the durability and aesthetic appeal of the final finish.
You should start with a primer coat to boost adhesion and prevent any unsightly peeling. Follow up with careful painting using brushes or rollers for that polished, professional look.
To achieve top-notch results, it’s crucial to select high-quality paints and primers tailored to the specific surface you’re working on. For example, a shellac-based primer will offer superior stain-blocking capabilities, while latex paints provide the flexibility and ease of cleaning you desire.
Incorporating techniques like sanding between coats will ensure a smoother application, which is essential for that flawless finish you’re aiming for.
Maintain proper ventilation during the process, as it not only speeds up drying times but also creates a safer and more pleasant environment for everyone involved.
Get started on your painting project today and transform your kitchen into a vibrant space!
Reinstalling Hardware and Doors

Reinstalling the hardware and doors marks the final phase of your kitchen cabinet painting project. This is where all your hard work culminates in a beautifully transformed space.
Proper alignment and secure attachment of the hardware are essential for functionality and to enhance the overall look of the cabinets. You need a keen eye for detail during this stage, as even slight misalignment can affect both the visual appeal and usability of your cabinetry.
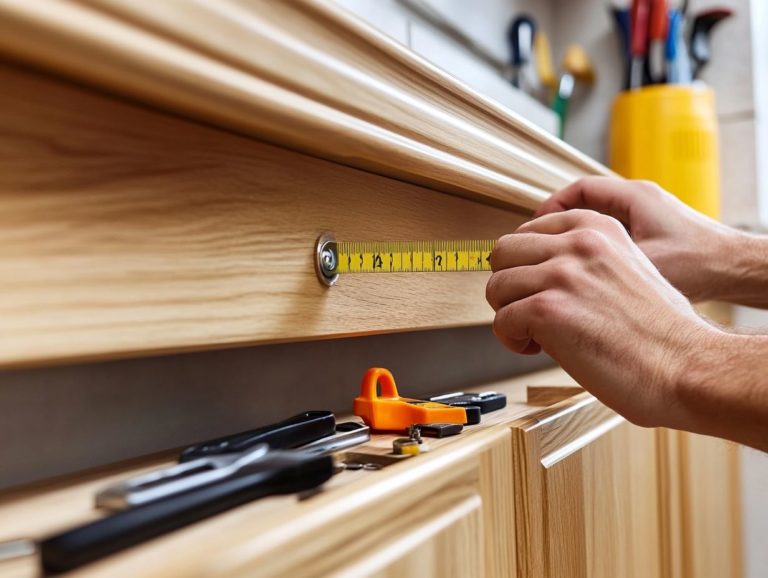
Start by measuring and marking the locations for the hinges and handles. Ensure they align perfectly with the newly painted surfaces. Using a level helps achieve a nice look, while a steady hand ensures a smooth installation.
Choosing the right screws and fittings is crucial. They not only secure the doors but also complete the polished appearance of your kitchen. This careful process will truly elevate your cabinetry and transform your kitchen.
Maintaining and Touching Up Painted Cabinets
Maintaining and refreshing your painted cabinets is vital for keeping their elegance and longevity. This ensures that your investment continues to enhance your kitchen space.
By committing to regular cleaning and timely touch-ups, you can prevent damage and keep your cabinets looking vibrant.
Cleaning and Preventing Damage
Effective cleaning and damage prevention techniques are essential for the longevity of your painted cabinets. They help ensure your cabinets remain a stunning focal point in your kitchen.
Use gentle, non-abrasive cleaning methods to maintain the integrity of the paint while protecting against scratches and stains. Consider using a soft microfiber cloth or sponge that won’t mar the surface.
Select the right cleaning products, such as pH-balanced cleaners, which lift grease and grime without harming the finish.
Avoid harsh chemicals or scrubbing pads that can chip or fade your cabinets. Regularly applying a protective wax or sealant adds an extra layer of defense, making maintenance easier in the long run.
By following these guidelines, you can ensure your cabinets look beautiful and withstand the daily demands of a bustling kitchen.
Tips and Tricks for a Successful Project
Implementing smart tips and tricks can elevate your kitchen cabinet painting project to the extraordinary, ensuring a successful outcome aligned with your design aspirations.
Consider techniques like using paint samples to test colors and enhancing ventilation for optimal drying conditions.
The application techniques you choose can greatly influence the final look. For example, using a high-quality brush or roller provides even coverage, while a spray gun can deliver a professional finish.
Don’t underestimate the importance of surface preparation. Cleaning and sanding help the paint adhere better and last longer. A well-ventilated workspace promotes faster drying and dissipates any lingering strong odors.
By embracing these essential strategies, you can transform tired kitchen cabinetry into a stunning focal point that reflects your personal style and enhances functionality.
Frequently Asked Questions
What materials do I need to paint my kitchen cabinets?
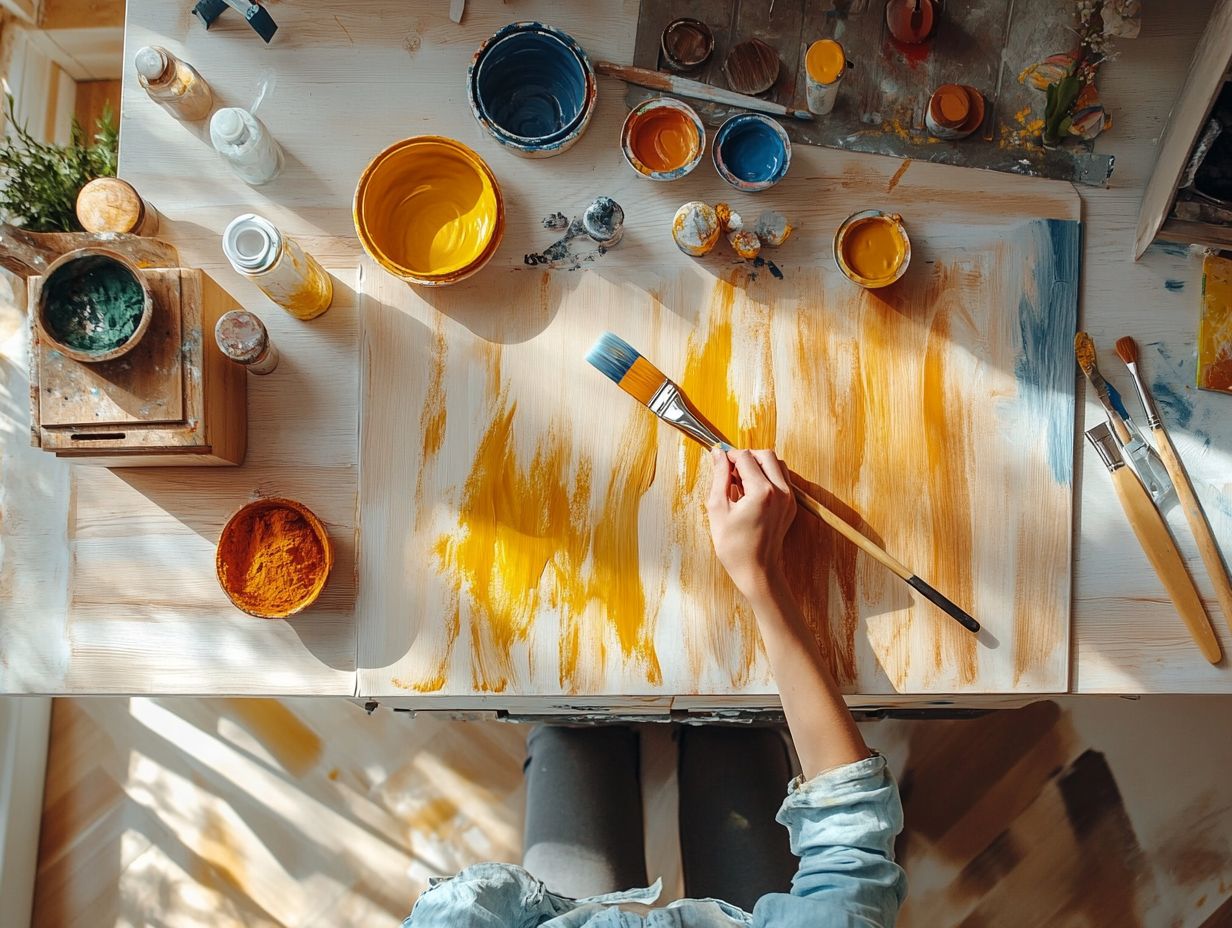
You will need sandpaper, primer, paint, paintbrushes or rollers, painter’s tape, a drop cloth, and cleaning supplies such as soap and water or a degreaser.
Should I remove the cabinet doors before painting them?
We recommend that you remove the cabinet doors and hardware before painting. This ensures a smooth and even application and allows for easier access to all surfaces, preventing paint drips or smudges on the hardware.
Can I paint over my stained wood cabinets?
Yes, you can paint over stained wood cabinets. However, it’s important to clean and sand the cabinets properly before painting to ensure the new paint adheres well.
How do I prepare the cabinets for painting?
First, take everything out of the cabinets. Clean them thoroughly with soap and water or a cleaner that removes grease.
After they dry, lightly sand the surfaces. This will help the primer and paint stick better.
How many coats of paint do I need to apply?
For a professional finish, apply at least two coats of paint. Depending on your paint and coverage, you might need even more.
How long does it take to paint kitchen cabinets?
The time it takes can vary. It depends on your kitchen size, the prep work needed, and how long the paint takes to dry between coats.
On average, expect the whole process to take 2-3 days.
