How to Install DIY Wall Cabinets
Installing your own wall cabinets can be a truly rewarding endeavor, transforming your space while keeping your budget intact.
Whether you aim to elevate your kitchen, bathroom, or any other area, this guide will lead you through the entire process seamlessly.
You’ll discover the essential tools and materials necessary, along with step-by-step instructions for installation—everything you need to make this project a success.
You will find expert tips to help you avoid common mistakes and achieve a great finish.
Ready to transform your space? Let’s get started!
Contents
Key Takeaways:
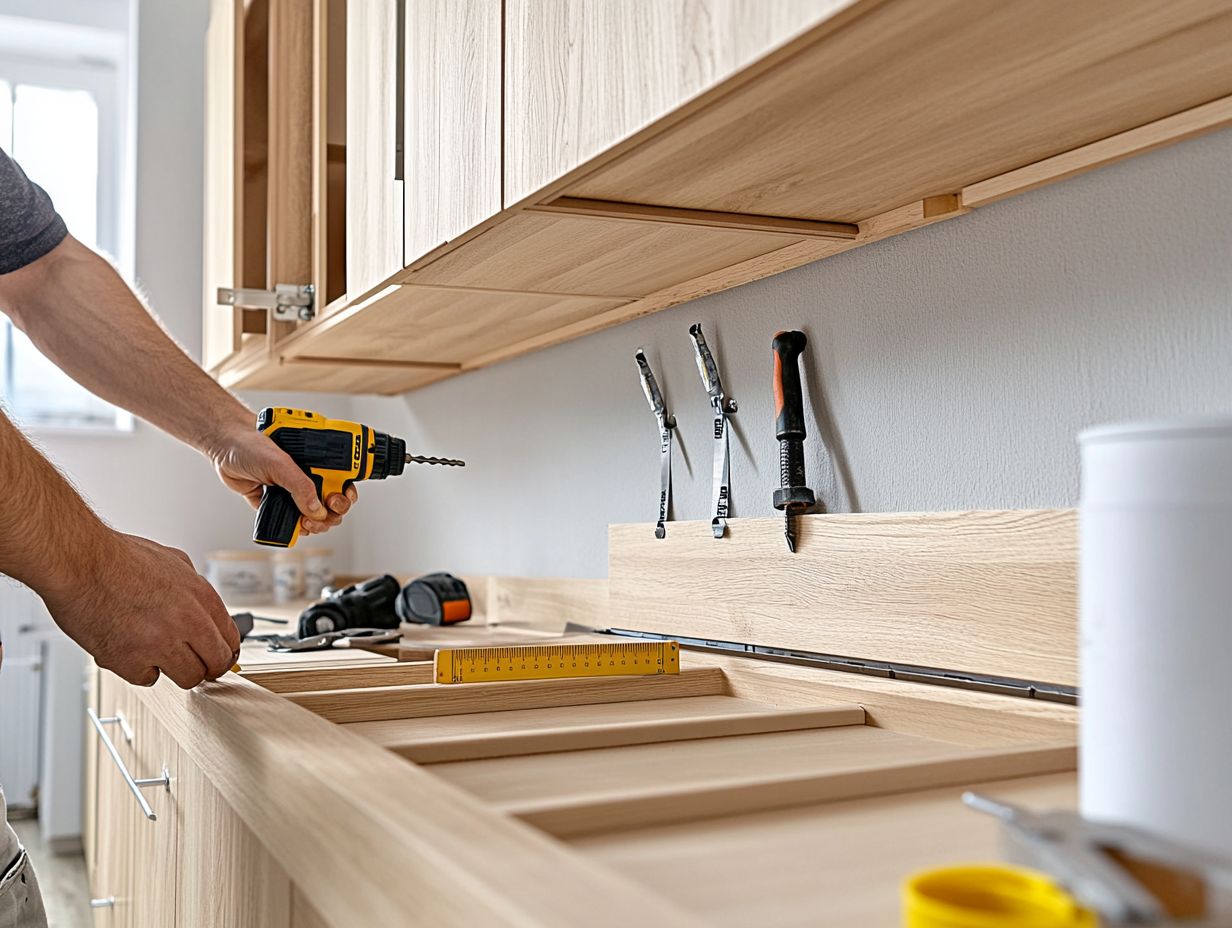
Save money and customize your space by installing DIY wall cabinets.
- Essential tools include a measuring tape, level, and power drill.
- Proper planning, precise measuring, and careful assembly are key to a successful installation.
Benefits of Installing Your Own Cabinets
Installing your own cabinets not only saves you money but also lets you tailor your kitchen space to reflect your unique style and needs.
By taking the DIY route, you can make informed choices about materials, finishes, and layouts, ensuring that your kitchen cabinets reflect your personal style while maximizing functionality.
The sense of accomplishment from completing a home renovation project is a rewarding bonus. Resources from experts like Steve Maxwell on platforms such as Facebook and YouTube can help you through the process.
This hands-on experience gives you the power and fosters a genuine sense of ownership over your living space.
Choosing the DIY path allows you to sidestep the hefty labor costs that come with professional installation, giving you a more flexible budget to invest in higher-quality materials or features like pull-out shelves and specialized cabinet styles, such as shaker or modern.
Engaging in this project also offers invaluable learning opportunities that will enhance your skills for future renovations, making it a worthwhile investment of your time and effort.
Websites and online tutorials provide step-by-step assistance, ensuring that even those just starting out in DIY find success in transforming their kitchens.
Tools and Materials Needed
Having the right tools and materials at your disposal is crucial for a successful cabinet installation project. It ensures that every cabinet part is securely mounted and perfectly aligned.
A well-equipped toolkit simplifies the process and elevates the quality of your work.
By utilizing the appropriate cabinet hardware, screws, and shims, you can achieve a sturdy, visually appealing finish.
From selecting high-quality plywood for your base cabinets to choosing the right countertops, knowing what to gather will significantly streamline your DIY efforts.
Essential Tools for the Job
To ensure a seamless cabinet installation process, you’ll need some critical tools:
- A cabinet lift helps you raise and position heavy cabinets easily.
- Clamps will secure the cabinets in place.
- A reliable drill for predrilling holes is key; it prevents wood from splitting and guarantees a sturdy cabinet alignment.
- Understanding how to use a level ensures that your cabinets are straight and even, saving you from future complications.
- A stud finder allows you to accurately place screws into wall studs for added support.
- A measuring tape is essential for determining how much space each cabinet will occupy, ensuring that your installation is both cohesive and practical.
By equipping yourself with these tools, you’ll find that the overall installation process becomes much more manageable, leading to a beautifully finished kitchen that showcases quality craftsmanship.
Recommended Materials for Quality Cabinets
Choosing the right materials is crucial for kitchen cabinets. They should withstand the test of time and shine in daily use.
Plywood is highly recommended for its durability and good looks. Quality cabinet hardware can enhance both functionality and style.
As you choose materials, think about how they will work with your countertop. This creates a cohesive and inviting kitchen.
Solid wood is another great option. It’s known for its timeless elegance and strength, though it may require more maintenance.
Medium-density fiberboard (MDF) is popular too. This engineered wood has a smooth surface for a flawless finish and resists warping.
Laminate offers a modern flair with various colors and patterns. It’s easy to clean and maintain.
Each material has unique benefits, from humidity resistance to easy customization. Choose wisely to transform your kitchen into a stylish and functional space.
Steps for Installing DIY Wall Cabinets
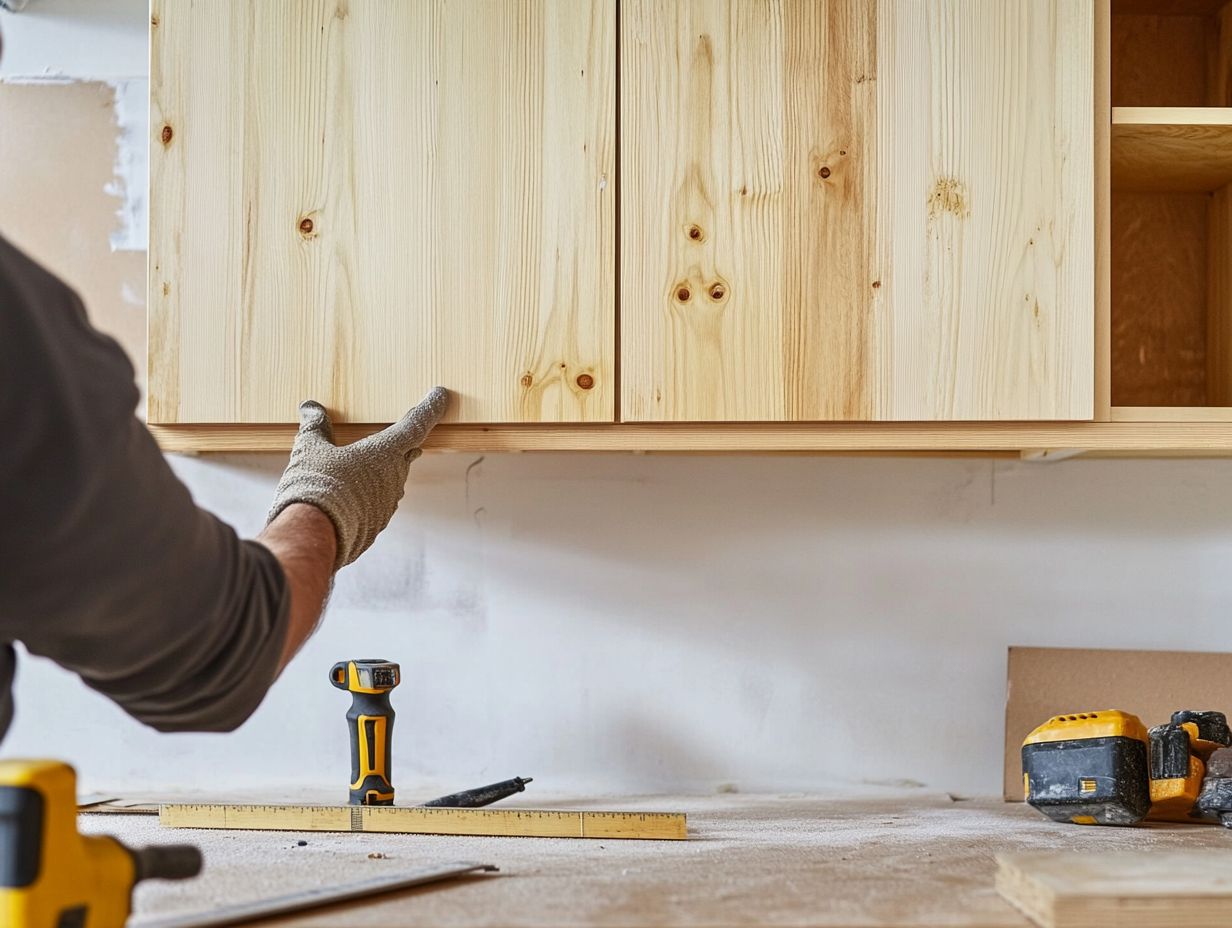
Installing DIY wall cabinets can be both rewarding and challenging. It requires meticulous planning and execution to ensure your cabinets are functional and visually appealing.
The journey begins with a well-thought-out cabinet layout. You’ll need to pinpoint the ideal positions for your wall cabinets. Make any necessary adjustments for cabinet alignment and support.
Using shims can help you achieve a flawless level. This ensures your cabinets are firmly secured to the wall and sets the stage for a successful installation that enhances your space beautifully.
Preparation and Planning
Effective preparation and planning are essential for a successful wall cabinet installation. They lay the groundwork for everything that follows.
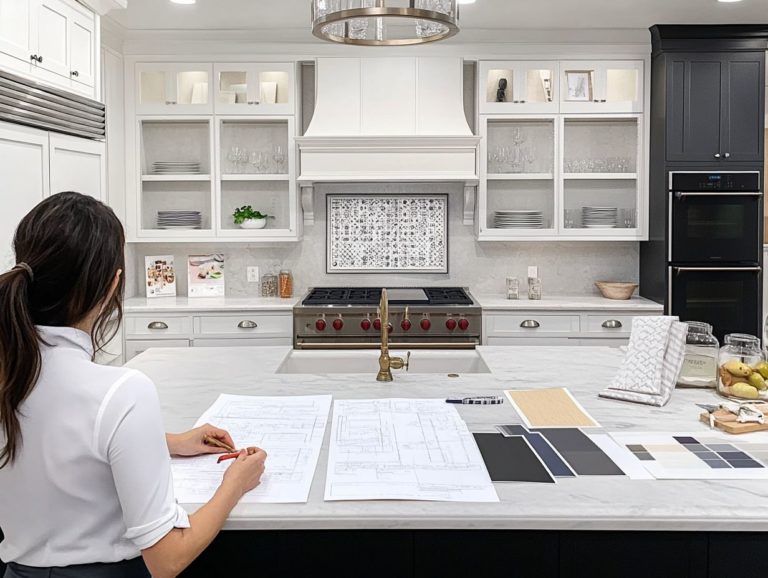
Start by assessing your available space with great care. Take precise measurements to create a cabinet layout that maximizes storage and enhances your kitchen’s design.
A well-crafted plan ensures that every inch is utilized efficiently. Balance both functionality and aesthetics by considering cabinet dimensions, hardware needs, door swing clearances, and potential electrical or plumbing issues.
Using tools like laser levels and measuring tapes provides the precision needed for a flawless installation. By anticipating challenges and preparing in advance, you can transform your kitchen into an organized and visually appealing space.
Measuring and Marking
Measuring and marking with precision are essential steps in the installation process. They directly influence the alignment and overall aesthetic of your cabinets.
Use a level to ensure all your measurements are consistent. Clearly mark the spots on the wall where the upper cabinets will be mounted. Paying attention to these details will result in a visually stunning and functional cabinet layout.
Incorporating tools like a measuring tape, chalk line, and square can significantly enhance your precision at this stage. The chalk line provides a straight edge to guide your markings, while the square ensures that corners remain at perfect right angles.
Double-checking your dimensions before drilling is key to avoiding costly errors. A careful layout plan streamlines the installation process and guarantees a professional touch.
By relying on these techniques, you enable thoughtful adjustments that enhance both the aesthetics and functionality of your cabinetry project.
Assembling and Hanging the Cabinets
Assembling and hanging cabinets requires careful attention to ensure proper support and stability. Follow the manufacturer’s instructions to put together the cabinet parts, securing everything with cabinet screws.
Once assembled, lift the cabinets into position, ensuring they align with the marks you made earlier for a seamless installation.
To achieve a polished finish, invest in quality tools like a level, drill, and measuring tape. Pre-drill holes in the wall studs for secure mounting; this is essential for heavy kitchen cabinets. If mounting on drywall, using wall anchors is highly advisable.
As you lift the cabinet into place, check alignment with a level to ensure a straight installation. Clamps can support the cabinets, allowing for minor adjustments before securing with screws.
By following these techniques, you enhance both the durability and aesthetics of your cabinets.
Tips for a Successful Installation
Successful cabinet installation relies on your attention to detail and a willingness to learn from successes and mistakes.
Prioritize proper cabinet alignment and familiarize yourself with the various components to elevate the quality of your installation.
Embrace expert advice to enhance your project, ensuring a polished finish that meets your high standards and adds lasting value to your home.
Common Mistakes to Avoid
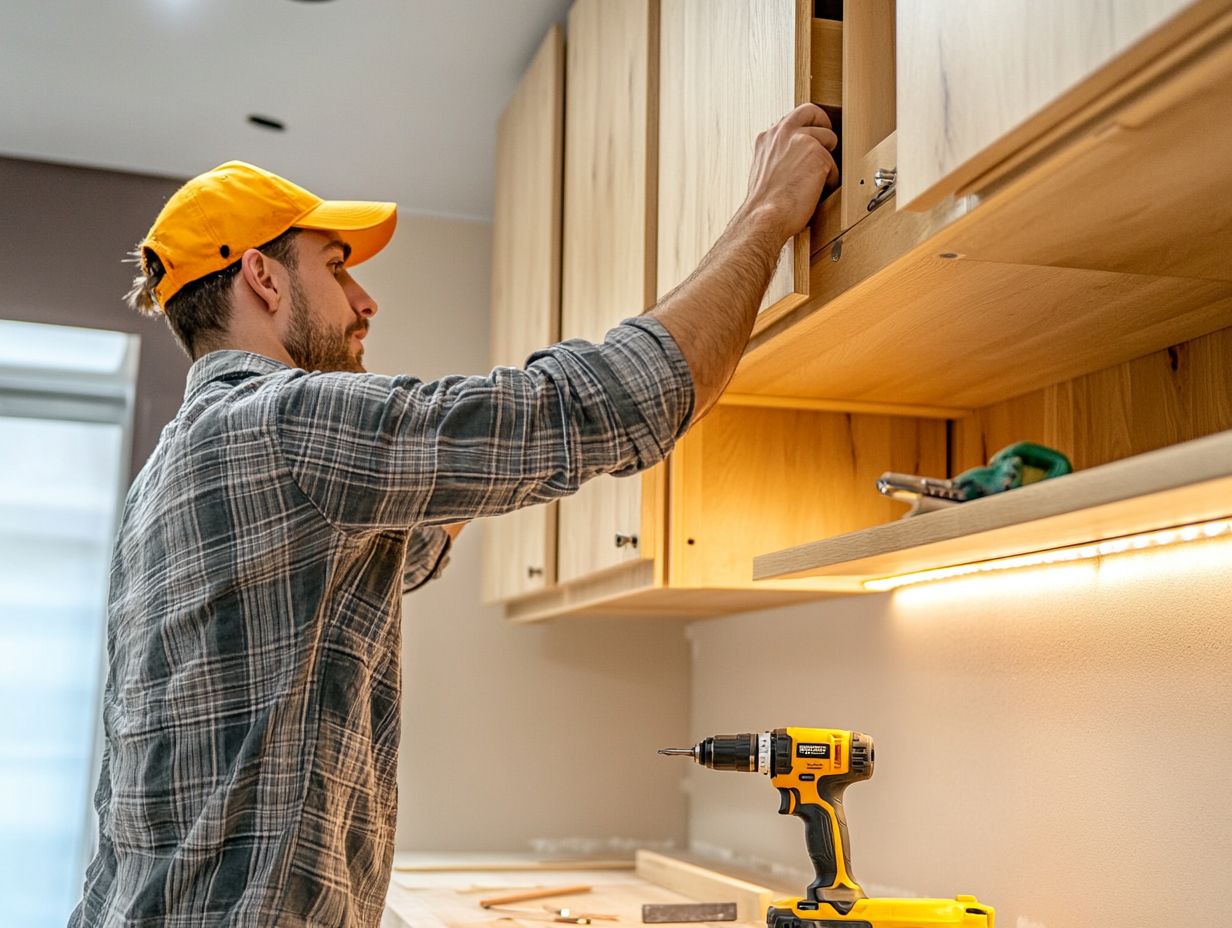
Avoiding common mistakes is essential for a polished and functional result. Many DIY enthusiasts underestimate the importance of cabinet alignment and forget to pre-drill holes for cabinet screws. Don’t let this mistake ruin your installation!
Inadequate wall support can cause cabinets to sag over time, compromising both aesthetics and utility. Ensure that the wall is level and can bear the weight of the cabinets.
Neglecting to measure accurately can create unsightly gaps between cabinets or countertops, disrupting the overall design flow. Being aware of these pitfalls can save you time, money, and frustration, making your installation process smoother and more enjoyable.
Expert Tips for a Professional Finish
To achieve a professional finish during your cabinet installation, implement expert tips to enhance your results.
Using a cabinet lift for easy maneuvering, along with reliable clamps for stability, allows for precise adjustments throughout the installation process.
Choosing the right cabinet hardware boosts aesthetics and functionality, elevating the quality of your work. Investing in high-quality tools, like a laser level, ensures your cabinets are perfectly aligned.
Employing techniques such as measuring twice and cutting once conserves materials and results in a more polished look. Don’t overlook the importance of selecting appropriate fasteners; choosing screws designed specifically for cabinetry provides lasting stability.
With careful attention to these elements, your installation will not only look professional but also withstand the test of time, proving the value of your thorough preparations.
Maintenance and Care for Your DIY Wall Cabinets
Maintaining and caring for your DIY wall cabinets is crucial for ensuring their longevity and functionality. Regularly clean and inspect cabinet doors and hardware to prevent wear and tear.
Make proper adjustments to keep everything aligned and operating seamlessly. Understanding the specific care requirements based on the materials used can significantly enhance the lifespan of your cabinets, transforming them into a timeless feature of your kitchen.
With these tips, you’re ready to create stunning cabinets that elevate your space. Start your installation today!
Keeping Your Cabinets in Great Condition
To keep your cabinets in great condition, regular maintenance is essential. This includes cleaning cabinet doors and checking the way the cabinet doors fit together.
Over time, hardware can loosen, which may affect functionality. By periodically tightening and aligning everything, you ensure smooth operation. Establishing a routine maintenance schedule will protect your investment and maintain the beautiful look of your kitchen.
It’s also important to inspect hinges, drawer slides, and shelves for any signs of wear or damage that could hinder performance.
When it comes to cleaning products, choose wisely. Harsh chemicals can dull finishes and lead to long-term deterioration. Regularly wiping down surfaces with a gentle, non-abrasive cleaner removes dust and grime while preserving the wood’s natural luster.
This proactive approach will not only enhance your cabinetry’s look but also keep it lasting for years!
Easy Fixes for Common Issues
Addressing common issues with your cabinets can be surprisingly simple, with a few straightforward fixes that restore both functionality and appearance.
For example, if you find misaligned cabinet doors, a little adjustment with basic tools can work wonders. Similarly, loose cabinet hardware can easily be tightened to prevent further damage.
By recognizing these issues early and taking proactive steps, you can significantly prolong the life of your cabinets while preserving their original charm. Paying attention to the integrity of your cabinet hinges is essential, as they may need occasional lubrication to ensure smooth operation.
If your cabinets are showing signs of wear on their surfaces, using a gentle cleaner and a soft cloth can help maintain their finish. Additionally, adopting preventive measures—like avoiding overloading shelves and ensuring proper ventilation in the kitchen—can minimize potential damage over time.
By being proactive about these minor concerns, you can effortlessly enhance the longevity and aesthetic appeal of your cabinetry.
Preguntas Frecuentes
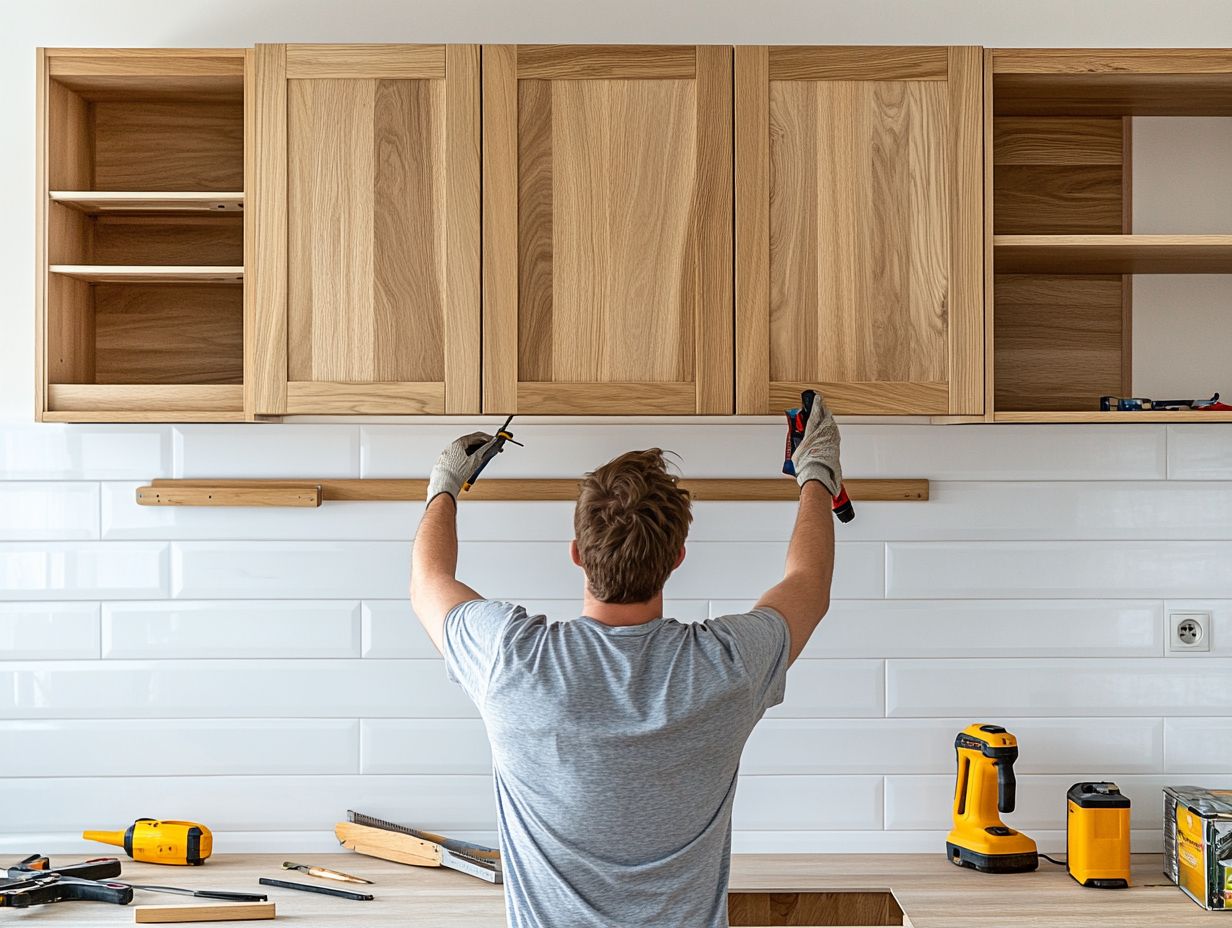
1. ¿Qué herramientas necesitaré para instalar armarios de pared DIY?
Para instalar armarios de pared DIY, necesitarás un localizador de montantes, un nivel, un taladro, tornillos, cinta métrica, lápiz y una escalera. También puede que necesites una sierra de calar o circular si necesitas cortar los armarios para adaptarlos a tu espacio.
2. ¿Necesito quitar los armarios existentes antes de instalar los nuevos?
Si vas a instalar nuevos armarios en el mismo espacio que los existentes, es importante quitar los armarios viejos. Esto asegurará una instalación limpia y segura y evitará problemas con la alineación o el espaciado.
3. ¿Puedo instalar armarios de pared DIY yo solo o necesito ayuda?
Si bien es posible instalar armarios de pared DIY por tu cuenta, se recomienda tener al menos a otra persona que te ayude. Esto facilitará el proceso de instalación y lo hará más seguro, especialmente al trabajar con armarios pesados y usar una escalera.
4. ¿Cómo determino la altura correcta para instalar armarios de pared DIY?
La altura estándar para instalar armarios de pared es de 54 pulgadas desde el suelo hasta la parte inferior del armario. Sin embargo, esto puede variar según tus preferencias personales y la altura de tu techo. También es importante considerar la altura de tus encimeras y cualquier otro electrodoméstico o accesorio que pueda afectar la colocación de tus armarios.
5. ¿Necesito asegurar los armarios a la pared?
Sí, es importante asegurar los armarios a la pared para garantizar que estén montados de manera segura. Usa tornillos y anclajes de pared para fijar los armarios a los montantes en la pared. Esto proporcionará estabilidad y evitará que los armarios caigan o se deslicen con el tiempo.
6. ¿Cuánto tiempo lleva instalar armarios de pared DIY?
El tiempo que lleva instalar armarios de pared DIY puede variar según el tamaño y la complejidad de tu proyecto, así como tu nivel de experiencia. En promedio, puede tomar de 2 a 4 horas instalar un conjunto de armarios. Es importante tomarse su tiempo y seguir todas las instrucciones cuidadosamente para asegurar una instalación exitosa y segura.
