How to Install DIY Kitchen Trim and Molding
Transforming your kitchen can be as straightforward as incorporating trim and molding.
These finishing touches have the power to elevate the space, crafting a polished and harmonious appearance.
This guide delves into the different types of trim and molding available, assisting you in selecting the ideal options for your kitchen while also outlining essential tools and materials.
With a detailed step-by-step installation guide, expert tips for achieving a professional finish, and insights on common pitfalls to steer clear of, you will be well-equipped to embark on your DIY project with confidence.
Contents
- Key Takeaways:
- Choosing the Right Trim and Molding for Your Kitchen
- Essential Tools and Materials
- Step-by-Step Guide to Installing Kitchen Trim and Molding
- Tips and Tricks for a Professional Finish
- Common Mistakes to Avoid
- Frequently Asked Questions
- What is the first step in installing DIY kitchen trim and molding?
- How do I properly prepare my kitchen walls for trim and molding installation?
- What tools and materials will I need for this project?
- Can I install trim and molding over existing kitchen cabinets?
- Do I need to prime and paint the trim and molding?
- Are there any tips for achieving a professional-looking installation?
Key Takeaways:

Choose the right trim and molding for your kitchen by considering factors such as style, durability, and budget.
Gather essential tools and materials, including a saw, measuring tape, and appropriate trim and molding material, before starting the installation process.
Follow a step-by-step guide to properly install kitchen trim and molding. This includes preparing the area, measuring and cutting, and attaching the trim for a professional finish.
What are Trim and Molding?
Trim and molding are essential architectural elements that greatly improve the look of your home, adding visual interest and elegance to various spaces, particularly in kitchen design.
These decorative features serve not just as artistic embellishments but also as functional components that can transform standard elements like kitchen cabinets and interior walls into sophisticated showcases of craftsmanship.
Crown molding is a popular choice for those seeking to elevate their home improvement projects with a DIY touch that mirrors their personal style and boosts property value.
Trim and molding come in an array of styles and materials, each designed for specific purposes. For example, wainscoting, which is a type of wooden paneling, adds protection and style to lower wall areas, while baseboards, which are the strips of material along the bottom of the wall, protect your walls from damage while providing beauty alongside practicality.
The versatility of decorative trim allows you to select options that perfectly align with your design aesthetic, whether you lean towards traditional or modern styles.
With the right choice of crown molding and other trims, you can transform your home into a stunning and cohesive masterpiece that not only reflects your taste but also endures through time.
Choosing the Right Trim and Molding for Your Kitchen
Choosing the right trim and molding for your kitchen is an essential aspect of any renovation project, significantly shaping both the aesthetic and functionality of the space.
The decision between traditional trim and a modern design can dramatically set the tone for your kitchen’s overall vibe.
Integrating crown molding not only elevates cabinet designs but also adds considerable value to your home.
With a wealth of options at your fingertips, grasping the different styles and materials will empower you to strike the perfect balance between practicality and your unique sense of style in your DIY upgrade.
Don’t wait to enhance your kitchen’s appeal!
Types of Trim and Molding
You have a world of trim and molding options at your fingertips, each designed for unique purposes and contributing to the overall elegance of your space.
Take crown molding, for example. It doesn’t just mark the boundary between the ceiling and walls; it adds a layer of depth and sophistication to your interiors.
Let’s not forget about baseboards—they protect your walls from the wear and tear of everyday life while providing a visual anchor at floor level.
Imagine how picture rails and wainscoting can infuse your rooms with character, framing artwork or bringing a timeless charm to your dining areas. With a variety of styles ranging from modern to traditional and rustic, you can select trims that not only complement your existing decor but also create a seamless and cohesive look throughout your home.
Factors to Consider When Choosing
Choosing the right trim and molding for your kitchen is a complex decision that requires careful consideration of several factors. These include your overall kitchen design, budget, and the specific architectural details you want to highlight.
The type of wood you select for your crown molding will influence the aesthetics and impact its durability. Understanding the costs of crown molding is critical for your renovation budget. It’s vital that the style you choose harmonizes with existing elements to create a cohesive and visually appealing environment.
Think about the maintenance requirements of different materials; some may demand more care than others. The scale of your kitchen is another crucial element. Taller ceilings might call for more elaborate crown molding, while a smaller space often benefits from simpler designs.
Don’t overlook how the trim interacts with cabinetry and countertops—these features should complement each other for a unified look. By exploring these practical aspects, you can make informed decisions that elevate both the functionality and style of your kitchen.
Essential Tools and Materials
To successfully execute any trim and molding installation project, assemble a complete toolkit and select suitable materials for a professional finish.
Essential tools like a nail gun, measuring tape, and a Kreg Crown Pro will enable you to cut and secure crown molding with precision. Materials such as wood glue, caulk, and paint will help you achieve a refined, polished look.
High-quality tools make your DIY upgrades easier and ensure top-notch results!
List of Essential Tools
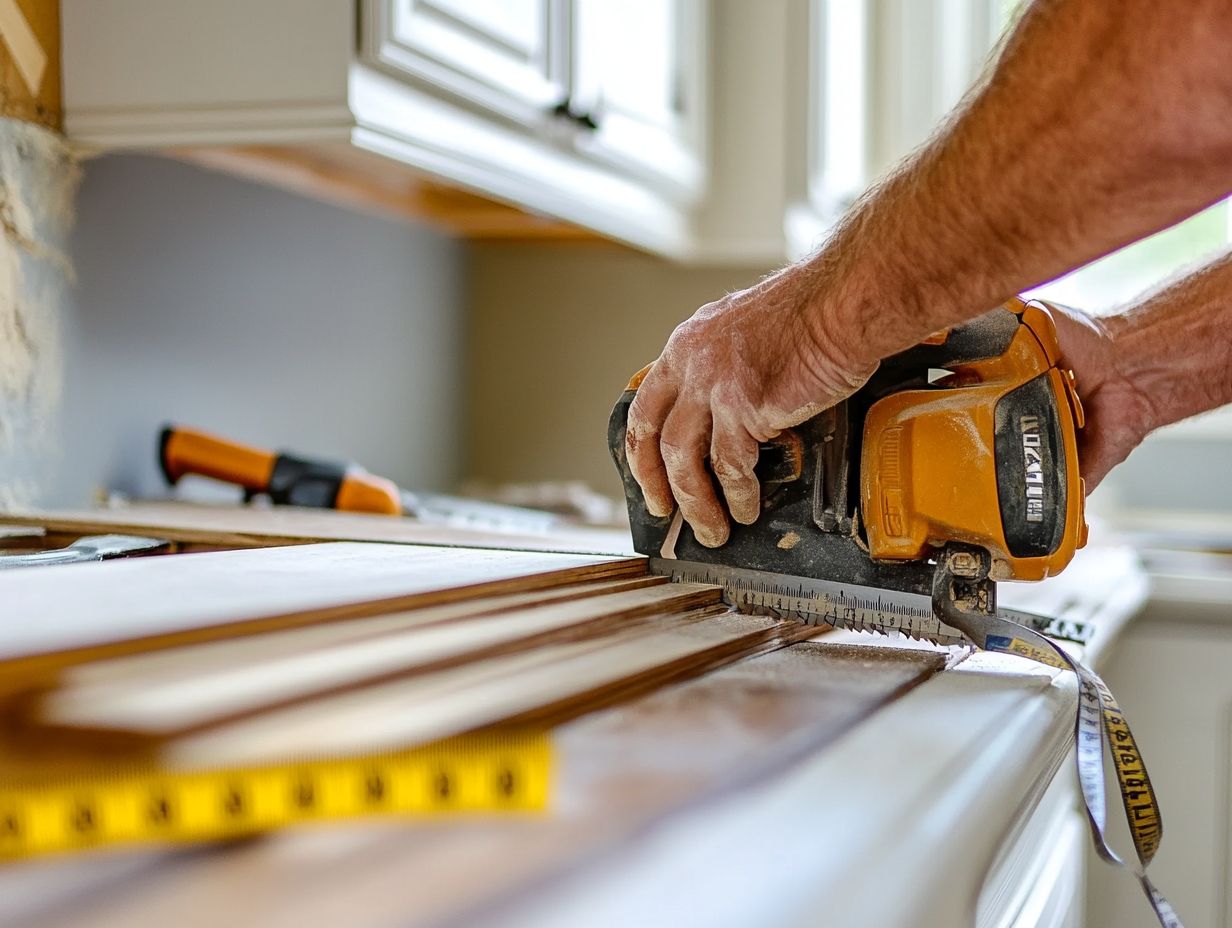
A well-rounded toolkit is essential for ensuring the successful installation of trim and molding. Certain tools stand out as particularly valuable for your DIY project.
For instance, a nail gun will streamline the attachment of crown molding, while a measuring tape and miter saw are essential for precise cuts and measurements. An angle tool helps you achieve the correct angles for seamless joints, making it easier to create a professional-looking finish.
Having a level on hand is vital for verifying that your installations are straight and even. A framing square will assist you in ensuring right angles, especially in corners.
To protect surfaces during installation, a hammer and finish nails are essential for added security. A utility knife is handy for any on-the-fly adjustments you might need to make.
Each of these tools plays a crucial role in achieving quality results, transforming the installation process from a daunting task into a manageable and satisfying project.
Materials for Different Types of Trim and Molding
Selecting the right materials is essential when you embark on trim and molding projects, as various types come with distinct requirements.
Crown molding can be crafted from an array of wood species, giving you the flexibility to customize it to harmonize with your kitchen’s aesthetic. Don’t overlook the importance of paintable caulk and wood filler; they’re crucial for achieving seamless joints and that polished, professional finish you desire.
Using the correct finishing nails ensures your trim is secured properly and enhances the durability and visual appeal of your DIY cabinetry.
Beyond traditional wood, consider alternative materials like MDF (Medium-Density Fiberboard) or polyurethane. These budget-friendly options deliver impressive durability and versatility, allowing for intricate designs without the common issues of warping or splitting that can accompany solid wood.
The materials you choose can affect the final look, so it’s wise to think about color, profile, and texture in relation to the overall space. Strategically selecting the right trim can elevate your design, fostering a cohesive and inviting atmosphere that reflects your personal style while serving practical purposes.
Get started on transforming your kitchen today with the right tools and materials!
Step-by-Step Guide to Installing Kitchen Trim and Molding
Installing trim and molding is an exciting DIY project that can truly enhance the look of your kitchen cabinets and overall design!
By following this step-by-step guide, you’ll ensure a smooth and successful process.
Start by preparing the area. Then, accurately measure and cut the trim. Finally, attach it securely for a professional-looking finish that you desire.
Whether you’re opting for crown molding or other decorative trims, each stage is crucial for crafting a cohesive and polished appearance that elevates your space.
Preparing the Area
Preparation is key in your trim and molding installation journey. It ensures that your walls are ready for a seamless application.
First, make sure your walls are clean, dry, and free from any old paint or debris that could affect adhesion. Check for any imperfections and fix them to create a level surface.
Gather essential tools like a miter saw, nail gun, and stud finder. This will streamline your installation process and boost your productivity.
Organizing your workspace with everything readily accessible promotes an efficient workflow, making the DIY experience much more enjoyable.
This thoughtful preparation will enhance the final result and improve the overall aesthetics of your home.
Measuring and Cutting the Trim and Molding
Accurate measuring and cutting are critical for installing trim and molding. They directly influence the fit and finish of your project!
Using tools like a measuring tape and angle tool ensures precise measurements. This makes cutting crown molding with a miter saw much easier.
These DIY solutions are essential for achieving clean edges and seamless joints, pivotal for a polished look in your kitchen renovation.
To improve accuracy, consider using a laser level for alignment. This tool minimizes errors!
Utilizing a stop block on your miter saw provides consistent lengths for repetitive cuts, significantly streamlining your process.
Don’t overlook measuring angles, especially for tricky corners.
By mastering these techniques and using the right cutting tools, you’ll find that every piece of trim fits perfectly, enhancing the aesthetic of any room you work in.
Attaching the Trim and Molding
Attaching the trim and molding is the grand finale of your installation process! It demands attention to detail for that professional finish.
Start by applying wood glue along the edges where the trim meets the cabinet or wall. Then, use the nail gun or finishing nails to secure the crown molding in place.
To ensure a seamless look, use caulk and paint to cover any gaps and elevate your kitchen design.
Before you dive in, gather these essential tools:
- Miter saw for precise angled cuts
- Level to guarantee straight lines
- Measuring tape for utmost accuracy
Remember the golden rule: measure twice, cut once! This helps keep waste to a minimum. For corners, use 45-degree angled cuts to create clean junctions that radiate professionalism.
After securing everything, gently sand any rough edges.
Finish off with a coat of primer followed by paint. Watch as the trim transforms into a polished detail that beautifully ties your entire kitchen together!
Tips and Tricks for a Professional Finish
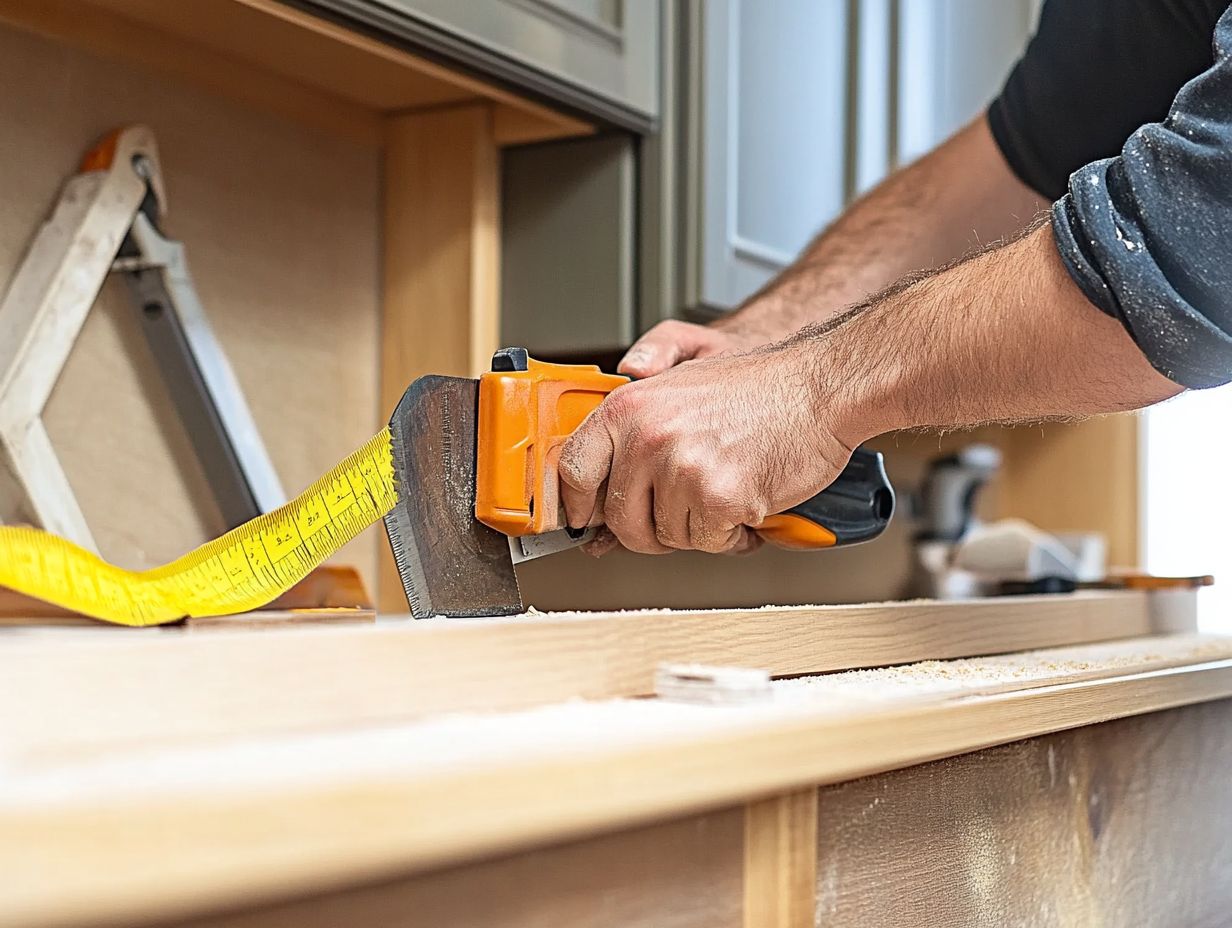
Achieving a professional finish in trim and molding installation is the hallmark of a successful DIY project. Several techniques can elevate your results!
Ensure that your joints are seamless and use wood filler to fix any gaps. A touch of caulk and a coat of paint provide essential finishing touches, allowing the trim to integrate flawlessly with your kitchen design.
These details profoundly influence the visual appeal and craftsmanship of your renovation project.
Now, go ahead and make your space stunning! Share your results or experiences with your own trim and molding projects!
Seamless Joints and Smooth Surfaces
Creating seamless joints and smooth surfaces is crucial for achieving a polished look in your trim and molding projects.
This attention to detail significantly elevates the professional finish of your DIY cabinetry.
By utilizing wood filler to address imperfections and caulk to seal edges, you ensure that your joints are visually appealing and durable.
These finishing touches can transform an ordinary installation into something truly extraordinary, enhancing the overall aesthetic of your kitchen design.
Plus, selecting the right adhesive can further enhance durability and achieve that flawless finish you’re aiming for.
Consider employing a strong glue that expands to fill gaps and sets firmly, providing strong bonds that resist moisture.
Regarding application methods, using a putty knife for even, light applications of filler will help create a smooth transition between surfaces.
After the filler dries, sanding it down can eliminate imperfections and improve paint or stain adherence.
Taking the time to implement these techniques allows your craftsmanship to shine, leaving a lasting impression in any space.
Painting and Finishing Touches
The final step in your trim and molding project is painting and adding those all-important finishing touches, which can significantly elevate the overall look of your kitchen design.
By using a quality paintbrush and applying a fresh coat to your decorative trim or crown molding, you not only enhance its visual appeal but also protect the wood from everyday wear and tear.
Paying attention to the neat application of caulk and paint around the edges will yield a polished, finished look that perfectly showcases your DIY upgrade.
To achieve that professional finish you desire, selecting the right type of paint is essential:
- Semi-gloss finish for durability
- High-gloss finish for easy cleaning
Before diving into painting, ensure you sand down any rough surfaces and apply a primer if needed, creating a smooth base for your top coat.
Using painter’s tape along the edges will help maintain those clean lines and deliver a crisp finish.
Don’t hesitate to experiment with techniques like sponging or stippling to add a unique flair to your trim.
Stay patient! Give each coat time to dry for a stunning finish.
Common Mistakes to Avoid
When you decide to tackle a DIY upgrade with trim and molding installation, it’s essential to be aware of the common mistakes that can lead to less-than-ideal outcomes.
Protecting your walls and cabinets is paramount; using improper techniques can result in expensive repairs down the line.
Focus on precise alignment during installation to elevate aesthetics and enhance quality.
Preventing Damage to Walls and Cabinets
Preventing damage to your walls and cabinets is a crucial consideration when you’re installing trim and molding.
Improper handling can result in unsightly marks or even structural issues.
To mitigate these risks, use finishing nails with care, and don’t hesitate to use caulk and paint to cover any potential gaps or imperfections.
Being mindful of your tools and techniques will help preserve the integrity of your interior walls, ensuring that your DIY project enhances your home beautifully.
One effective strategy is to use a stud finder to locate wall supports, which helps prevent nails from going in at awkward angles that could puncture drywall unnecessarily.
When cutting molding, always opt for a miter saw to achieve clean angles.
During installation, it’s wise to hold the trim in place with a clamp, allowing both hands to remain free for nail placement and reducing the chance of any awkward slips.
Additionally, employing painter’s tape along edges gives you an extra layer of protection, helping create crisp lines while minimizing the risk of damaging adjacent surfaces during painting or caulking.
By practicing these techniques, you can greatly reduce the potential for damage and ensure a professional-looking finish.
Now that you know the secrets to a flawless trim, start your project today and impress everyone with your skills!
Ensuring Proper Alignment and Fit
Ensuring proper alignment and fit is crucial when installing trim and molding. Misalignment can disrupt the entire aesthetic appeal of your kitchen renovation.
Accurate measuring is essential, particularly with crown molding or decorative trim. This enables precise cuts and fitting. Take your time during this phase of your DIY project; it will pay off significantly, resulting in a cohesive and polished appearance that elevates your home’s overall design.
Achieving precision demands careful planning and the right tools. Start by using a high-quality measuring tape and a square to mark your cuts accurately.
Consider using a saw that makes angled cuts, ideal for corners, to achieve clean angles. Dry-fit the pieces before final installation to ensure everything matches perfectly.
Small adjustments may be necessary, so don’t hesitate to trim or sand edges for an optimal fit. Don’t rush this step; taking your time ensures a stunning finish!
Frequently Asked Questions
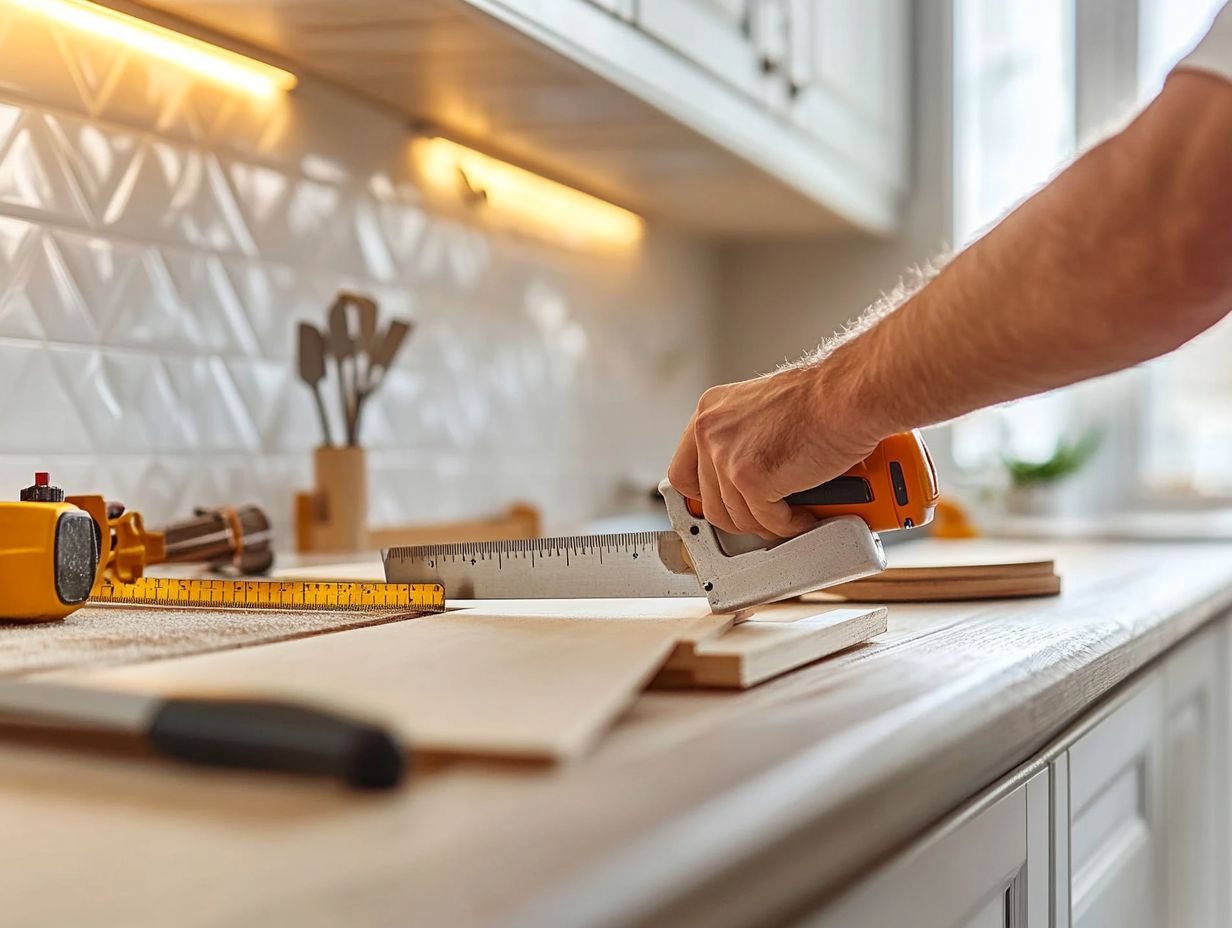
What is the first step in installing DIY kitchen trim and molding?
The first step is to measure and cut your trim and molding pieces to the appropriate lengths.
How do I properly prepare my kitchen walls for trim and molding installation?
Before installing, ensure your walls are clean and smooth. Patch any holes or imperfections and sand down any rough areas.
What tools and materials will I need for this project?
You will need a saw, measuring tape, level, nails or screws, a hammer or drill, caulk, and paint or stain.
Can I install trim and molding over existing kitchen cabinets?
Yes, you can install trim and molding over existing cabinets as long as they are securely attached to the wall.
Do I need to prime and paint the trim and molding?
It is recommended to prime and paint the trim and molding before installing, especially if you are using wood materials. This ensures a smooth and professional finish.
Are there any tips for achieving a professional-looking installation?
Use a level and measuring tape to ensure your trim and molding is straight and even. Additionally, use wood glue along with nails or screws for extra stability. Finally, fill any nail holes or gaps with caulk before painting for a seamless look.

