How to Install DIY Kitchen Hardware
Installing kitchen hardware is a game-changer for your space, offering a perfect blend of style and practicality while saving both time and money.
Whether you’re updating cabinet handles, drawer pulls, or knobs, this guide equips you with everything you need. It covers essential tools, how to select the right hardware, and provides a detailed step-by-step installation process to ensure your success.
You’ll also find valuable tips to help you avoid common pitfalls and make certain that your new hardware maintains its charm for years to come.
Are you excited to transform your kitchen today?
Contents
- Key Takeaways:
- Tools and Materials Needed
- Step-by-Step Guide to Installing Kitchen Hardware
- Tips and Tricks for a Successful Installation
- Frequently Asked Questions
- Can I install DIY kitchen hardware without prior experience?
- What tools do I need to install DIY kitchen hardware?
- Do I need to remove old hardware before installing new ones?
- How do I know where to place the hardware on my cabinets?
- Can I install DIY kitchen hardware on all types of cabinets?
- What should I do if I encounter any problems during the installation process?
Key Takeaways:
- Save money and add a personal touch by installing your own kitchen hardware.
- Gather essential tools and choose the right hardware for a successful installation.
- Follow a step-by-step guide and avoid common mistakes for a flawless DIY kitchen hardware installation.
Benefits of Installing Your Own Hardware
Installing your own cabinet hardware brings a wealth of benefits that can significantly elevate the aesthetics and functionality of your kitchen and bathroom spaces.
By taking the DIY route, you gain the freedom to create a personalized design while saving on professional installation costs.
This approach allows you to have greater control over the placement of your hardware, resulting in a custom look that truly reflects your individual taste.
With the right tools—think hardware templates and handy installation tips—you can transform your cabinetry into a stylish and cohesive element of your home.
This project boosts aesthetics and usability, enhancing both the look and functionality of your cabinet doors and drawers.
Choosing custom cabinet knobs and pulls opens up a world of styles, materials, and finishes that seamlessly match your décor.
This makes it easy to either complement existing themes or embark on a fresh design journey.
The cost savings are substantial; rather than hiring a professional, you can accomplish this task in just a few hours.
This allows you to invest in higher-quality hardware that stands the test of time.
Enhancing usability goes beyond mere function; innovative designs can significantly elevate the visual charm of your space.
Don’t wait! Upgrade your kitchen today for a fresh, stylish look that draws compliments from guests and provides you with a sense of pride in your home.
Tools and Materials Needed
To successfully install cabinet hardware, it’s crucial that you have the right tools and materials at your fingertips for a seamless experience.
Essential items include:
- A drill to create precise holes in your cabinet doors and drawers.
- Hardware templates for the accurate placement of knobs and pulls.
- A sufficient supply of screws—high-quality screws designed to hold strong work wonders for securing everything firmly in place.
A reliable adhesive can be invaluable for covering any unused holes or securing back plates.
By gathering all these tools and materials beforehand, you not only streamline your DIY project but also achieve that polished, professional finish you desire.
Essential Tools for the Job
The essential tools for installing cabinet hardware include a reliable drill, which is crucial for creating precise holes in your cabinet doors and drawers.
You’ll also want hardware templates, as they ensure correct alignment and spacing, making your installation process not only more efficient but also remarkably accurate.
A measuring tape will be your ally in achieving even spacing, while selecting the right screws will provide the durability and security you desire.
Additionally, having a strong adhesive, such as thread sealant, will help cover unused holes or secure back plates in place, taking your DIY project to a professional level.
Understanding the significance of these tools can markedly enhance the quality of your installation.
For instance, using a hardware template minimizes errors while saving you valuable time.
When you’re setting up multiple cabinets, this tool enables you to replicate exact measurements across all units, ensuring uniformity.
High-quality screws not only resist stripping but also withstand wear and tear, which is crucial for heavy cabinet doors.
As for adhesives, thread sealants efficiently fill gaps, preventing moisture damage and enhancing the longevity of your cabinets.
Incorporating these tools into your toolkit will undoubtedly lead to a refined and lasting result.
Choosing the Right Hardware
Choosing the right cabinet hardware, whether knobs or pulls, is a crucial step that elevates the design of your kitchen or bathroom. As you navigate this selection process, consider various factors, including style, finish, and functionality.
Your hardware should not only match the cabinet doors but also enhance usability. From sleek modern looks to timeless classics, the options are abundant. Using cabinet hardware tips can guide you in discovering the perfect fit. Ensuring that your chosen hardware harmonizes with the existing decor creates a polished and cohesive aesthetic in your space.
Exploring different materials like ceramic, metal, or glass can significantly influence the overall vibe. The finishes—whether polished, matte, or brushed—are equally important. They can either create a striking contrast or seamlessly blend with your cabinetry.
When considering your theme, a farmhouse-style kitchen may thrive with rustic bronze pulls, while a contemporary bath might shine with sleek stainless steel knobs. Keep the scale of the hardware in mind relative to your cabinetry, ensuring that the pieces you select feel proportionate and comfortable to use.
This thoughtful approach will lead to an elegant and functional result that you’ll appreciate every day.
Step-by-Step Guide to Installing Kitchen Hardware
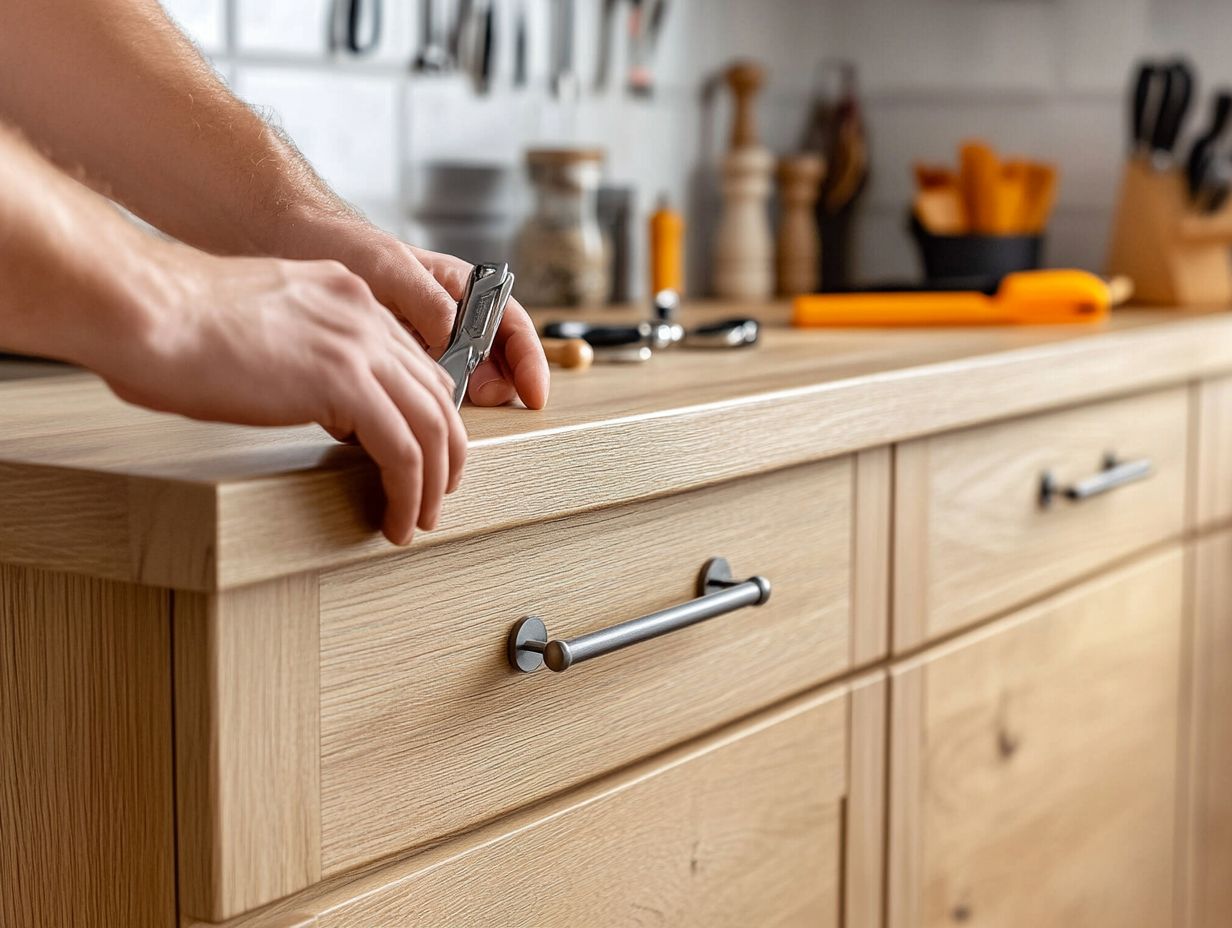
Installing kitchen hardware becomes a seamless experience when you follow a clear, step-by-step guide. With a structured approach, you can efficiently install cabinet knobs, pulls, and various hardware, achieving a polished, professional finish.
Start by gathering essential tools and materials, including measuring guides for precise measurements and a drill for creating holes in your cabinet doors and drawers.
Once you’re prepared, confidently move through each step, transforming this into a gratifying DIY project that enhances both the functionality and aesthetic appeal of your kitchen cabinets.
Preparing for Installation
Preparing for installation is critical for your cabinet hardware project’s success. Start by measuring the desired placement on your cabinet doors with measuring guides to ensure uniformity and precision.
Mark the drill holes clearly to prevent confusion during installation. Using a measuring tape enhances accuracy, and securing the guide with adhesive or tape will keep it steady as you drill. This ensures that the hardware aligns perfectly, resulting in a polished and professional finish.
Before diving into the installation, double-check your measurements; even a minor discrepancy can lead to misalignment. Hold the guide in place for a moment to visualize how the hardware will look, saving you time and frustration later.
When marking your drill holes, use a fine-point marker for visibility and precision. A level will help confirm that everything is straight.
Don’t rush through this initial phase. Taking careful steps to secure the guides and mark the holes accurately will be worth it, leading to a seamless outcome in your cabinet hardware installation.
Installing Cabinet Handles
Installing cabinet handles is a simple yet effective way to enhance the functionality of your kitchen or bathroom cabinetry. Position your cabinet pulls according to the pre-marked drill holes, ensuring they align seamlessly with the back plates for a polished appearance.
With the right screws, such as Loctite screws, secure the handles firmly, ensuring they are tight and stable. This enhances usability and adds a touch of style that beautifully complements your cabinet doors.
Before drilling, double-check your measurements to avoid misalignment. Even a tiny error can affect the entire aesthetic. Use a level to confirm that each handle sits perfectly straight; this attention to detail truly makes a difference.
When you’re ready to drill, select a bit that matches the diameter of your screws for a snug fit. After securing the handles, inspect each one for firmness—there should be no wobbling.
For an elegant finish, consider touching up any visible screw heads with paint or a matching cover cap to enhance the overall presentation of your cabinetry.
Installing Drawer Pulls
Installing drawer pulls can give your cabinetry a fantastic upgrade! Let’s dive in!
Begin by selecting the perfect drawer pulls that match your kitchen or furniture style. Ensure each pull aligns perfectly with existing holes or an accurate template you’ve created. Even a slight misalignment can disrupt the overall appearance of your cabinetry.
As you secure the screws, apply even pressure to prevent wobbling or loosening over time. If you encounter challenges like uneven surfaces or stripped screws, use a washer or make a small hole first to help guide the larger screw for enhanced stability.
By focusing on these details, you’ll ensure a polished finish that enhances both functionality and aesthetics in your space.
Installing Cabinet Knobs
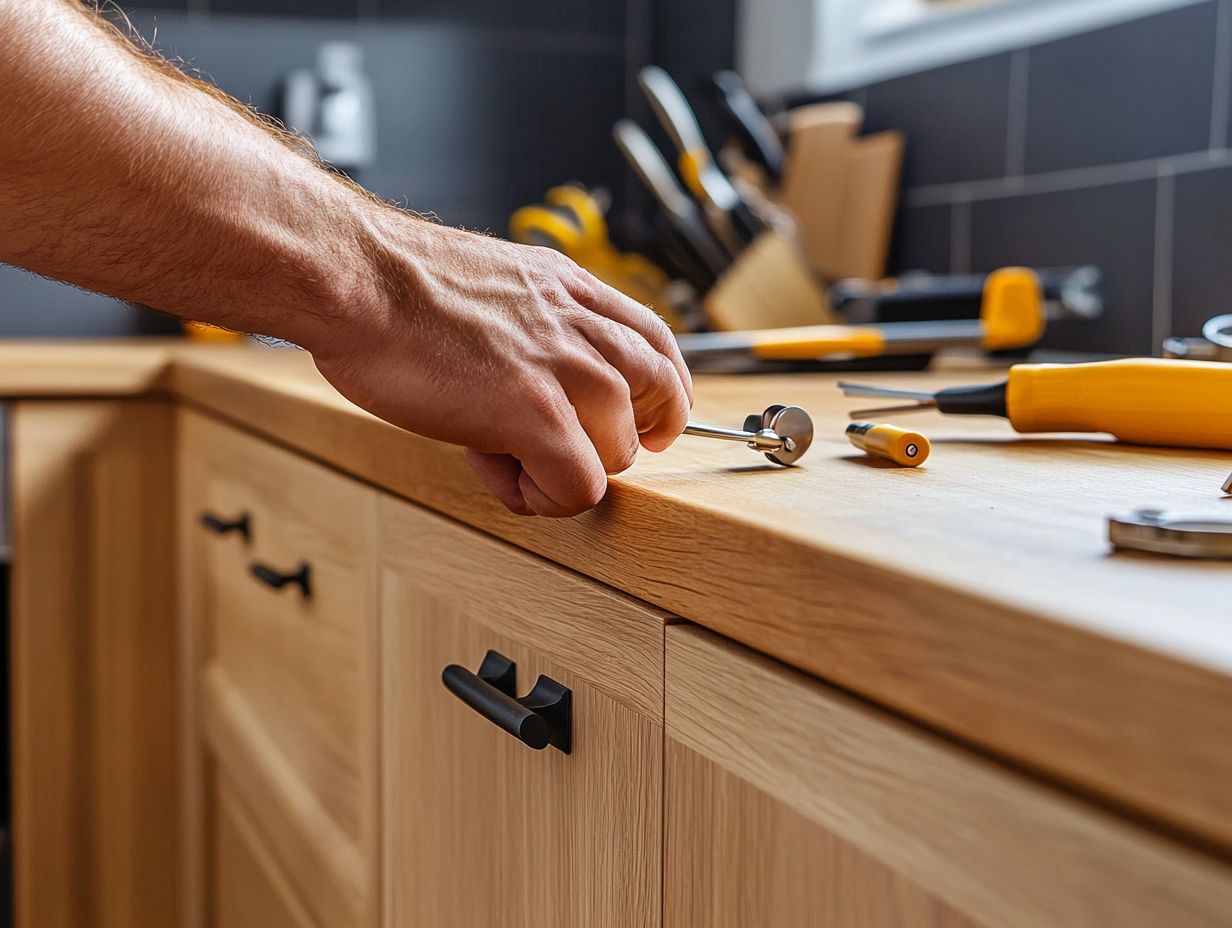
Installing cabinet knobs can transform the look and feel of your cabinetry, making it a truly impactful aspect of your DIY project. Start by determining the perfect placement for your knobs on the cabinet doors. Use a hardware template to keep everything consistent.
This thoughtful planning boosts visual appeal and enhances functionality—the right placement makes opening cabinets much easier. When marking your drill points, remember to measure twice to avoid misalignment.
Drill at a slow speed to prevent unsightly splintering of the wood. Once the holes are drilled, simply insert the screws from the back and tighten them until secure—just be careful not to overdo it.
For a polished finish, consider using matching screw caps or decorative washers to conceal any visible hardware. Choosing knobs that complement your cabinet style elevates the entire space, giving it a cohesive and sophisticated look.
Tips and Tricks for a Successful Installation
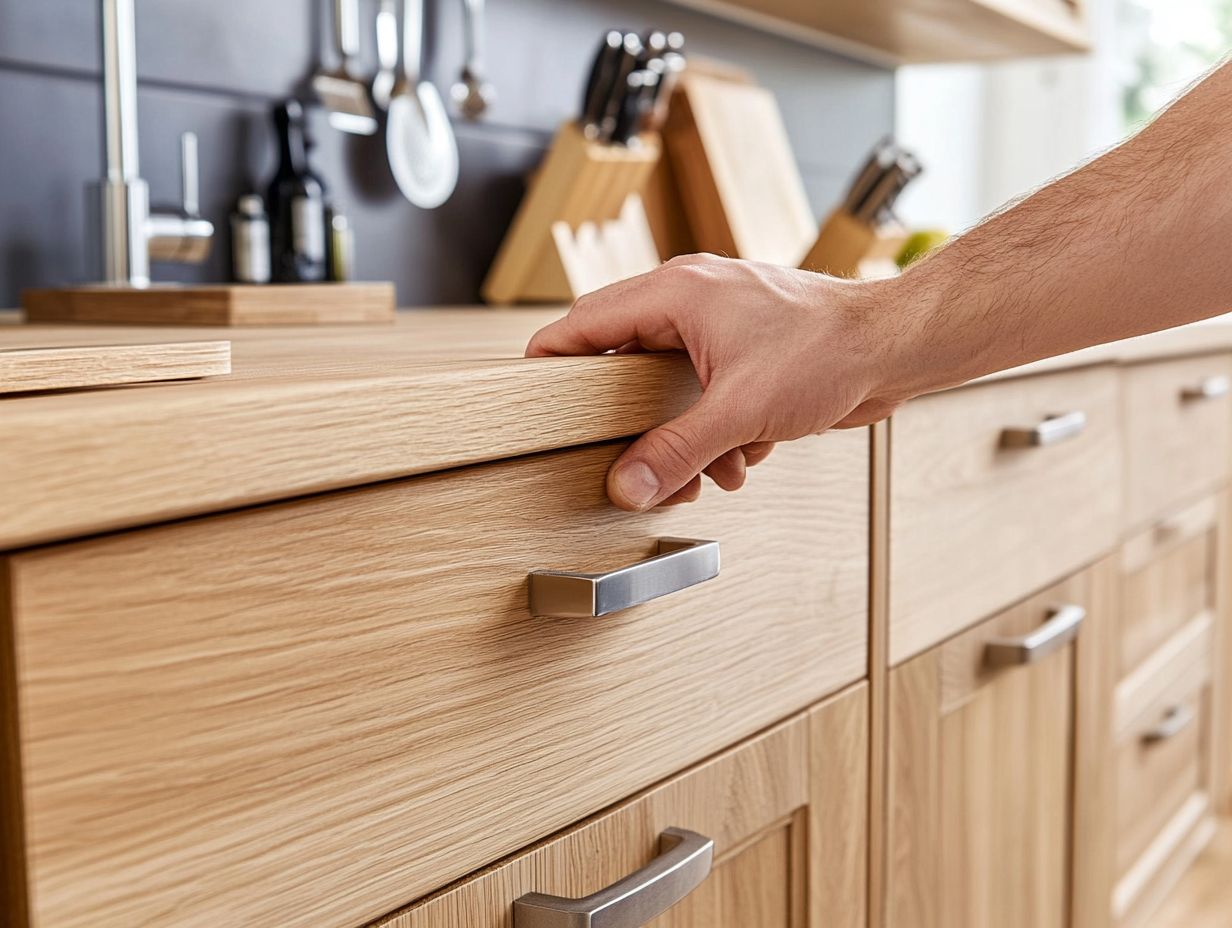
Incorporating insightful tips into your cabinet hardware installation can elevate your DIY results. Whether you’re new to this or a seasoned installer, knowing common pitfalls to avoid will save you time and effort.
Focus on precise measurements and selecting the right hardware finishes; these elements are key to achieving a professional appearance. Adding finishing touches helps ensure your hardware looks stunning and performs well over time, enhancing usability and aesthetics.
Common Mistakes to Avoid
Avoiding common mistakes during cabinet hardware installation is essential for achieving a seamless finish.
One frequent error is misaligning drill holes, leading to uneven placement of knobs and pulls—definitely not the look you want.
Another pitfall is neglecting accurate measurements, resulting in inconsistent spacing that detracts from the overall appearance. Being aware of these issues and following expert tips will ensure a smooth installation process and an impressive outcome.
Using the wrong tools can complicate installation further. Relying on a standard screwdriver instead of a power drill can lead to stripped screws or damage to your cabinet material—definitely not ideal. Having the correct tools on hand is essential.
Also, consider the thickness of your cabinet doors, as this affects the length of screws you’ll need. Paying attention to these details and double-checking your work will enhance the visual appeal of your cabinets and ensure the durability of your hardware.
Get started today and transform your cabinets into a stunning feature of your home!
Finishing Touches and Maintenance
The finishing touches on your cabinet hardware can transform the appearance and functionality of your cabinetry. After securing your knobs and pulls, use adhesive to cover any unused holes for a clean look.
Detailing enhances aesthetic appeal. It also strengthens the sturdiness of your installations. Opting for high-quality adhesive helps prevent unsightly gaps and achieves a seamless finish. When you choose hardware that complements your decor, you elevate the entire space.
Regularly inspecting and cleaning your hardware keeps it looking fantastic and working well! Simple upkeep practices can significantly extend the lifespan of your cabinet hardware, ultimately preserving their functionality and beauty for years to come.
Frequently Asked Questions
Can I install DIY kitchen hardware without prior experience?
Yes, installing DIY kitchen hardware can be done by anyone with a basic understanding of tools and by following instructions. It’s a simple and direct process that doesn’t require special skills.
What tools do I need to install DIY kitchen hardware?
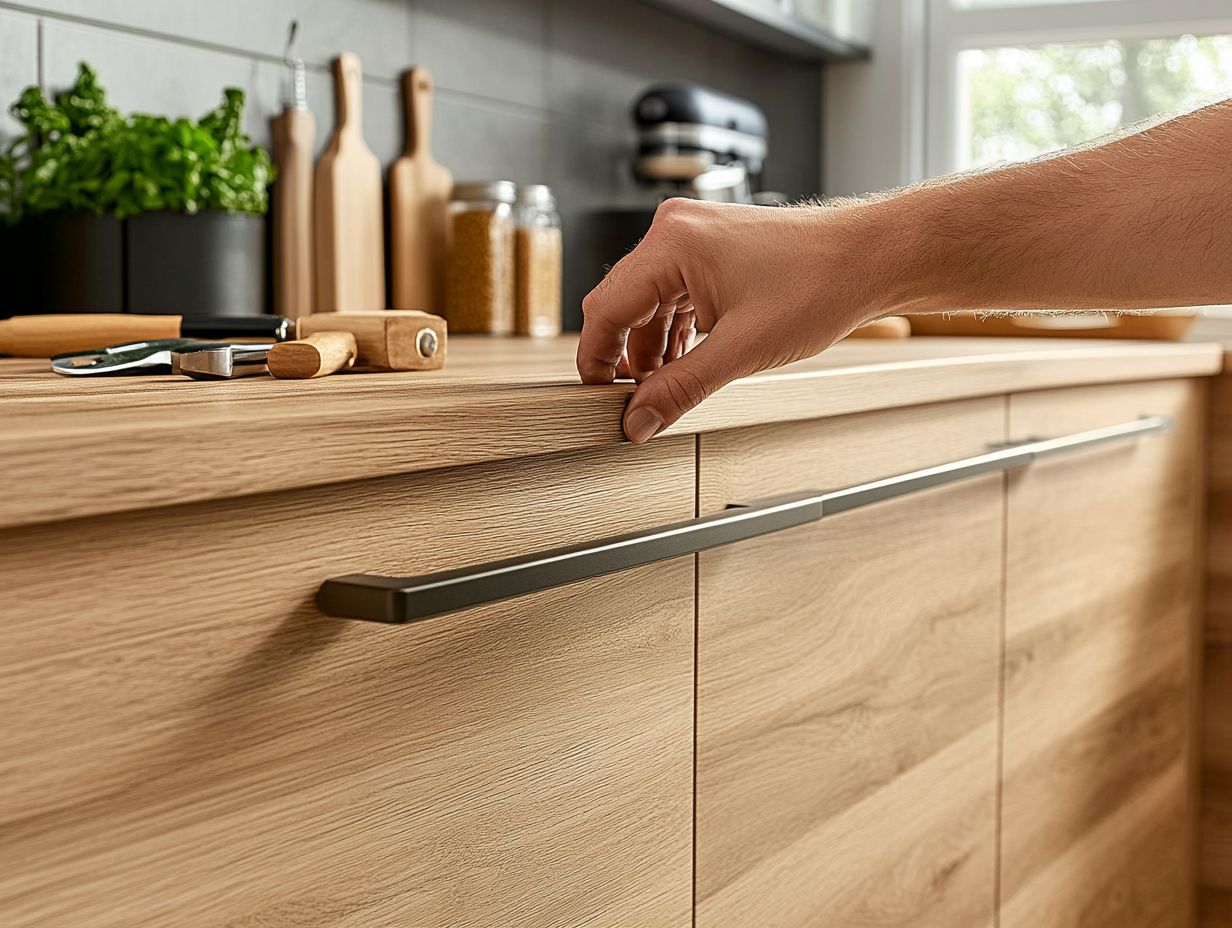
You’ll need a drill, measuring tape, screwdriver, level, and pencil. Depending on the type of hardware, you might also need a template, hammer, and pliers. Make sure to have all necessary tools at hand before starting the installation process.
Do I need to remove old hardware before installing new ones?
It’s recommended to remove old hardware before installing the new ones. This ensures a clean and smooth installation process. Additionally, it gives you the opportunity to clean and prepare the surface before installing the new hardware.
How do I know where to place the hardware on my cabinets?
Before starting the installation, measure and mark the exact location of the hardware on your cabinets. Using a template can ensure precision and consistency. Also, consider the functionality and accessibility of the hardware when determining its location.
Can I install DIY kitchen hardware on all types of cabinets?
DIY kitchen hardware can be installed on most types of cabinets, including wood, metal, and plastic. However, make sure to choose the appropriate hardware for your specific type of cabinet. Also, consider the weight and size of the hardware before installation.
What should I do if I encounter any problems during the installation process?
If you find any issues during the installation, such as worn screws or misalignment, don’t panic. Step back, assess the situation, and make the necessary adjustments. It can also be helpful to consult online tutorials or ask a friend or professional for assistance.
