How to Build a DIY Kitchen Table
Building a DIY kitchen table is not just an exciting project; it’s a fantastic way to save money while crafting a piece that perfectly complements your space and style. Get ready to transform your kitchen today with a personalized table!
Whether you’re a seasoned pro or a newcomer to the world of DIY, this guide will equip you with the essential tools and materials you’ll need, along with a detailed step-by-step process to turn your vision into reality.
You’ll also find valuable tips to avoid common pitfalls and inspiring alternative design ideas that spark your creativity.
Contents
Key Takeaways:
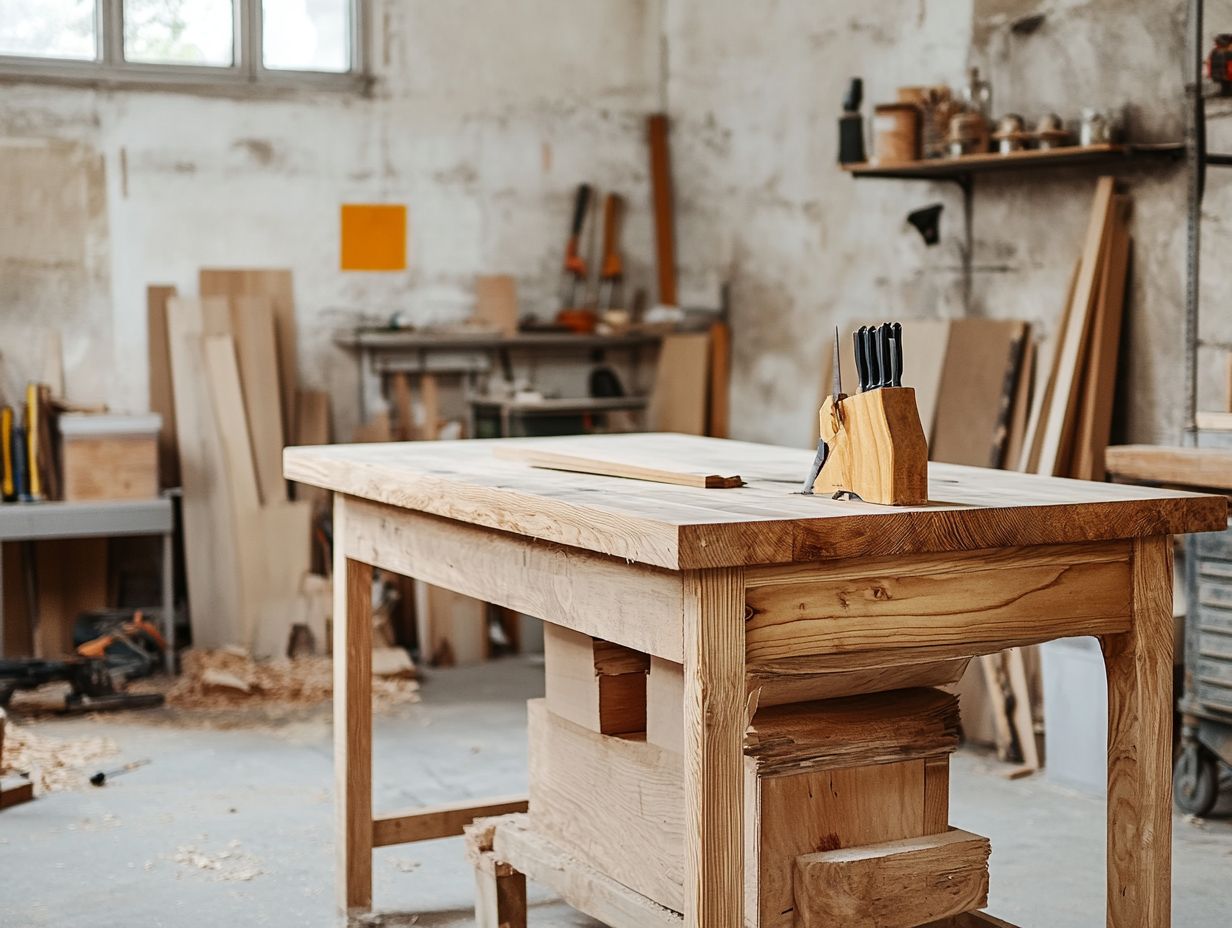
Save money and customize your kitchen table by building it yourself.
Essential tools and recommended materials are needed for a durable DIY kitchen table.
Prepare, plan, and follow a step-by-step guide for successful construction.
Avoid common mistakes and consider alternative design ideas.
Benefits of Building a DIY Kitchen Table
Creating a DIY kitchen table offers numerous advantages that extend far beyond basic functionality. You can achieve significant cost savings while enjoying the freedom to tailor the design to suit your specific space and style preferences.
Whether your goal is to elevate your dining room or craft a distinctive centerpiece for a cozy nook, this DIY endeavor can transform ordinary lumber into stunning furniture that genuinely reflects your taste.
Cost Savings and Customization
One of the primary benefits of choosing a DIY kitchen table is the remarkable cost savings achieved by utilizing local lumber and thoughtful planning. By sourcing materials locally, you can significantly cut down on expenses, avoiding the hefty markups that often come with retail furniture stores.
This approach sparks your creativity and ensures that the final product is truly one-of-a-kind, delivering both aesthetic appeal and functionality in a budget-friendly way.
Tools and Materials Needed
To successfully craft your own DIY kitchen table, you’ll require an array of essential tools and materials to bring your vision to life effectively.
From circular saws that ensure precision cuts to wood glue that creates robust joints, having the right equipment is crucial for achieving a high-quality finished product.
Essential Tools for the Project
Essential tools for your DIY kitchen table project include:
- A circular saw, perfect for making precise cuts.
- Tools that hold pieces of wood together while they are glued.
- Wood screws to ensure a sturdy construction.
A miter saw is a crucial tool for achieving perfect angled cuts, ensuring your joints fit together seamlessly. Sandpaper is also important, allowing you to smooth the surface for a better appearance and texture.
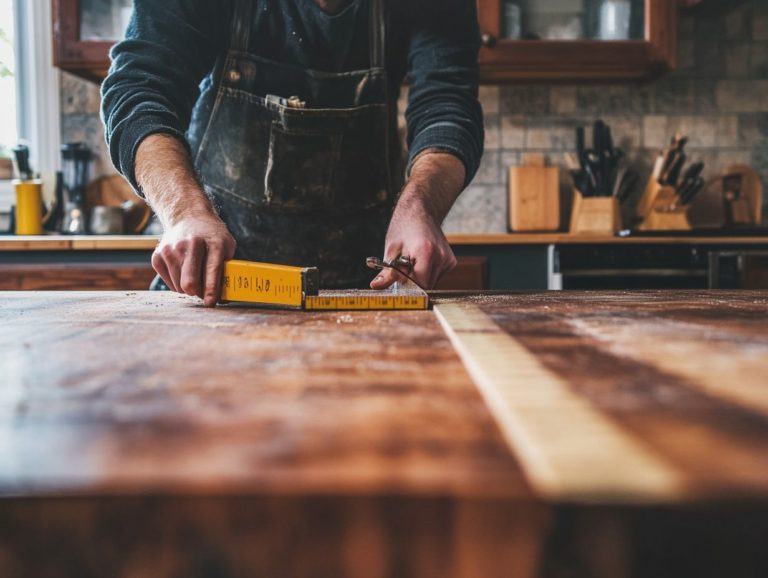
Don’t forget a level—this handy tool ensures your table stands evenly, preventing any pesky wobbling. A measuring tape is essential for getting those dimensions just right, enabling meticulous planning and layout for your table.
Together, these tools streamline the assembly process and play a significant role in the durability and aesthetic appeal of your final product.
Don’t wait! Start building your dream kitchen table now!
Recommended Materials for Durability
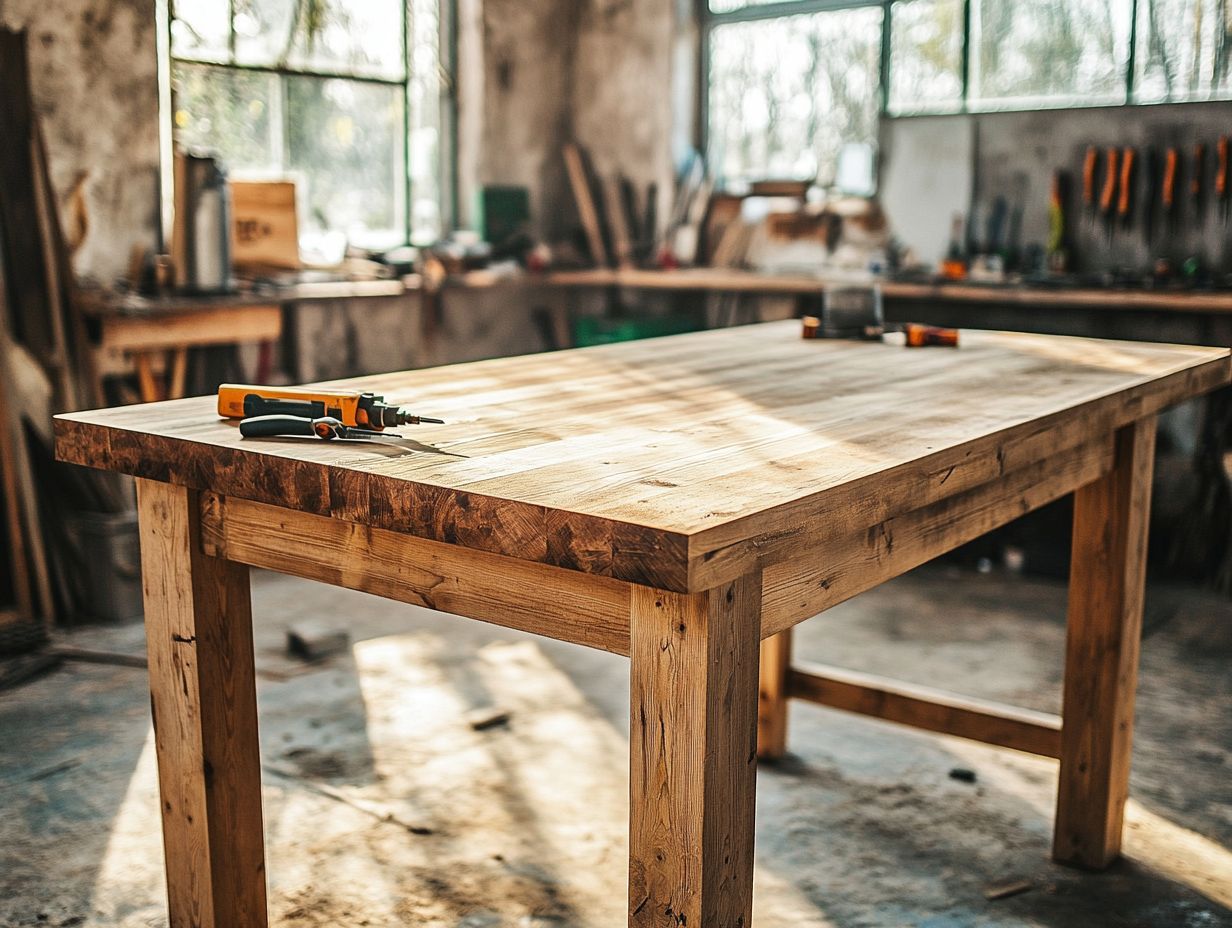
Choosing the right materials is crucial for ensuring the durability of your DIY kitchen table. Pine boards are often recommended for their affordability and strength.
If you’re looking for something even more resilient, consider hardwoods like oak or maple. These woods are great for high-traffic surfaces. Oak has a distinctive grain pattern that adds elegance and stands up to wear and tear.
Maple is known for its fine grain and resistance to scratches, making it an ideal choice for a busy kitchen. To enhance these woods, apply a good protective layer like polyurethane or tung oil. This will shield the surface from moisture and stains while showcasing the beauty of the grain.
Selecting the right wood finish is important—not just for looks but also for keeping the table functional over time.
Step-by-Step Guide to Building a DIY Kitchen Table
Creating a DIY kitchen table is a rewarding adventure! Following a step-by-step guide ensures you don’t miss any important details.
From choosing the right wood to precise table design, each step is vital to your project’s success.
By using expert woodworking tips, you can navigate assembly with confidence, resulting in stunning craftsmanship.
Preparation and Planning
Get excited about your DIY kitchen table by starting with great preparation and planning! This lays the foundation for success by ensuring you have all the materials and a clear idea of your table’s dimensions.
This not only minimizes mistakes but also sharpens your focus on the details that elevate your project.
Creating detailed DIY plans will establish a roadmap for the entire process, guiding you from choosing the right tools to assembling the pieces.
Accurate measurements are crucial to avoid issues like mismatched sizes, ensuring your final product is both beautiful and functional.
By focusing on meticulous planning and precise measuring, you can enjoy a smoother workflow and achieve results that surpass your expectations.
Constructing the Tabletop
Constructing the tabletop is a key step in your DIY kitchen table project. It requires careful assembly of pine boards with wood glue and screws to create a sturdy and attractive surface.
Begin by selecting high-quality materials; they not only enhance the look but also ensure durability.
Measure and cut the boards to size, making sure their edges align perfectly. Apply wood glue along the edges to form a strong bond, and pre-drill for screws to prevent splitting.
Using clamps will help minimize gaps and maintain a smooth surface. Remember, balance and proportion are essential in your design for a functional and appealing table.
Assembling the Legs and Base
When assembling the legs and base of your DIY kitchen table, precision is key to ensuring stability. Using table brackets according to your design plan makes the process smoother.
During assembly, pre-drilling holes for screws is essential to avoid splitting the wood, which could weaken the table.
Using a level will help you align the legs evenly, ensuring a sturdy base that can withstand daily use. For added strength, reinforce joints with wood glue as well as screws.
Incorporating cross supports can greatly enhance stability, turning your kitchen table into a beautiful and reliable piece of furniture.
Now that you have all these tips, it’s time to create your dream kitchen table!
Finishing Touches and Sealing
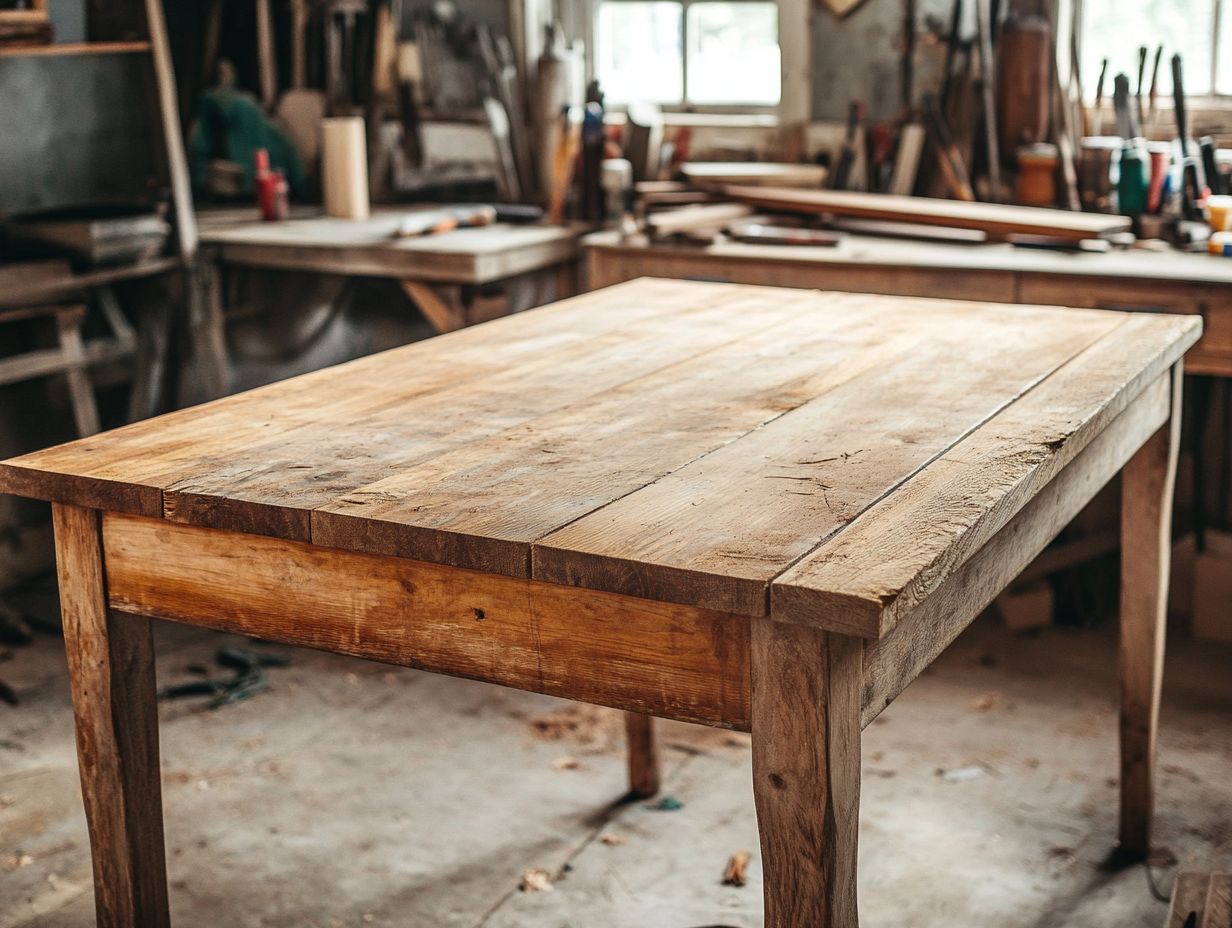
Applying the finishing touches and sealing your DIY kitchen table is the final step that protects the wood and enhances its natural beauty. By selecting the right wood finish and exploring various stain options, you can elevate your project.
Different finishes provide unique looks. Polyurethane, oil, and varnish all have different benefits. For example, polyurethane creates a strong surface that withstands scratches and heat, making it perfect for high-traffic areas. Oil finishes penetrate the wood, giving a natural appearance that highlights the grain.
Sealants are vital for protecting wood from moisture damage. They ensure your table remains functional and visually appealing for years. Understanding these finishing techniques helps you make informed choices that align with your style and practical needs.
Tips and Tricks for a Successful Project
To ensure your DIY kitchen table project is successful, a few valuable tips can make all the difference.
From choosing the right lumber to avoiding common pitfalls, these insights guide you toward creating a beautifully crafted piece that you’ll be proud to showcase.
Common Mistakes to Avoid
Avoiding common mistakes is essential for a successful DIY kitchen table project. Being aware of pitfalls, such as inaccurate measurements and inadequate wood treatment, will save you time and frustration.
Many enthusiasts overlook the importance of choosing the right type of wood, often grappling with materials that don’t match their vision. By planning ahead and researching the best wood varieties, you’ll improve the durability and finish of your table.
Another oversight is neglecting the need for proper tools. Having the right equipment boosts efficiency and ensures precision throughout the building process.
Always prioritize safety by wearing protective gear. This fosters a secure and productive environment, allowing you to enjoy creating your kitchen masterpiece.
Alternative Design Ideas
Exploring alternative design ideas for your DIY kitchen table can ignite creativity. Whether you prefer a rustic farmhouse table or a modern creation, the options are limitless.
Consider finishes in reclaimed wood that radiate warmth or minimalist designs featuring metal and glass that suit contemporary aesthetics.
Traditional choices often include elegant details like turned legs and intricate carvings, while contemporary styles embrace clean lines and open spaces.
Mixing materials can yield striking designs; for example, pairing a wooden top with steel legs adds intriguing contrasts.
Whether you desire weathered charm or polished allure, each design decision can profoundly shape the ambiance of your kitchen.
Frequently Asked Questions
- Can I build a DIY kitchen table without any prior woodworking experience?
- Yes, building a DIY kitchen table can be a fun and rewarding project even without prior woodworking experience. With the right tools and materials, and by following step-by-step instructions, anyone can successfully build a kitchen table.
- What materials will I need to build a DIY kitchen table?
- The materials needed depend on the design and size of the table. Generally, you’ll need wood for the tabletop, legs, and frame, along with screws, wood glue, sandpaper, and a finish of your choice. Tools such as a saw, drill, and measuring tape are also essential.
- What are some important things to consider when designing a DIY kitchen table?
- When designing a DIY kitchen table, consider the size and shape of your kitchen, how many people you want to accommodate, and your personal style. Also, think about the type of wood and finish that will best match your kitchen and lifestyle.
Ready to start your project? Gather your materials and let’s build your dream kitchen table!
What are some tips for building a sturdy DIY kitchen table?
Use quality materials and proper construction techniques. Use strong joints, like those made with pegs or dowels, and reinforce the table legs with extra supports.
Sanding and finishing the table helps make it last longer. This step is crucial for improving durability.
How long does it take to build a DIY kitchen table?
The time to build a DIY kitchen table varies by skill level and design complexity. It can take anywhere from a few hours to a few days, including drying time for the finish.
What are some ways to personalize my DIY kitchen table?
Get creative! Explore different wood types, finishes, and shapes to make your table truly yours.
Don’t wait! Start adding your unique touches today, like built-in storage, a patterned design, or a custom-made bench to go with your table.
