5 DIY Techniques for Installing Tiles
Imagine the transformation your living space could undergo with a breathtaking tile installation. Whether you’re rejuvenating a bathroom, sprucing up a kitchen, or enhancing an outdoor area, installing tiles is not just a task; it’s a rewarding experience. Ready to transform your space? Let’s dive in!
In this article, you’ll explore five essential techniques, including gathering the right tools, preparing surfaces, and mastering the art of cutting, laying, grouting, and sealing tiles.
You will uncover the many benefits of taking the DIY route, learn how to sidestep common pitfalls, and discover innovative ways to weave tiles into your home design.
Dive in and elevate your home improvement skills!
Contents
- Key Takeaways:
- 1. Gather Tools and Materials
- 2. Prepare the Surface
- 3. Measure and Plan the Layout
- 4. Cut and Lay the Tiles
- 5. Grout and Seal the Tiles
- Benefits of Installing Tiles Yourself
- Types of Tiles You Can Install Using DIY Techniques
- Tools and Materials Needed for Tile Installation
- What Surfaces Are Suitable for Tile Installation?
- What Are Some Tips for Measuring and Planning the Layout?
- How Can One Cut and Lay Tiles Properly?
- What Is the Process for Grouting and Sealing Tiles?
- What Are Some Common Mistakes to Avoid When Installing Tiles?
- How Can One Maintain and Care for Newly Installed Tiles?
- What Are Some Creative Ways to Use Tiles in Home Design?
- What Are the Cost Savings of Installing Tiles Yourself?
- Frequently Asked Questions
Key Takeaways:
Gather your tools and materials before starting your DIY tile project. This will make everything run smoothly. Proper surface preparation is key to a successful tile installation. Accuracy is crucial when measuring and planning the layout of your tiles. Take your time and double-check your measurements to avoid costly mistakes.
1. Gather Tools and Materials
When you embark on a tile installation project, gathering the right tools and materials is essential for a successful and efficient process, especially if you’re taking the DIY route for your home renovation.
Key items such as a tile cutter, grout float, and thinset mortar are crucial for achieving that professional look. Don’t forget about tile spacers—they’re your best friends in maintaining even gaps between tiles for optimal grout application.
Understanding the various adhesive types will enable you to select the best option for your specific tile, whether it’s porcelain, ceramic, or natural stone.
Along with these basics, consider investing in higher-quality tools from reputable brands like Kobalt Tools. The difference in performance and durability can be quite noticeable. A quality tile cutter not only produces cleaner cuts but also saves you time, minimizing frustration during the installation.
Keeping your workspace organized is paramount. A large table for cutting tiles, along with designated bins for grout, spacers, and other supplies, will streamline your workflow and help you maintain focus.
It’s also wise to prepare your surface thoroughly; ensuring it’s clean and level is a foundational step that significantly influences the outcome of your project.
2. Prepare the Surface
Proper surface preparation is an essential step in your tile installation journey. It guarantees that your tiles adhere correctly and maintain their durability over time, regardless of whether you’re working with porcelain, ceramic, or natural stone.
This involves meticulous subfloor preparation, which may include cleaning, leveling floors, and selecting the appropriate adhesive types tailored to the specific tiles you’re using. The process kicks off with a thorough assessment of the existing subfloor, which could range from plywood to concrete—each type requiring a distinct approach.
For instance, concrete may call for moisture testing and crack repairs, while wooden subfloors often need reinforcement and the application of a cement backer board for added stability.
Employing the right tools, such as self-leveling compound, a trowel for adhesive application, and a flooring level, can significantly elevate the overall finish of your project. Using a high-quality primer before applying any adhesive is a wise choice to ensure both longevity and effectiveness in your tile installation.
3. Measure and Plan the Layout
Measuring and planning the layout for your tile installation is a crucial phase that can profoundly influence the overall aesthetic and functionality of your project. This step is essential for achieving a visually pleasing appearance while maintaining harmonious tile patterns.
By consulting design magazines for inspiration and taking precise measurements, you can avoid common mistakes and ensure a flawlessly executed layout. Accurate measurements determine the quantity of tiles you’ll need and help you avoid awkward cut tiles that can detract from your design’s elegance.
Different tile patterns, like herringbone or chevron, come with unique requirements that can significantly steer your layout decisions. Utilizing tools such as laser levels and measuring tapes simplifies the process, ensuring everything aligns perfectly.
As you browse through tiles in home decor magazines, you’ll discover creative ideas that spark your imagination, providing a visual framework that reinforces your vision and guides your planning efforts. This approach transforms the entire installation experience into something not just successful, but genuinely enjoyable.
4. Cut and Lay the Tiles
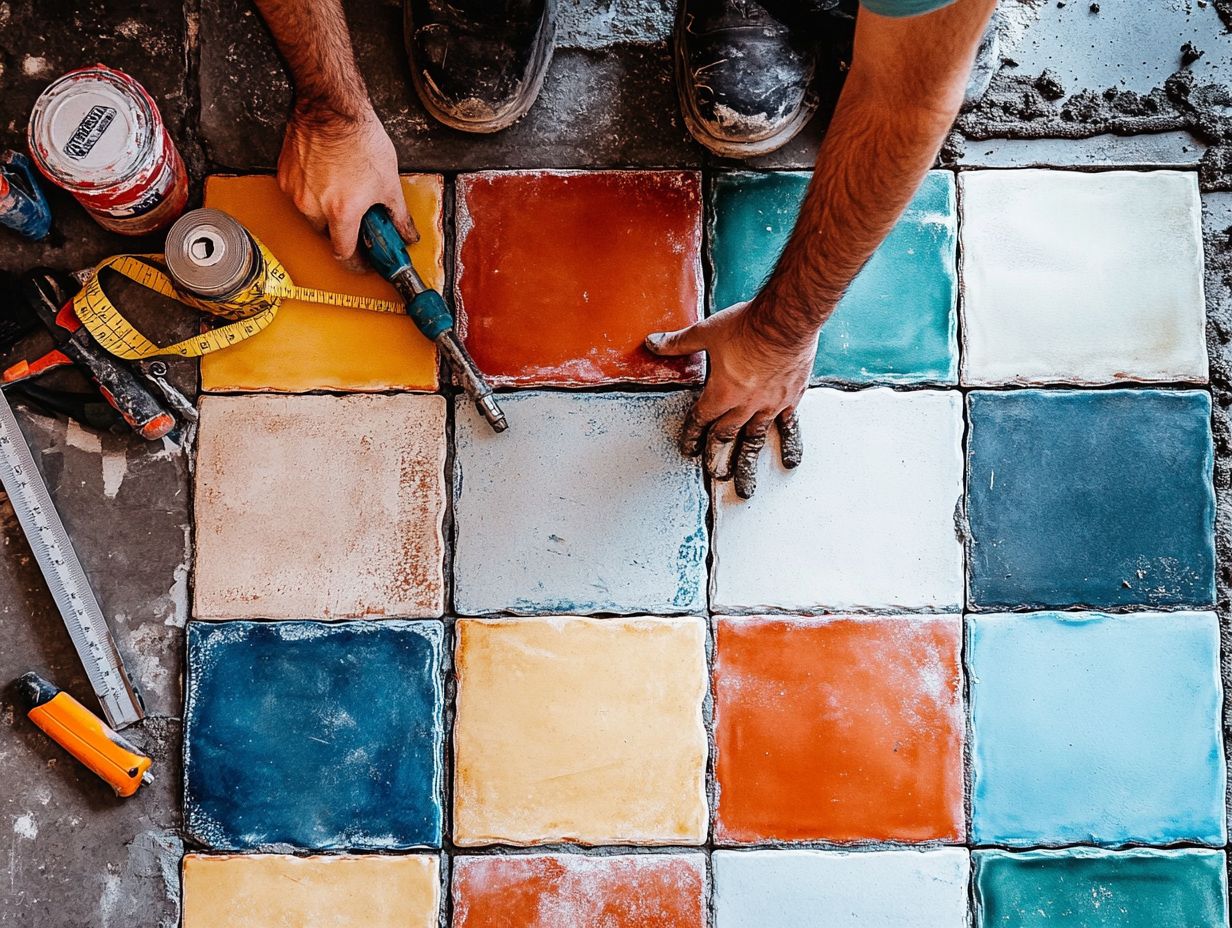
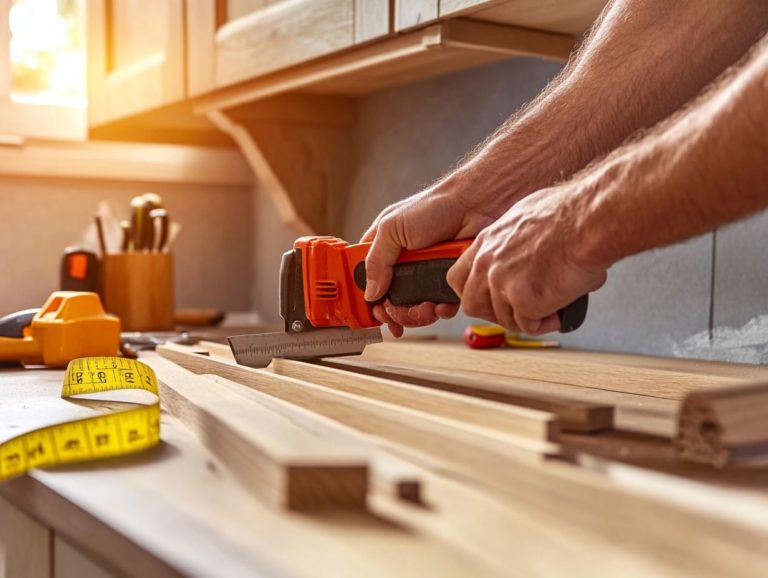
Cutting and laying tiles is a hands-on part of the tile installation process that allows you to unleash your creativity while maintaining precision. This is especially important in a DIY project, where every cut needs to blend perfectly into the overall design.
Using a reliable tile cutter and strategically placing tile spacers during installation ensures consistent grout lines, resulting in a professional and visually stunning finish.
To get started, make sure your workspace is clean and all tiles are dry before cutting.
- When using a tile cutter, take the time to measure each tile carefully and mark it clearly for accurate alignment. Your goal should be to achieve straight, clean edges.
- If you’re working with thicker tiles, a score-and-snap cutter is a great option. A wet saw may be your best bet for making intricate cuts; a score-and-snap cutter is a tool that scores the surface of the tile and then snaps it along the scored line.
Using tile spacers effectively prevents the tiles from shifting and contributes to even grout lines, enhancing the overall look.
Consider the tile layout in advance. This foresight can significantly influence the aesthetic outcome, resulting in a polished finish that embodies your vision.
5. Grout and Seal the Tiles
Grouting and sealing tiles is an exciting step that protects your hard work! It ensures that the joints are filled correctly, offering vital protection against moisture and stains, especially when working with ceramic tiles or other porous materials.
Using a grout float to apply grout evenly elevates the aesthetic of your tiles and simplifies future maintenance. Sealing the grout is essential as it helps prevent discoloration and damage.
To get started, choose the right type of grout for your specific tiles. This choice significantly impacts both durability and appearance. Once your grout is prepared, grab that float and spread it across the tile joints, pressing firmly to fill any gaps.
After about 15-30 minutes, tidy up by cleaning off the excess grout with a damp sponge.
After allowing the grout to cure for the recommended time—typically around 24 hours—apply a high-quality sealant. This provides an additional layer of protection.
Don’t wait! Regular maintenance keeps your tiles looking fresh and vibrant. Cleaning with a gentle pH-neutral cleaner and reapplying sealant every year or so will keep your grout looking fresh and intact for years to come.
Benefits of Installing Tiles Yourself
Installing tiles yourself offers many benefits, especially in home renovation. It allows you to personalize your space while saving money on labor costs.
A DIY tile project lets you control design choices and develop valuable skills for future renovations.
Saving on labor allows you to invest in higher-quality materials or exciting home improvements. You’ll feel proud as you see your space transform.
Completing these projects can be very satisfying. The knowledge you gain helps you maintain your tiles and keep them looking great for years.
Many homeowners find that this new expertise sparks more creativity, encouraging them to tackle other DIY projects.
Types of Tiles You Can Install Using DIY Techniques
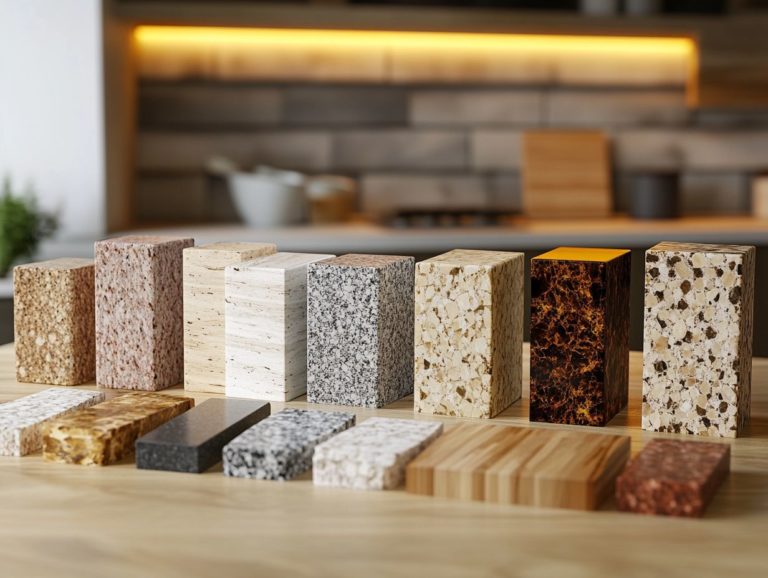
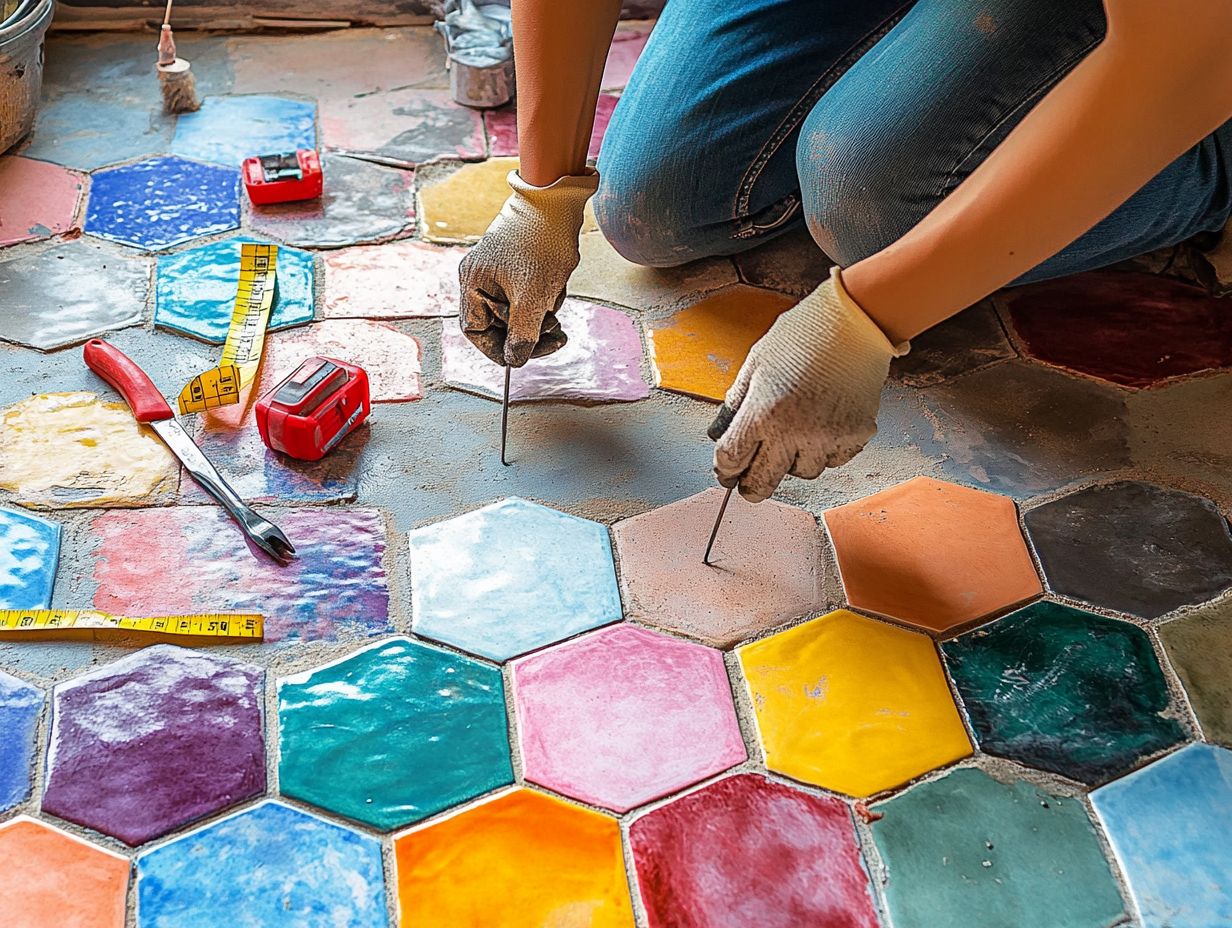
Many types of tiles can be easily installed using DIY techniques, including popular choices like porcelain, ceramic, natural stone, and artistic encaustic tiles.
Each option has unique aesthetic and practical benefits, helping you make informed decisions that align with your design vision.
For example, porcelain tiles are strong and water-resistant, making them ideal for busy areas and moist spaces. Ceramic tiles, on the other hand, provide a dazzling variety of colors and patterns for your creative projects.
Natural stone tiles add elegance but may need sealing due to their porous nature. Artistic encaustic tiles can serve as vibrant statement pieces, calling for careful installation to showcase their intricate designs.
By exploring these options, you can blend beauty with functionality, creating spaces that are both stunning and tailored to your lifestyle.
Tools and Materials Needed for Tile Installation
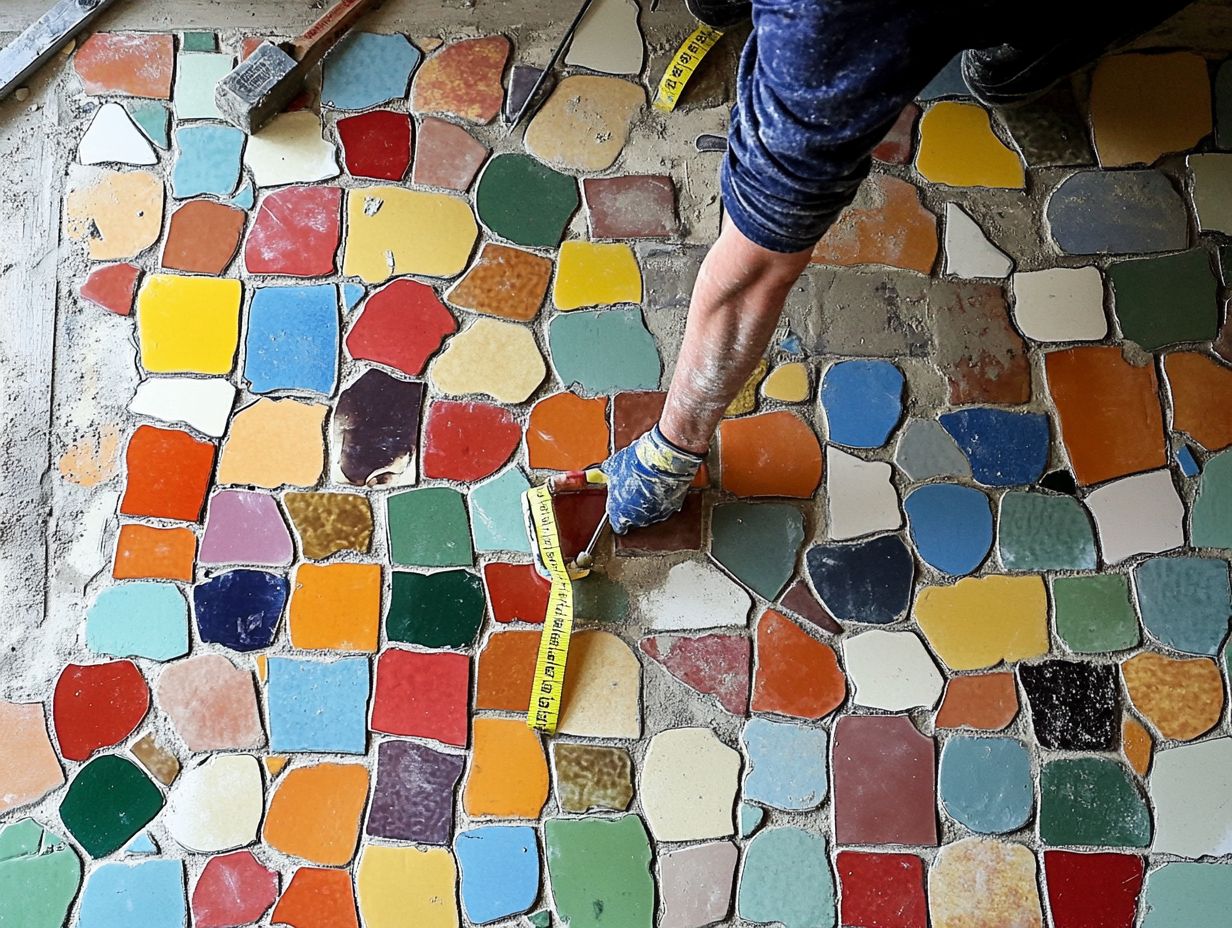
To start your tile installation project, you’ll need essential tools and materials for efficiency and quality.
Tools like a tile cutter, grout float (a tool used to spread grout between tiles), and tile spacers will help you achieve a professional finish. Knowing the types of adhesives available helps you pick the right one for your tiles.
Don’t overlook important items like a notched trowel for even adhesive application and a level to ensure each tile is laid flat. A rubber mallet will also help tap tiles into place without damaging them.
When sourcing tools, visit local hardware stores or reputable online retailers for quality options. Look for warranties or customer reviews to guide your choices, as the reliability of each tool affects your installation experience. Quality is key for a seamless and lasting result.
What Surfaces Are Suitable for Tile Installation?
When considering tile installation, it’s vital to assess the surface. Proper preparation and the right adhesive lead to success.
Suitable surfaces include concrete, cement backer board, and certain types of plywood, provided they are properly leveled and prepared. This foundational step greatly impacts the durability and performance of the tiles.
Before laying down your tiles, address any imperfections or damage. Ensure that concrete is free of cracks and moisture. Cement backer board should be securely fastened to prevent flexing. Plywood must be at least 1.25 inches thick and reinforced to support the load.
Avoid common mistakes, like skipping drying or leveling the substrate. Ensuring a clean, even surface enhances adhesion and extends tile life.
What Are Some Tips for Measuring and Planning the Layout?
Measuring and planning are key to a stunning tile installation. They shape the look and fit of your project.
Utilizing the right measurement tools and techniques ensures that each tile is placed with precision. This significantly reduces the risk of costly mistakes. Planning your tile patterns and visualizing the final design leads to a polished appearance.
For a seamless experience, take multiple measurements throughout the space. This practice reveals inconsistencies and helps with optimal tile positioning.
Creating a detailed layout template assists in visualizing how different tile patterns influence the installation process. Patterns like herringbone or diagonal can introduce visual intrigue but may require precise cuts.
How Can One Cut and Lay Tiles Properly?
Cutting and laying tiles accurately is essential for a flawless finish. Knowing how to use a tile cutter will improve your results.
Prioritize safety by wearing goggles and gloves to protect against flying debris.
Start by measuring your space and marking tiles for cuts with a pencil. Follow the manufacturer’s guidelines when using a tile cutter and apply consistent pressure for smooth cuts.
Challenges like uneven surfaces can be addressed by using a level and tile spacers. Take the time to dry fit your tiles to avoid misalignment during installation.
What Is the Process for Grouting and Sealing Tiles?
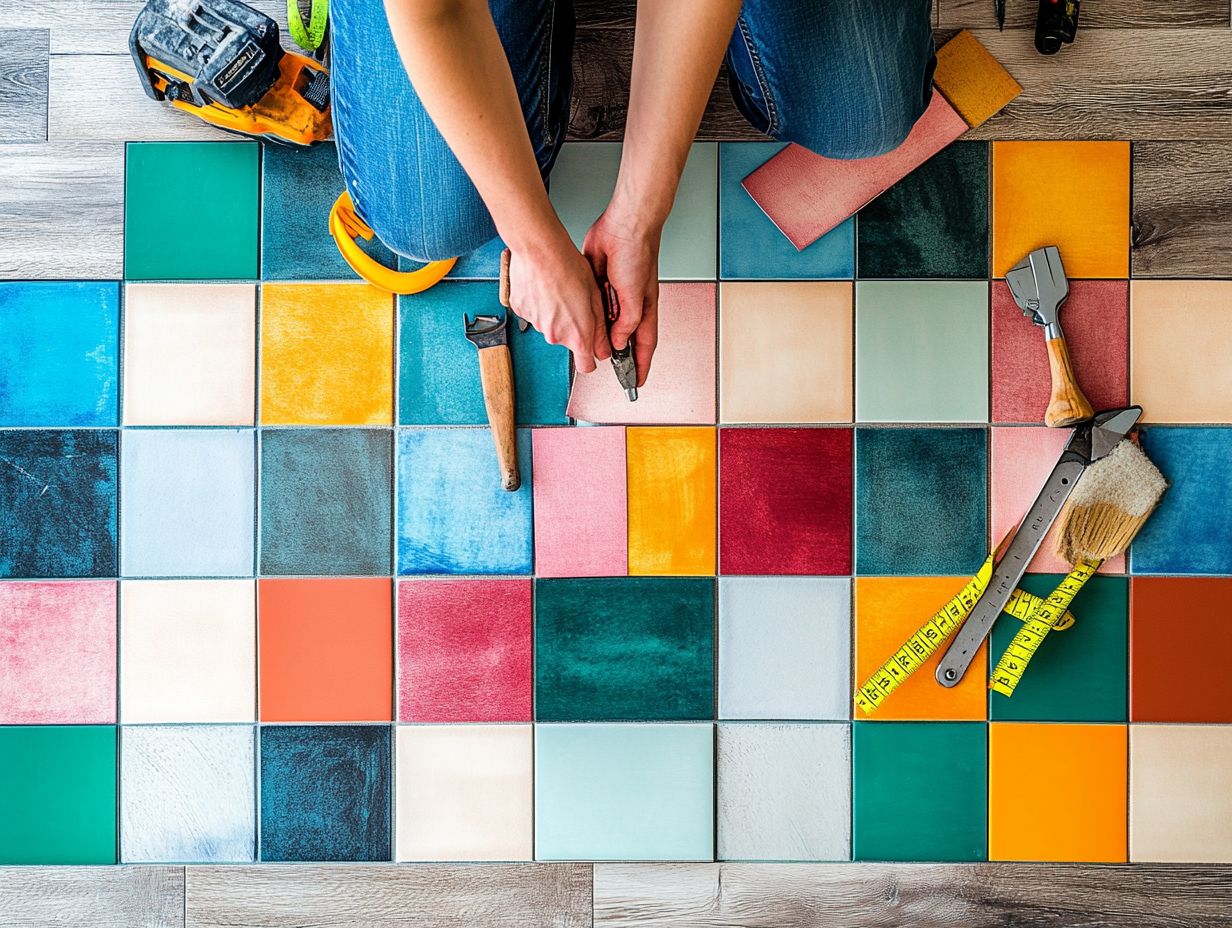
Grouting and sealing tiles is a crucial final step in your installation. This process ensures durability and cleanliness.
By filling the joints and protecting them from moisture and dirt, you enhance both the visual appeal and lifespan of your tiles.
Here are essential maintenance tips for long-term success:
- Start by mixing the grout according to the manufacturer’s instructions until you achieve a smooth, uniform consistency.
- Once mixed, grab your grout float and spread the grout evenly into the joints. Make sure they’re fully filled, without any air pockets.
After allowing the grout to set for the specified time, gently wipe away any excess with a damp sponge for a crisp, clean finish.
Sealing the grout afterward is crucial. It acts as a protective barrier against stains and moisture infiltration.
Make cleaning a habit with a pH-neutral cleaner. Apply a fresh layer of sealant every year or two.
Prioritize this routine to keep your tiles looking fresh and to prevent cracks or discoloration.
Wiping up spills promptly will help enhance the longevity and beauty of your tiled surfaces.
What Are Some Common Mistakes to Avoid When Installing Tiles?
Avoiding common mistakes during tile installation is essential for achieving a professional finish and ensuring longevity.
Errors like improper leveling, insufficient surface preparation, or incorrect grout application can lead to costly repairs later on.
By being mindful of these pitfalls and applying best practices, you can significantly elevate your DIY tile project.
Take the time to meticulously plan your project. This will streamline the process and prevent oversights.
For example, ensuring the surface is clean, dry, and stable before laying tiles makes a remarkable difference.
Using the right tools and materials, such as high-quality adhesive and grout, contributes to a stronger, more resilient installation.
Measuring and marking your layout accurately helps you avoid misalignment, which can be both unsightly and challenging to fix.
With careful execution and attention to detail, achieving a flawless result is not just a possibility; it’s likely!
How Can One Maintain and Care for Newly Installed Tiles?
Proper maintenance and care for your newly installed tiles are essential to preserving their beauty and functionality over time.
This includes effective cleaning techniques and grout sealing to prevent discoloration and damage.
By implementing these tips right after installation, you can ensure your tiles remain stunning for years to come.
Regular cleaning is crucial since dirt and grime can dull the surface.
Use a gentle cleaning solution for that initial wipe-down. Opt for a soft cloth or mop to protect the finish while ensuring a thorough clean.
Don’t overlook grout sealing. This practice enhances stain resistance and fortifies the grout against moisture penetration, preventing mold and mildew growth.
Schedule annual inspections for both your tiles and grout. This will help you spot early signs of wear and significantly extend the life of your entire flooring system.
What Are Some Creative Ways to Use Tiles in Home Design?
Tiles are more than just functional elements in home design; they can be your canvas for creative expression, enhancing both aesthetics and functionality. This versatility makes them an excellent choice for any renovation project.
From unique tile patterns to artistic applications inspired by the latest design trends, the possibilities for incorporating tiles into your home are virtually limitless.
Imagine transforming a lackluster corner into a vibrant focal point with an accent wall crafted from colorful mosaic tiles that perfectly reflect your personality. Picture your kitchen featuring a stylish backsplash that not only protects your walls but also serves as a canvas for your cooking creativity, with patterns that echo the rich textures of your favorite dishes.
Whether you choose glass, ceramic, or natural stone, each type of tile brings its own unique style, allowing you to elevate any space. Get ready to transform your space and explore how these stunning pieces can redefine the ambiance of your living environment.
What Are the Cost Savings of Installing Tiles Yourself?
Installing tiles yourself can lead to significant cost savings, especially during home renovation projects where labor expenses can rapidly inflate your budget.
By choosing a DIY tile approach, you have the opportunity to invest in high-quality materials without the additional burden of professional installation fees. This enhances your financial flexibility while enabling you to take full ownership of your home’s design.
When you weigh the costs, hiring a professional can often double your initial material expenses, making DIY a remarkably more economical choice. This approach allows you to select unique tiles and patterns that truly reflect your personal style, turning your vision into reality without straining your finances.
Completing such a project brings a deep sense of satisfaction and pride in your living space. Plus, the skills you acquire during this process can prove invaluable for future renovations, fostering a cycle of value-driven home improvement that elevates both aesthetic appeal and potentially boosts your property’s value.
Frequently Asked Questions
- What are the 5 DIY techniques for installing tiles?
The 5 DIY techniques for installing tiles are: measuring and planning, preparing the surface, cutting and laying tiles, grouting, and sealing. - Do I need special tools to install tiles using these techniques?
Yes, you will need some basic tools such as a measuring tape, level, tile cutter, trowel, grout float, and sponge. - Can I install tiles on any surface using these techniques?
These techniques are best suited for installing tiles on smooth, level surfaces such as concrete, plywood, or backer board. - What type of tiles can I use with these techniques?
These techniques can be used for installing various types of tiles, including ceramic, porcelain, and natural stone tiles. - Will I be able to achieve a professional-looking result using these techniques?
With careful planning and attention to detail, you can achieve a professional-looking result using these DIY techniques for installing tiles. - Are these techniques suitable for beginners?
While some basic DIY skills are required, these techniques are designed to be user-friendly and can be used by beginners with proper instructions and guidance.
Ready to get started on your tile project? Let’s go!

