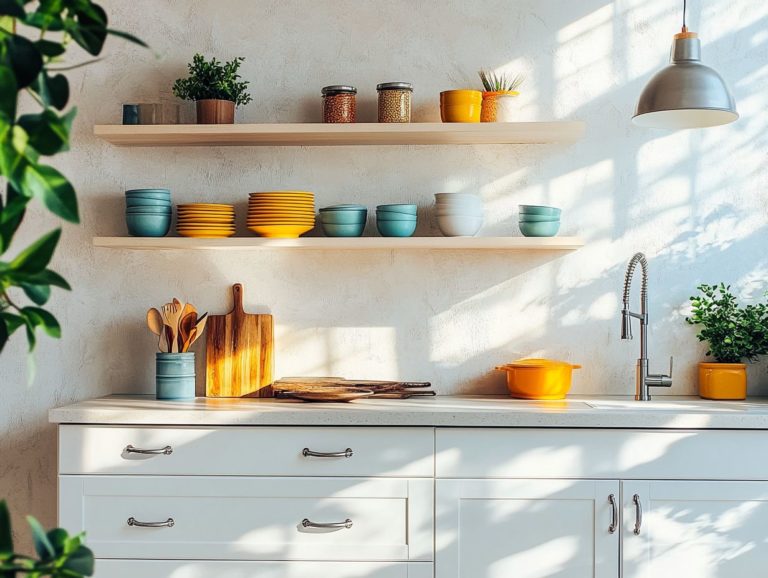
5 Creative DIY Backsplash Ideas for Your Kitchen
Considering a kitchen refresh without diving into a full renovation? A DIY backsplash might just be your ideal solution.
This article delves into five innovative ideas that can completely transform your space, from the sleek allure of peel-and-stick tiles to the warm, rustic charm of reclaimed wood.
You’ll find details on essential materials and tools, customization tips, and maintenance advice to ensure your new backsplash remains stunning for years to come. Whether you’re a seasoned DIY enthusiast or just starting out, these ideas are sure to inspire you to effortlessly elevate your kitchen’s style.
Contents
- Key Takeaways:
- 1. Peel-and-Stick Tile Backsplash
- 2. Chalkboard Paint Backsplash
- 3. Reclaimed Wood Backsplash
- 4. Transform Your Kitchen with Elegant Tin Tiles
- 5. Unleash Your Creativity with Mosaic Tiles!
- What Materials Do You Need for a DIY Backsplash?
- Frequently Asked Questions
- 1. What are 5 creative DIY backsplash ideas for my kitchen?
- 2. How can I create a painted tile backsplash in my kitchen?
- 3. Can I use wooden pallets to create a backsplash in my kitchen?
- 4. What is chalkboard paint and how can I use it for my kitchen backsplash?
- 5. Are peel-and-stick tiles a good option for a DIY backsplash in my kitchen?
- 6. How can I create a mason jar mosaic backsplash?
Key Takeaways:
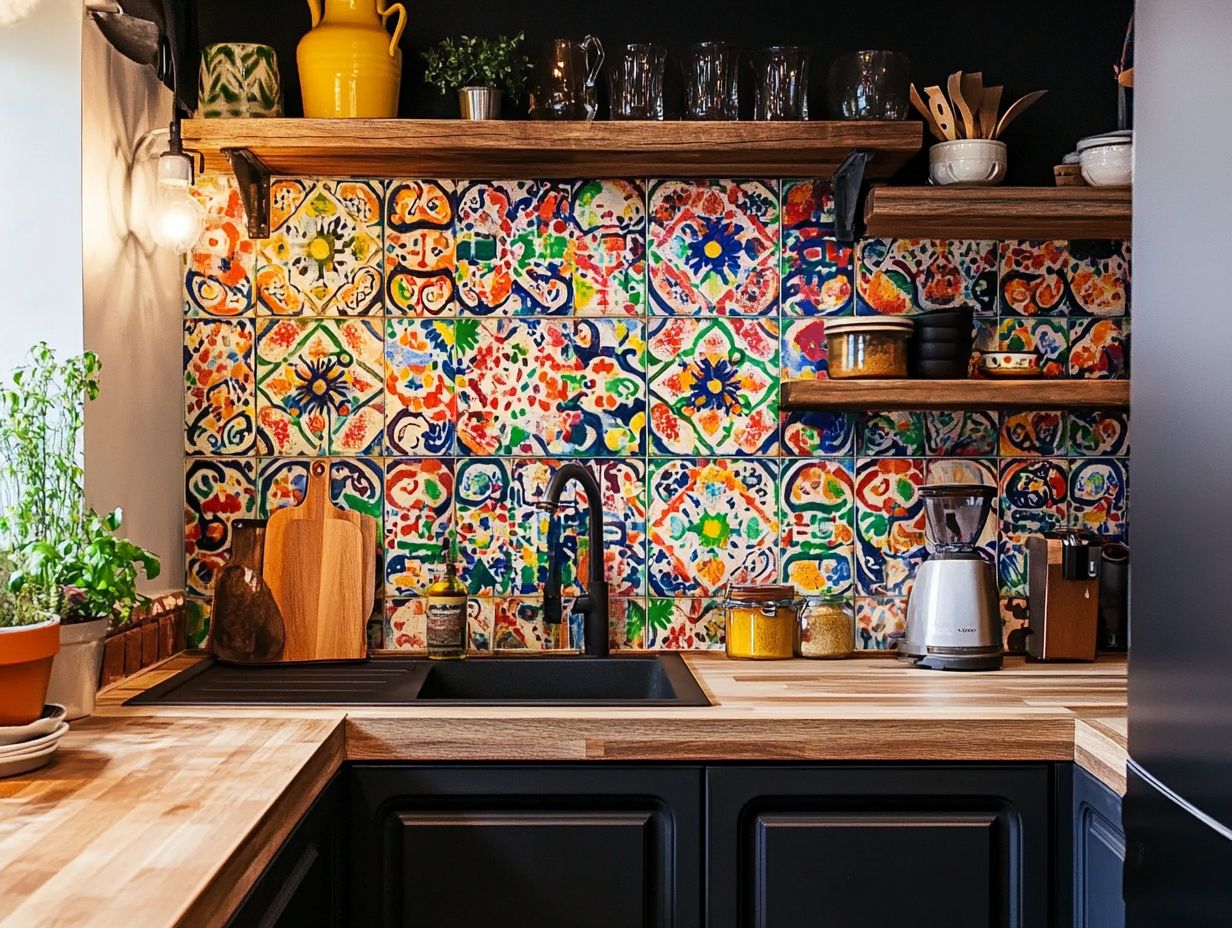
- Upgrade your kitchen with 5 creative DIY backsplash ideas.
- Explore options like peel-and-stick tiles, chalkboard paint, reclaimed wood, tin tiles, and mosaic tiles.
- Save money and add a personal touch by customizing these ideas to fit your style and space.
- Enjoy the benefits of a DIY backsplash, such as increased home value and a sense of accomplishment, with proper installation and maintenance tips.
1. Peel-and-Stick Tile Backsplash
A peel-and-stick tile backsplash is a fantastic choice if you’re looking to refresh your kitchen without the hefty price tag and labor of traditional tiling methods. This innovative option enables both DIY enthusiasts and renters to elevate their home decor effortlessly.
With a wide array of colors and patterns available, you can seamlessly integrate peel-and-stick tiles into your design vision. Enjoy easy installation and removability, making it perfect for any renovation project.
The variety of designs is impressive, from faux marble and stone to vibrant geometric patterns that cater to your unique tastes. Whether you prefer deep navy, soft pastels, or classic black-and-white hues, these tiles can enhance the overall ambiance of your kitchen.
For hassle-free installation, ensure that the surface is clean and smooth. This method is renter-friendly, as these tiles can be easily removed without damaging the walls. It’s an exciting way to personalize your space while staying within your lease agreements.
Ultimately, peel-and-stick tiles strike an ideal balance between style and practicality, transforming your kitchen into a chic and inviting area for family and friends.
2. Chalkboard Paint Backsplash
A chalkboard paint backsplash adds a distinctive flair to your kitchen decor. It offers a versatile canvas for your creativity while maintaining a sleek design.
This innovative approach allows you to transform a flat surface into an inviting writing board, perfect for jotting down grocery lists or planning menus.
The customization options are virtually limitless. Choose vibrant colors or unique shapes that enhance your style. Whether you’re doodling or showcasing your children’s artwork, the chalkboard area creates an engaging environment for everyone.
Plus, its removable nature means it adapts seamlessly to your evolving taste, allowing for a fresh start whenever you desire.
3. Reclaimed Wood Backsplash
A reclaimed wood backsplash adds warmth and character to your kitchen while embracing eco-friendly practices. It’s a stylish choice for creating a cozy, rustic look.
Opting for reclaimed materials minimizes your environmental footprint by repurposing wood that might otherwise go to waste. You can choose from various installation methods, whether you prefer a DIY project or hiring a professional.
Maintaining this stunning feature is easy—regular dusting and the occasional oiling will keep it fresh and inviting.
Ultimately, incorporating reclaimed wood transforms an ordinary kitchen into a welcoming haven that reflects your personal style and commitment to sustainability.
4. Transform Your Kitchen with Elegant Tin Tiles
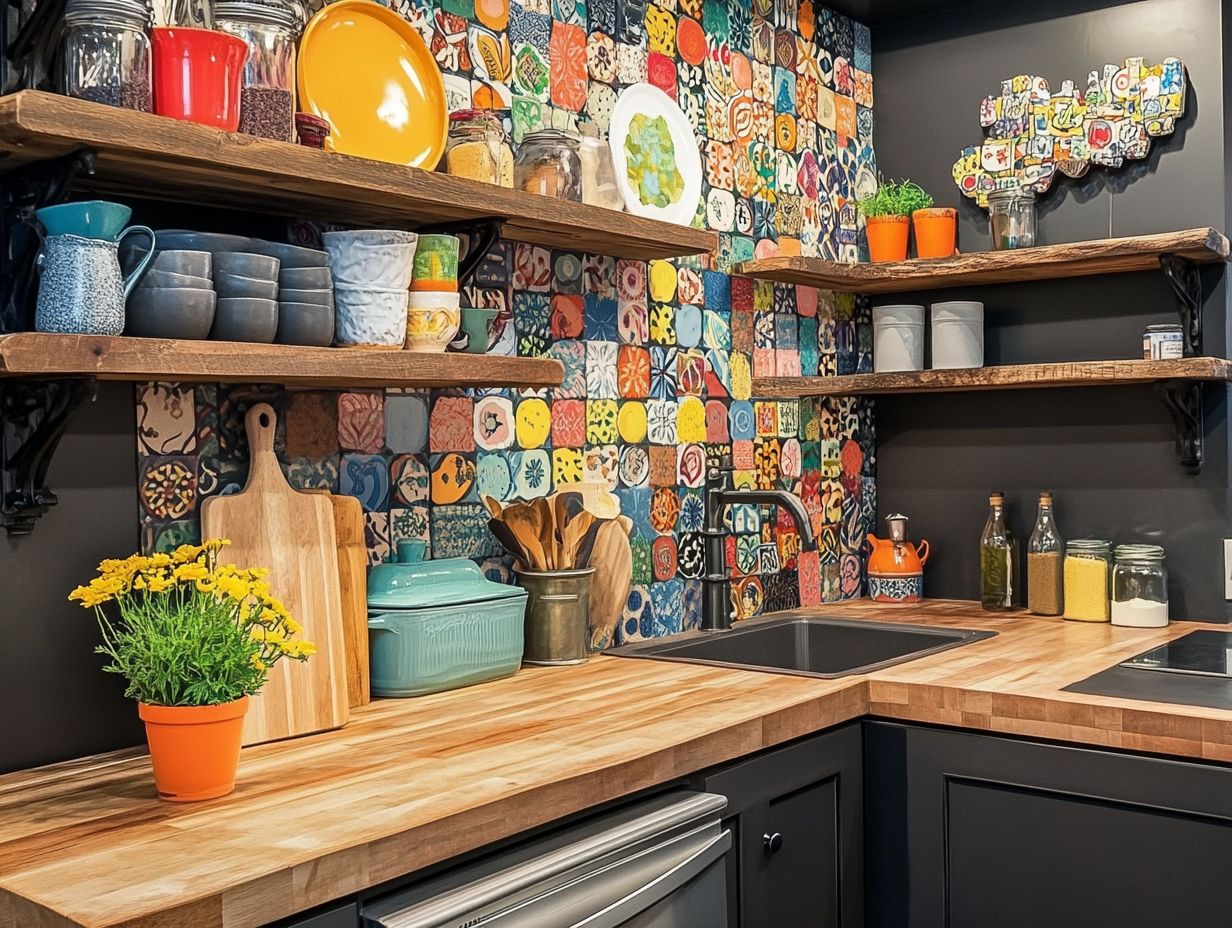
A tin tile backsplash adds chic style to your kitchen. It blends vintage charm with modern design for a stunning transformation!
The styles available are impressive, ranging from intricate floral patterns to sleek geometric designs. These options let you tailor your space to reflect your personal taste.
Finishes include brushed, hammered, or polished, each adding unique character. Achieve a distinct look easily!
Installation can be a satisfying DIY project or handled by professionals. Tiles attach directly to the wall with adhesive for a seamless, beautiful result.
Pairing these tiles with rustic wood cabinets, modern appliances, or vibrant accents dramatically elevates your kitchen’s visual appeal. This combination creates a warm yet sophisticated atmosphere that inspires culinary creativity.
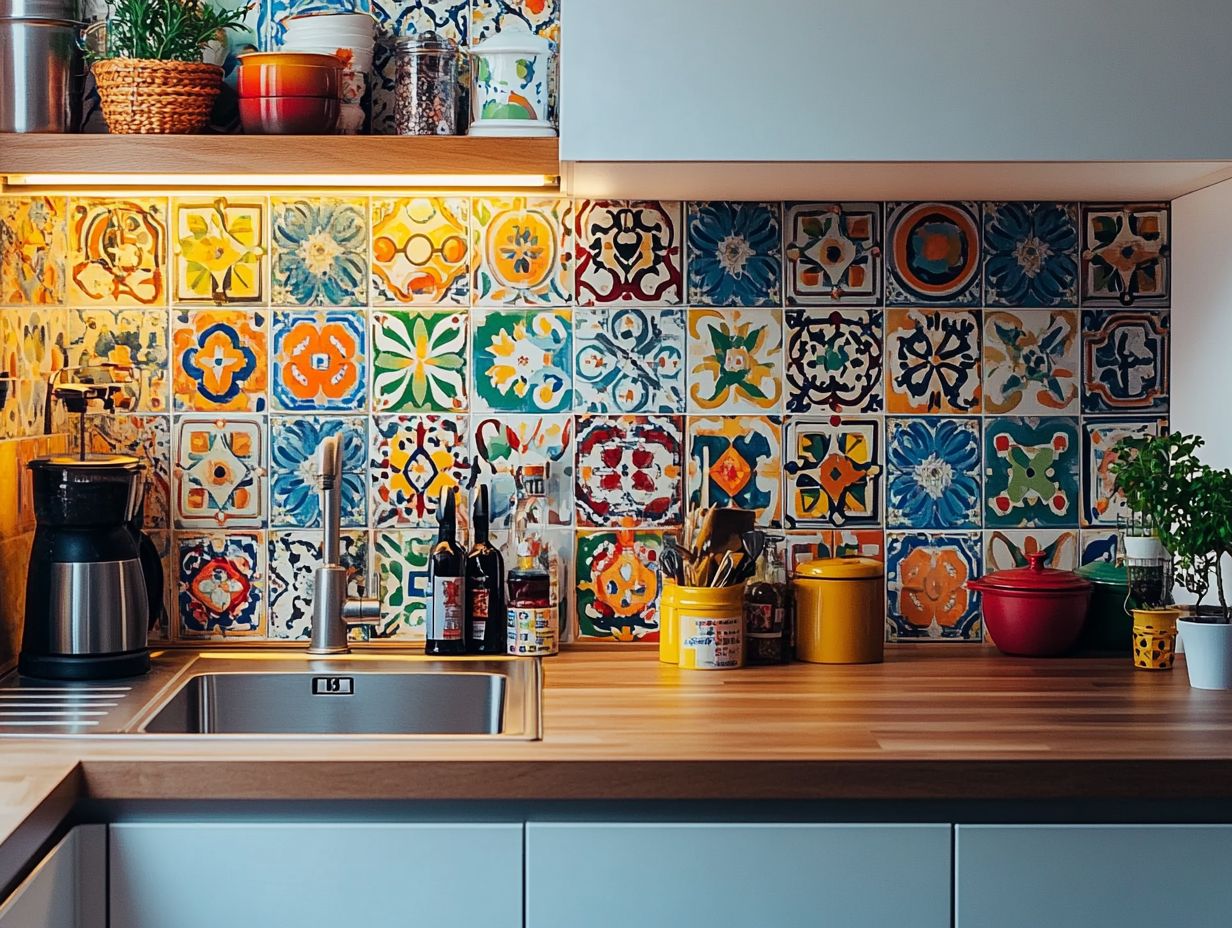
5. Unleash Your Creativity with Mosaic Tiles!
Mosaic tile backsplashes add artistic flair to your kitchen. They offer a stunning variety of colors and patterns tailored to your unique style and decor theme.
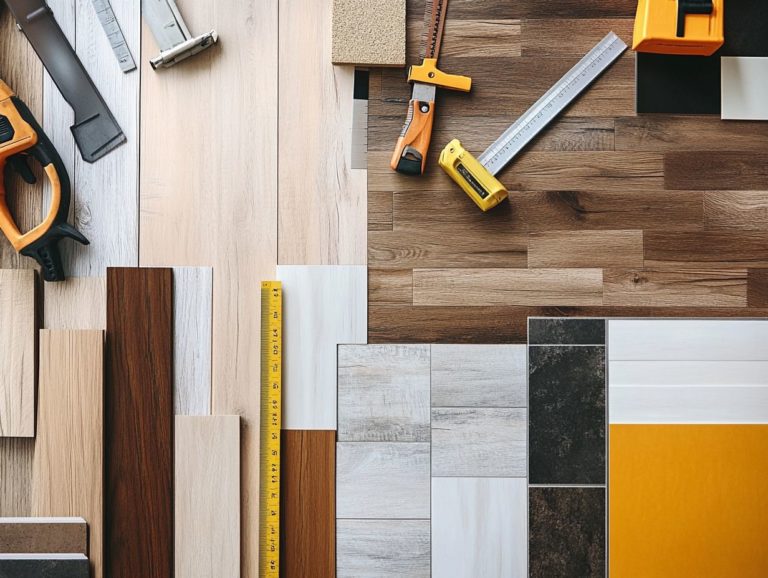
Choices range from vibrant glass tiles to textured ceramic options, allowing you to mix and match combinations that reflect your personal taste.
Strategically arranging these tiles lets you create captivating designs like herringbone or arabesque patterns that enhance your kitchen’s overall character.
Installation techniques vary from simple adhesive methods to more intricate grout applications. This ensures a secure fit that lasts. Regular maintenance, such as cleaning and resealing, preserves the beauty and longevity of these backsplashes.
Colors shape the kitchen’s ambience. They can make smaller spaces feel expansive or cozy!
What Materials Do You Need for a DIY Backsplash?
Starting a DIY backsplash project requires understanding the materials you’ll need for successful installation. This ensures your kitchen transformation is visually stunning, durable, and budget-friendly.
From peel-and-stick tiles for a quick solution to intricate choices like reclaimed wood or the versatile charm of chalkboard paint, each option adds unique flair to your space.
Pay attention to the adhesive’s strength when installing these materials. Selecting high-quality adhesives guarantees a long-lasting bond, especially in high-moisture areas like kitchens.
Maintenance varies significantly. Choosing a material that’s easy to clean saves you time and effort in the long run. The materials you select influence not only design but also durability and longevity, determining how well they withstand daily wear and tear.
What Tools Are Needed for These DIY Backsplash Ideas?
Creating a stunning DIY backsplash requires specific tools that simplify installation and help achieve professional results, whether you’re using peel-and-stick tiles or painting with chalkboard paint.
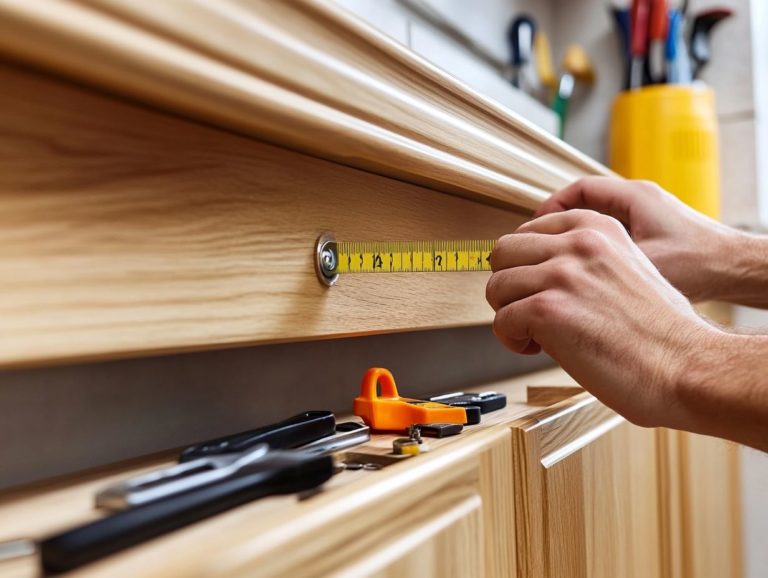
Effective execution needs the right cutting tools. A tile cutter or utility knife ensures clean edges. Precision matters! Measuring devices like a level and tape measure help align tiles perfectly.
Choosing the appropriate adhesive is crucial. A strong tile adhesive works wonders for ceramic options, while reliable glue is essential for peel-and-stick variants. This ensures your masterpiece endures!
Finally, thoroughly read the instructions and plan your layout. This transforms installation into a seamless process and enhances your overall DIY experience.
How Can You Customize These Backsplash Ideas to Fit Your Kitchen?
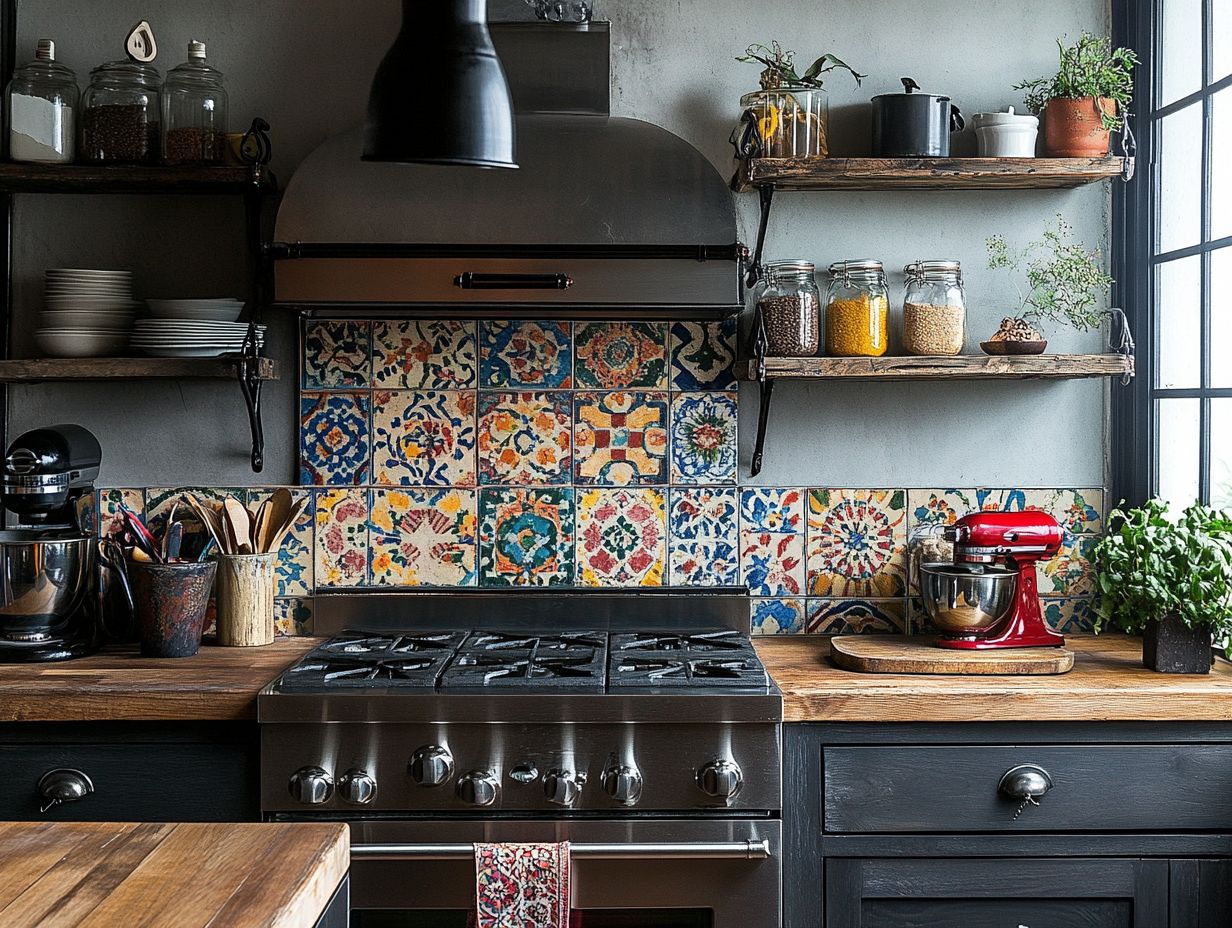
Customizing your backsplash ideas to align with your kitchen’s overall decor creates a seamless design that enhances visual appeal. Thoughtful choices in colors, patterns, and materials can resonate with your personal style.
For instance, using stencils can introduce intricate patterns that add character to your space. Selecting specific color palettes can shape the kitchen’s ambiance. Consider how your backsplash interacts with your countertops, cabinetry, and flooring to cultivate a harmonious aesthetic.
Combining textured tiles or mixing materials like glass and ceramic can elevate your design. Don’t hesitate to experiment with unconventional shapes or layouts to achieve a look that’s distinctly yours.
A well-customized backsplash transcends its role as a protective element, becoming a striking focal point in the culinary heart of your home.
What Are the Benefits of a DIY Backsplash?
A DIY backsplash offers a wealth of advantages, from an affordable home upgrade to a canvas for creativity. This project allows you to achieve modern and unique decor without extensive renovations.
It helps you save on costs typically associated with professional installation. You also have the freedom to showcase your style through a variety of materials, colors, and patterns. The installation process is straightforward, so even those without prior experience can transform their kitchen in just a weekend.
By choosing custom designs or repurposing materials, a DIY backsplash can significantly elevate your kitchen’s aesthetics, making it more inviting and functional—a true reflection of your personality and taste.
What Are Some Tips for Successfully Installing a DIY Backsplash?
Installing a DIY backsplash successfully is all about careful planning and execution. Use effective techniques to guarantee a clean finish and professional appearance, regardless of the materials you choose.
Start by measuring the area accurately to determine how much material you’ll need. This helps you avoid unnecessary waste and last-minute shopping trips.
During installation, align the tiles properly. Using spacers ensures even gaps and a uniform look throughout.
When selecting your adhesive method, consider the material at hand. Choosing the wrong adhesive can lead to a flawed installation or premature failure.
Be careful of common pitfalls, like skimping on surface preparation and inadequate drying time. Clean the surface thoroughly and closely follow the manufacturer’s instructions for the best outcome.
How Can You Maintain and Clean Your DIY Backsplash?
Maintaining and cleaning your DIY backsplash is vital for preserving its beauty and functionality. This ensures your kitchen remains stylish and hygienic. Different materials demand unique care strategies.
For example, peel-and-stick tiles respond well to a gentle soap solution and a soft cloth, but handle them with care to avoid peeling. Reclaimed wood backsplashes thrive on occasional oil treatments, helping maintain their rustic charm and protecting against moisture damage.
Regular dusting and using a damp cloth will safeguard these surfaces, preventing grime buildup. Avoid harsh chemicals, as they can compromise the materials, dull finishes, or cause discoloration over time.
Frequently Asked Questions
1. What are 5 creative DIY backsplash ideas for my kitchen?
The 5 creative DIY backsplash ideas for your kitchen are painted tiles, wooden pallets, chalkboard paint, peel-and-stick tiles, and mason jar mosaic.
2. How can I create a painted tile backsplash in my kitchen?
To create a painted tile backsplash, clean and sand your existing tiles before painting them with your desired design or pattern. Once dry, seal the tiles with a waterproof sealant to protect them from moisture and cooking stains.
Start your DIY backsplash project today and transform your kitchen!
3. Can I use wooden pallets to create a backsplash in my kitchen?
Yes! Wooden pallets can give your kitchen a unique and rustic look. Cut them to fit your space, sand and stain the wood, then attach them to the wall with adhesive or screws.
Get creative! Add hooks or shelves to make your backsplash even more functional and stylish.
4. What is chalkboard paint and how can I use it for my kitchen backsplash?
Chalkboard paint transforms any surface into a writable space. It’s perfect for a kitchen backsplash because you can jot down notes, recipes, or grocery lists directly on your wall.
To use it, apply several layers of the paint on a clean, smooth surface. Let it cure for a few days before writing on it.
5. Are peel-and-stick tiles a good option for a DIY backsplash in my kitchen?
Absolutely! Peel-and-stick tiles are easy to install and can be removed without damaging the wall. They come in various colors and patterns, so you can customize your backsplash just the way you like it!
6. How can I create a mason jar mosaic backsplash?
Creating a mason jar mosaic backsplash is fun and colorful! Gather various sized mason jars, clean them, then break them into small pieces.
Glue the pieces onto a backing board in your desired pattern. Once the glue dries, fill the gaps with a grout paste and seal it with a waterproof sealant. Start your project today and transform your kitchen into a vibrant masterpiece!
