3 Simple DIY Cabinet Refacing Techniques
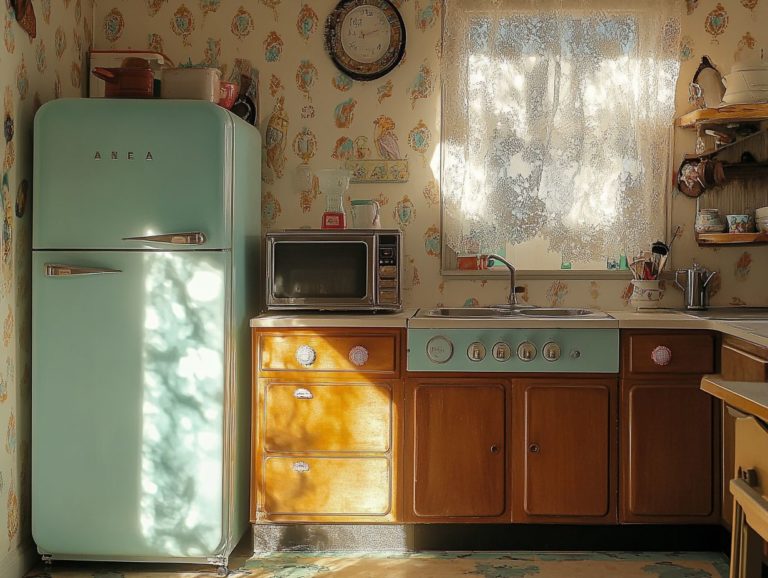
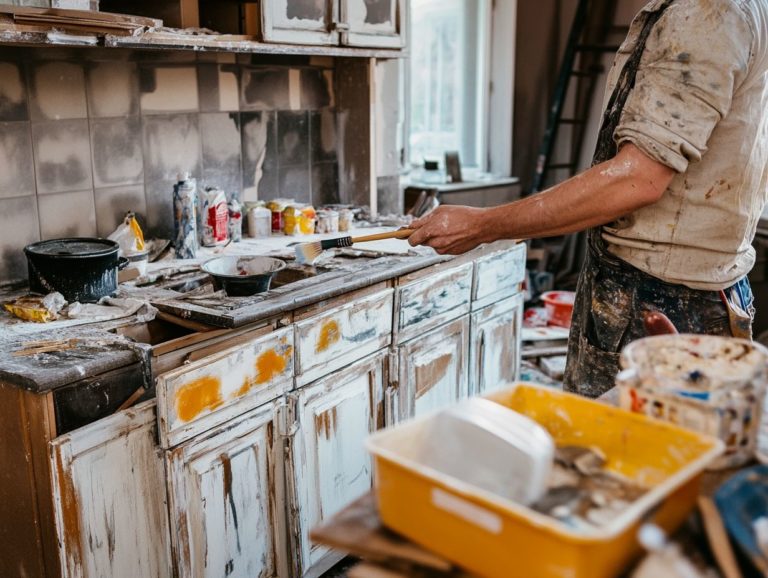
Are your kitchen cabinets beginning to show their age and lose their charm? Revamping them can be a straightforward endeavor that doesn’t break the bank.
Consider three elegant DIY cabinet refacing techniques:
- Painting
- Upgrading hardware
- Applying a veneer
You will learn when cabinet refacing is essential. You will also find useful maintenance tips, advantages of taking the DIY route, and receive detailed, step-by-step guides for each approach. Prepare to infuse new vitality into your kitchen!
Contents
- Key Takeaways:
- 1. Painting Cabinets
- 2. Adding New Hardware
- 3. Applying a Veneer
- What Is Cabinet Refacing and When Is It Necessary?
- What Are the Benefits of DIY Cabinet Refacing?
- What Tools and Materials Will You Need?
- Step-by-Step Guide to Painting Cabinets
- Step-by-Step Guide to Adding New Hardware
- Step-by-Step Guide to Applying a Veneer
- How Can You Maintain the Results of DIY Cabinet Refacing?
- What Are the Common Mistakes to Avoid When Refacing Cabinets?
- When Should You Consider Hiring a Professional for Cabinet Refacing?
- How Much Money Can You Save by DIY Cabinet Refacing?
- What Other DIY Projects Can You Do to Update Your Kitchen?
- Preguntas Frecuentes
- ¿Cuáles son los beneficios de estas 3 sencillas técnicas para reacondicionar gabinetes?
- ¿Qué herramientas necesitaré para estas técnicas?
- ¿Se pueden utilizar estas técnicas en todos los tipos de gabinetes?
- ¿Cuánto tiempo lleva completar estas técnicas?
- ¿Necesitaré quitar las puertas y el hardware de los gabinetes?
- ¿Pueden estas técnicas arreglar gabinetes dañados o desgastados?
Key Takeaways:
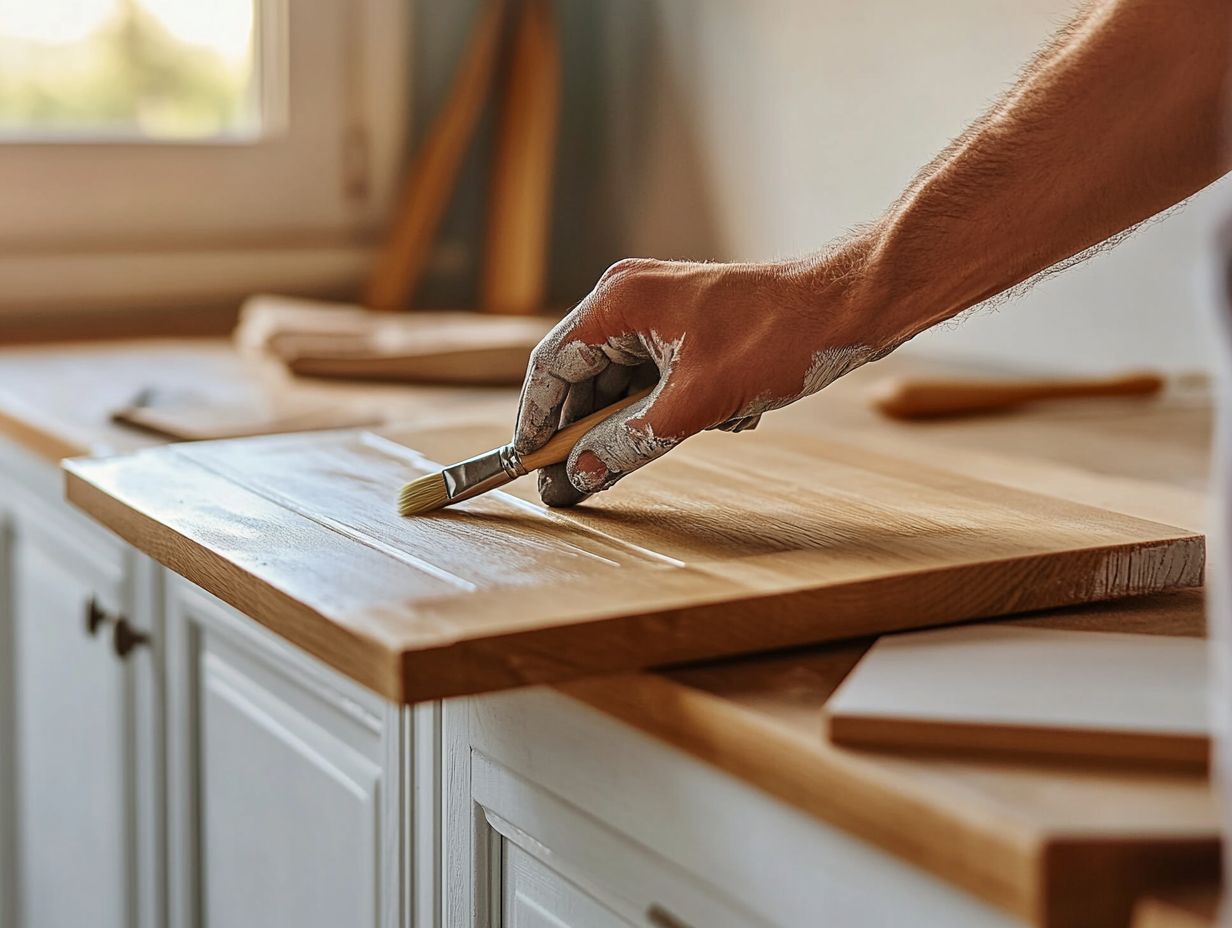
Revitalize old cabinets with a fresh coat of paint in a color of your choice. It’s an easy, cost-effective DIY technique that can instantly transform the look of your kitchen.
Upgrade the hardware on your cabinets for a modern and stylish touch. This simple DIY technique can make a big impact on the overall appearance of your kitchen.
Give your cabinets a new look by applying a veneer. It’s a budget-friendly alternative to completely replacing cabinets and can be easily done with the right tools and materials.
1. Painting Cabinets
Painting your cabinets is one of the most effective ways to give your kitchen a stunning makeover without breaking the bank. This budget-friendly upgrade can dramatically enhance your kitchen’s look, turning it into a beautiful space.
Not only does this process breathe new life into your existing cabinet boxes, but it also provides a custom look that aligns perfectly with your kitchen decor. This makes it a sought-after choice for homeowners seeking affordable updates.
A simple coat of paint can work wonders, transforming tired cabinetry into something fresh and inviting. Proper preparation is key for this process.
Start by thoroughly cleaning the surfaces with trisodium phosphate (TSP), a cleaning solution, to eliminate grease and grime. After that, use Liquid Sandpaper to create a rough surface that encourages paint adhesion.
In terms of paint options, the possibilities are endless. You can choose from classic whites and creams to bold shades like navy or emerald green, allowing you to unleash your creativity.
Finishes like satin or semi-gloss not only add a touch of elegance but also enhance durability and make cleaning a breeze. Brands like Sherwin-Williams provide reliable products that ensure beautiful results, making your transformation seamless.
Don’t forget to check out before-and-after pictures for inspiration—they’re a great reminder of just how significant your changes can be.
2. Adding New Hardware
Adding new hardware is a straightforward yet impactful way to elevate the look of your kitchen cabinets. This seemingly minor upgrade can dramatically shift the overall mood and style of your space, turning an old kitchen into a stylish area.
You will find cabinet pulls in various styles, with options like Frisco pulls rising in popularity for their sleek lines and contemporary vibe. When considering an upgrade, it’s essential to match the hardware to your existing decor.
For instance, a rustic kitchen might benefit from the warmth of antique brass pulls, while a modern design could shine with polished chrome. If you’re looking to keep costs in check, DIY installation of these fixtures is straightforward and incredibly satisfying.
With just a few basic tools, you can quickly achieve that polished look today at a fraction of the cost.
3. Applying a Veneer
Applying a veneer is a transformative method in the cabinet refacing process, where you cover your existing cabinet boxes with a stunning new surface. This method can really revitalize your kitchen without the hefty price tag of brand-new cabinets.
This innovative technique not only refreshes the look of your space but also enhances durability, making it an ideal solution for homeowners seeking budget-friendly options.
By choosing veneers, you can avoid the time-consuming and costly process of replacing entire drawers or cabinet frames. Options from brands like Nieu Cabinet Doors offer a variety of styles, including real wood and high-quality laminate, allowing you to add your personal touch.
When selecting materials from a home improvement retailer, make sure they provide a variety of veneers and prioritize those with a well-known reputation for quality.
By focusing on craftsmanship in your woodworking projects, you’ll achieve a more polished and professional finish, ultimately elevating the overall appeal of your kitchen.
What Is Cabinet Refacing and When Is It Necessary?
Cabinet refacing rejuvenates your kitchen by updating cabinet doors and drawer fronts while keeping the existing frames. It’s a budget-friendly solution for a fresh look.
By opting for this process, you can achieve a stunning transformation while maintaining the sturdy cabinet boxes. This results in an affordable update that enhances your kitchen’s decor.
This is great if your cabinets are strong but look old. Refacing gives them a new life with many stylish options that create a modern and inviting space.
Plus, the time it takes to reface is significantly less than a full replacement, minimizing disruption in your home.
Beyond cost and convenience, this method presents an environmentally conscious option by reducing waste through reusing existing materials.
What Are the Benefits of DIY Cabinet Refacing?
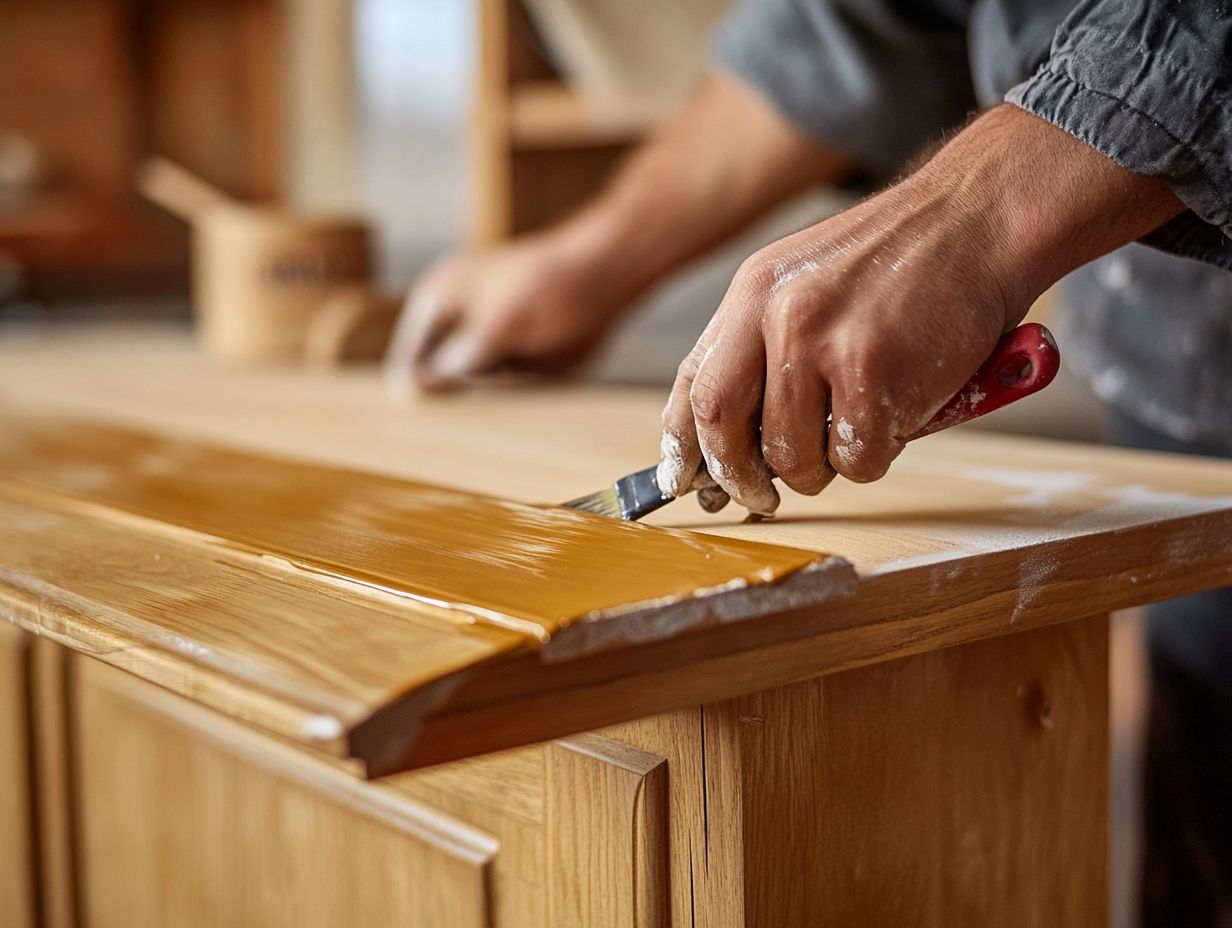
The benefits of DIY cabinet refacing are truly remarkable. You’ll enjoy significant cost savings and the chance to create a customized look in your kitchen.
This hands-on approach gives you the power to take charge of your home improvement projects and achieve stunning kitchen updates.
By choosing to tackle this project yourself, you can save hundreds, if not thousands, of dollars compared to hiring professionals. The design flexibility allows you to select colors, finishes, and styles that resonate with your personal taste, crafting a unique ambiance that feels distinctly like home.
For instance, a simple DIY endeavor like painting cabinet doors and adding new hardware can transform a drab kitchen into a chic and inviting space. Completing this project will fill you with pride and a sense of achievement.
Thanks to countless online tutorials, even beginners can dive into this fulfilling project!
What Tools and Materials Will You Need?
To successfully complete your cabinet refacing project, having the right tools and materials is essential. Opt for high-quality products like Nieu Cabinet Doors and suitable finishes to guarantee a lasting transformation.
When selecting your cabinet doors, don’t overlook the importance of paint choices, whether you favor water-based or oil-based options. These decisions can significantly impact the durability and quality of the finish.
Choosing cabinet hardware, such as hinges and knobs, is equally important. You’ll want pieces that not only enhance the new aesthetic but can also withstand daily use.
Be sure to have essential installation tools on hand, including a power drill, a level, and a measuring tape to ensure precision in your work.
Items like sandpaper and wood filler are critical for preparing surfaces. This ensures the best adhesion for your paint.
Ultimately, investing in high-quality materials and tools doesn’t just elevate the look of your cabinets; it contributes to their longevity, ensuring your project withstands the test of time.
Step-by-Step Guide to Painting Cabinets
This comprehensive guide to painting cabinets equips you with the information and techniques to breathe new life into your kitchen decor while sticking to your budget.
Starting with meticulous preparation is key; it lays the groundwork for achieving results that look professionally done. Begin by thoroughly cleaning the surfaces with TSP to eliminate grease and grime.
Then, use a chemical solution called Liquid Sandpaper, which prepares surfaces for painting without the mess of traditional sanding.
Once your surfaces are ready, choose colors that harmonize with your home’s design scheme, alongside finishes that can endure everyday wear and tear. Using high-quality brushes and paint can enhance the final result.
Embracing this DIY endeavor not only allows you to unleash your creativity but also dramatically elevates the aesthetic appeal of your space.
Step-by-Step Guide to Adding New Hardware
In this guide, you’ll discover valuable insights on upgrading your kitchen cabinets with stylish cabinet pulls and accessories that complement your home decor.
Choosing the right cabinet hardware can elevate your kitchen from ordinary to extraordinary, enhancing both its look and functionality. Assess the existing styles in your kitchen to ensure a cohesive appearance. Whether your style leans modern, farmhouse, or traditional, the hardware should resonate with your overall theme.
For example, brushed nickel and matte black finishes are favored in contemporary kitchens. Oil-rubbed bronze adds a touch of rustic charm. To simplify installation, gather all necessary tools ahead of time, including a screwdriver, measuring tape, and level.
Aligning pulls and knobs properly will ensure a polished, professional appearance. Mark the positions before drilling for better results. These thoughtful approaches will lead to a refined outcome that showcases your personal style.
Step-by-Step Guide to Applying a Veneer
This guide will equip you with essential techniques to rejuvenate your kitchen cabinets and achieve an elegant new look.
Gather the right tools—sharp utility knife, veneer saw, and a reliable roller or brush for adhesive application. Each tool is critical for ensuring the veneer adheres smoothly and evenly.
To cut and fit the veneer to your cabinet’s dimensions, carefully sand the surfaces and apply adequate pressure during adhesion to minimize air bubbles and wrinkles.
Take your time—this step is crucial for achieving a flawless finish. Rushing could lead to results that don’t meet your expectations.
How Can You Maintain the Results of DIY Cabinet Refacing?
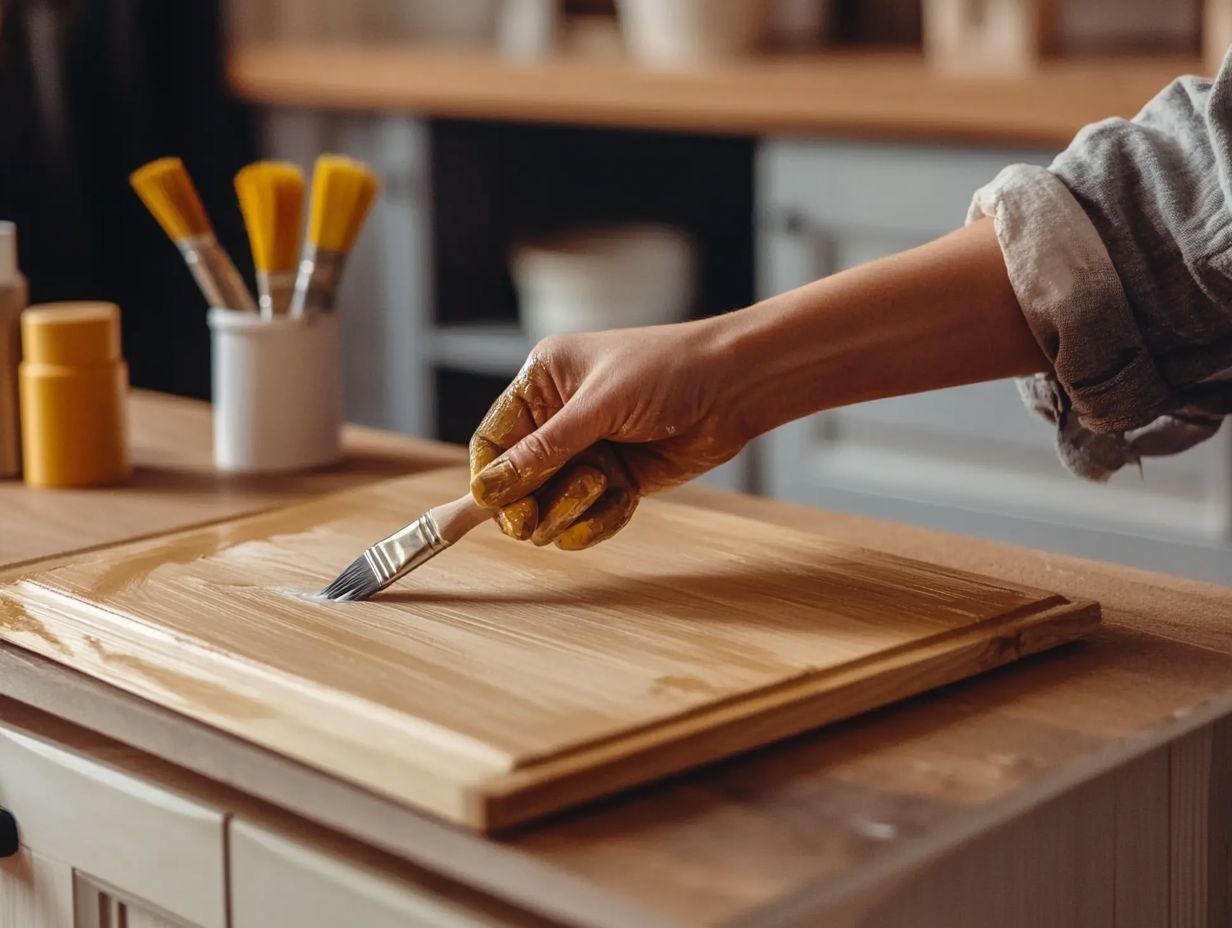
Maintaining your DIY cabinet refacing project is essential for preserving the elegance and longevity of your kitchen upgrades. It requires regular care to keep the cabinet surfaces looking fresh.
Establish a gentle cleaning routine. Instead of harsh chemicals, use mild soap and warm water with a soft cloth to avoid scratching the finish. After cleaning, dry the surfaces thoroughly to prevent moisture buildup.
Apply a protective sealant for extra defense against daily wear and tear. Be cautious not to place hot or wet items directly on the cabinets, as this can damage the surface over time.
By doing so, you ensure that their aesthetic appeal and integrity remain beautifully intact.
What Are the Common Mistakes to Avoid When Refacing Cabinets?
When starting a DIY cabinet refacing project, recognize the common pitfalls that could affect your final results, such as insufficient planning and improper surface preparation.
Many underestimate the time and effort required for thorough surface prep and precise measurements. This can lead to misaligned doors or surfaces that won’t adhere properly.
Craft a detailed plan for each step, ensuring all tools and materials are ready before you start. Taking time to clean and sand surfaces thoroughly enables better adhesion for your new veneers or finishes.
Gather all necessary resources and adopt a systematic approach to elevate your work quality and save time in the long run.
Now that you know the common mistakes to avoid, start your cabinet refacing project today for stunning results!
When Should You Consider Hiring a Professional for Cabinet Refacing?
A DIY cabinet refacing project can be rewarding. However, sometimes hiring a professional is the best option, especially for complex tasks that require specialized skills or tools.
Consider detailed designs that need special woodworking skills or custom finishes. These projects often demand the precision and expertise that only a seasoned professional can deliver.
Extensive renovations can be overwhelming. Bringing in an expert ensures everything meets building codes and reduces the risk of costly mistakes.
Ultimately, investing in professional help can change the game. It saves you time, alleviates stress, and guarantees a polished, high-quality finish that elevates both the aesthetic and functionality of your space.
How Much Money Can You Save by DIY Cabinet Refacing?
Ready to save big? DIY cabinet refacing is your ticket to a stunning kitchen transformation without breaking the bank! You can give your existing cabinets a beautiful new face without the hefty price tag of new installations.
By taking on this project yourself, you could spend only a fraction of what it would cost to hire professionals or install entirely new cabinetry. For instance, while enlisting expert help might run upwards of $5,000 for kitchen cabinet installation, a DIY approach could bring that expense down to around $1,500, including materials.
Consider creative upgrades such as:
- Replacing old hardware
- Applying fresh paint
- Adding decorative molding
Not only are these options cost-effective, but they also significantly enhance your kitchen’s overall aesthetic.
When you weigh quality against expense, DIY refacing emerges as a financially savvy choice, becoming an empowering project that elevates both the look and value of your home.
What Other DIY Projects Can You Do to Update Your Kitchen?
Besides cabinet refacing, you have many DIY projects at your fingertips that can beautifully update your kitchen and elevate its overall aesthetic.
Consider refreshing your countertops with stunning materials like quartz or butcher block. This simple change can dramatically transform your kitchen’s style while boosting its functionality.
Installing backsplash tiles serves the practical purpose of protecting your walls while also introducing vibrant color and texture, making a bold visual statement.
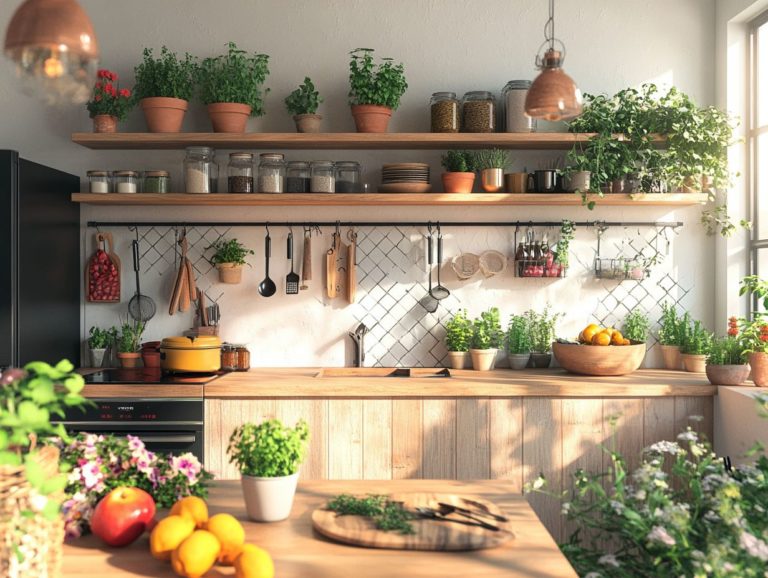
Custom shelving is another fantastic option. It provides practical storage solutions while allowing you to showcase your favorite decorative items.
When you combine these projects, they come together in perfect harmony, turning your kitchen into a more inviting space that reflects your personal taste.
Preguntas Frecuentes
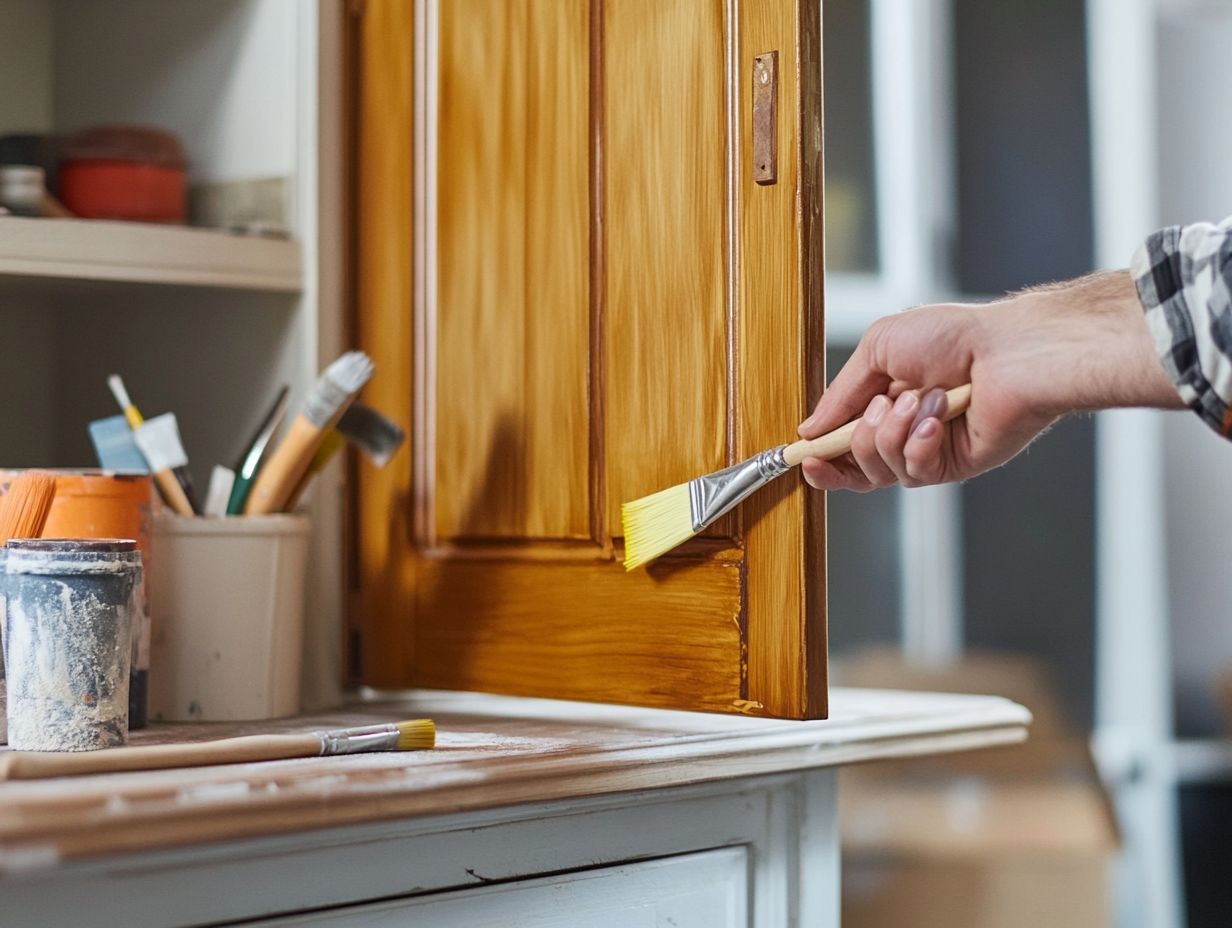
¿Cuáles son los beneficios de estas 3 sencillas técnicas para reacondicionar gabinetes?
Utilizar estas técnicas puede ahorrarte una cantidad significativa de dinero en comparación con contratar a un profesional para reacondicionar tus gabinetes. También te permiten personalizar la apariencia de tus gabinetes según tu estilo personal y se pueden completar en un tiempo más corto que un reemplazo completo de gabinetes.
¿Qué herramientas necesitaré para estas técnicas?
Las herramientas que necesitarás variarán dependiendo de la técnica que elijas, pero algunas herramientas comunes incluyen papel de lija, masilla para madera, pintura o tinte, brochas o rodillos, y adhesivo. Es mejor investigar las herramientas específicas necesarias para cada técnica antes de comenzar.
¿Se pueden utilizar estas técnicas en todos los tipos de gabinetes?
Sí, estas técnicas se pueden utilizar en la mayoría de los tipos de gabinetes, incluyendo madera, laminado y MDF. Sin embargo, es importante preparar correctamente la superficie de tus gabinetes antes de comenzar para asegurar los mejores resultados.
¿Cuánto tiempo lleva completar estas técnicas?
El tiempo necesario para completar estas técnicas varía según el tamaño y la complejidad de tus gabinetes. Generalmente, puedes terminar en un fin de semana o en unos pocos días.
¿Necesitaré quitar las puertas y el hardware de los gabinetes?
Dependiendo de la técnica elegida, es posible que necesites quitar las puertas y el hardware. Si pintas o tiñes, es mejor retirarlos para una aplicación uniforme.
Sin embargo, en el caso del uso de adhesivo para renovar, puede que los dejes en su lugar.
¿Pueden estas técnicas arreglar gabinetes dañados o desgastados?
Estas técnicas pueden mejorar la apariencia de gabinetes dañados. Para daños extensos, considera reemplazarlos en lugar de renovarlos.
