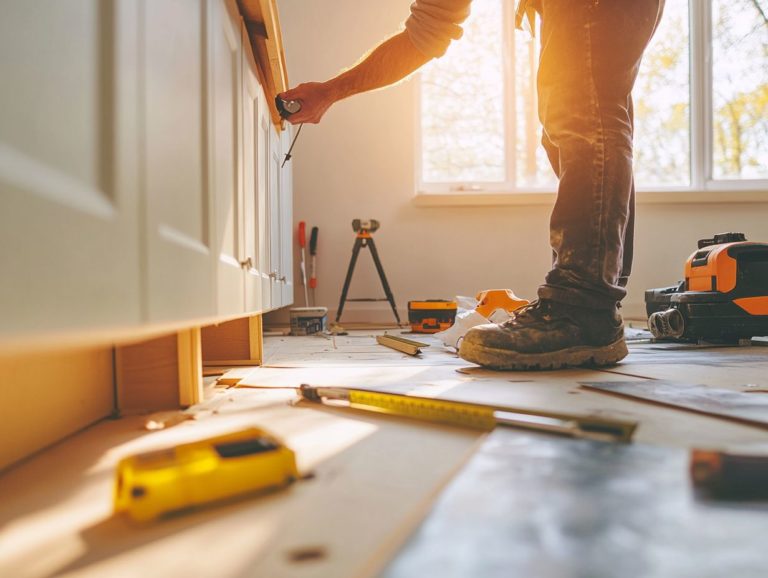
How to Reface Your Kitchen Cabinets
If you’re aiming to refresh your kitchen with a modern touch without the financial strain of a full renovation, cabinet refacing could be the perfect solution for you.
This guide delves into the intricacies of refacing your kitchen cabinets, emphasizing advantages like cost-effectiveness and minimal disruption to your daily routine.
You’ll discover essential tools and materials, follow a comprehensive step-by-step process, and benefit from expert tips to ensure your project achieves stunning results.
Prepare to elevate your kitchen to new heights!
Contents
Key Takeaways:
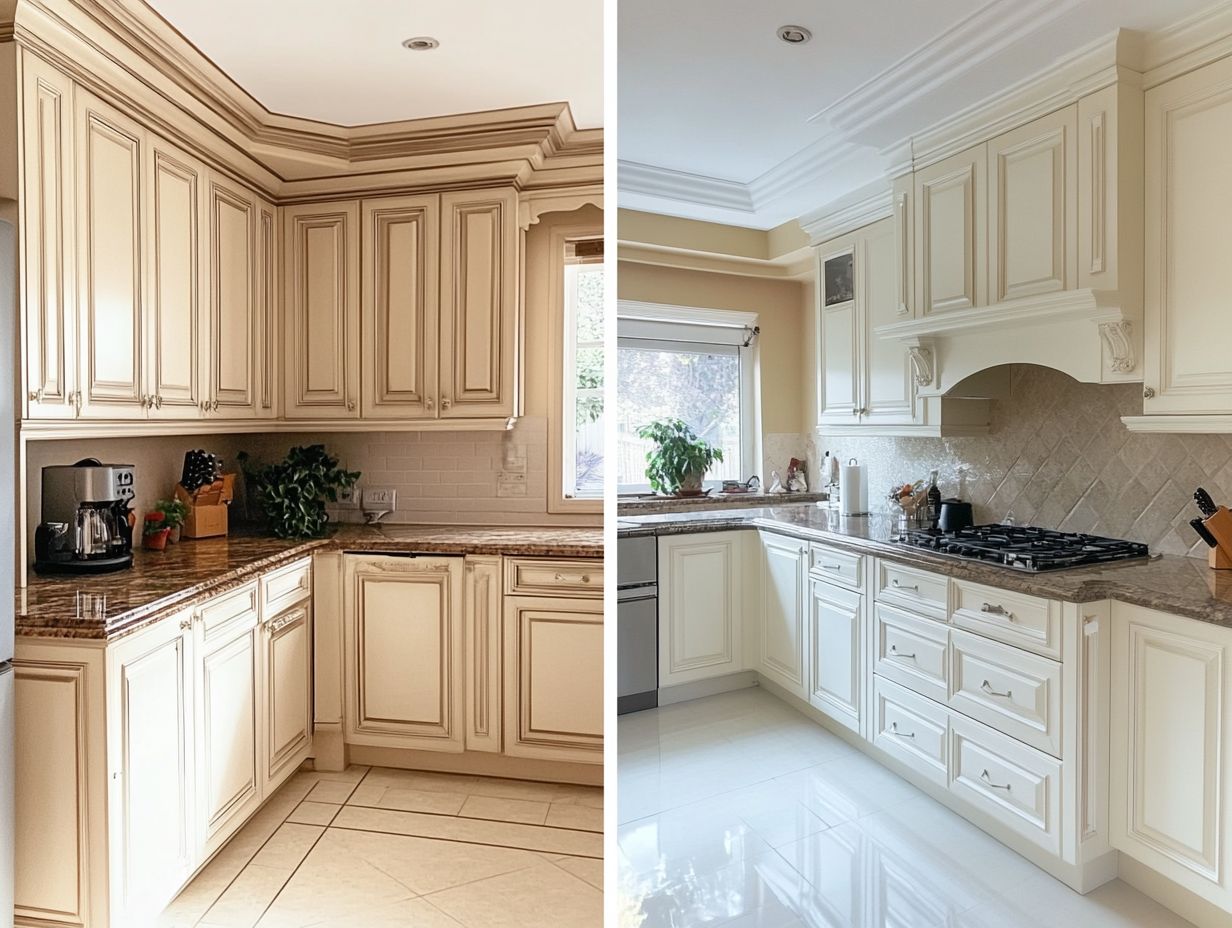
Ready to learn why cabinet refacing is the ultimate kitchen upgrade?
- Cabinet refacing is a cost-effective and time-saving alternative to completely replacing your kitchen cabinets.
- With the right tools and materials, you can easily reface your cabinets and achieve a professional-looking result.
- Proper measurements, cutting techniques, and finishing touches are key to successfully refacing your kitchen cabinets.
What is Cabinet Refacing?
Cabinet refacing is a budget-friendly solution for transforming your kitchen without the financial burden and disruption of a complete remodel.
You replace cabinet doors and drawer fronts while utilizing the existing frames, allowing for a dramatic change in your kitchen’s appearance.
With materials like Medium Density Fiberboard (MDF), veneer, or laminate at your disposal, you can achieve a fresh look that aligns with your style and budget.
Consider exploring offerings from companies like Nieu Cabinet Doors, which provide a variety of options to help you craft the kitchen of your dreams without sacrificing your financial peace of mind.
Benefits of Refacing Your Kitchen Cabinets
Refacing your kitchen cabinets presents numerous advantages, making it an appealing choice for homeowners eager to rejuvenate their space without costly remodels.
This budget-conscious upgrade allows you to select new drawer fronts and cabinet doors while keeping the existing frames, resulting in a seamless transformation.
By opting for Sherwin-Williams colors to paint the cabinet boxes and updating the hardware, you can create a modern and cohesive aesthetic that fits your style and budget.
Cost-Effective and Time-Saving
Cabinet refacing offers a cost-effective and time-saving alternative to a pricey kitchen remodel, allowing you to achieve a fresh look without extensive labor and high costs associated with new cabinets.
This streamlined approach revamps the appearance of your cabinetry and significantly reduces the time your kitchen remains out of commission.
Unlike a full renovation, which can drag on for weeks or even months, refacing typically takes just a few days.
You can enjoy a stunning kitchen upgrade without the hassle of lengthy construction timelines. Cabinet refacing is efficient and causes less disruption, making it an attractive option for enhancing your kitchen’s aesthetics without straining your budget.
Less Disruption to Your Home
One of the key benefits of cabinet refacing is the minimal disruption it brings to your home compared to a complete kitchen remodel. You can continue with your daily activities with little interruption.
Throughout this streamlined process, you can relish a quieter environment, as the work is often completed in just a few days. Unlike extensive renovations that may involve demolition and cause significant noise, cabinet refacing uses a much simpler method of updating your existing structures.
This approach fosters a more tranquil atmosphere and keeps the mess to a minimum, eliminating the need for substantial debris or dust. Ultimately, the convenience of this choice allows you to achieve an upgraded kitchen look without the hassle of a long-term commitment or extensive clean-up.
Tools and Materials Needed for Refacing
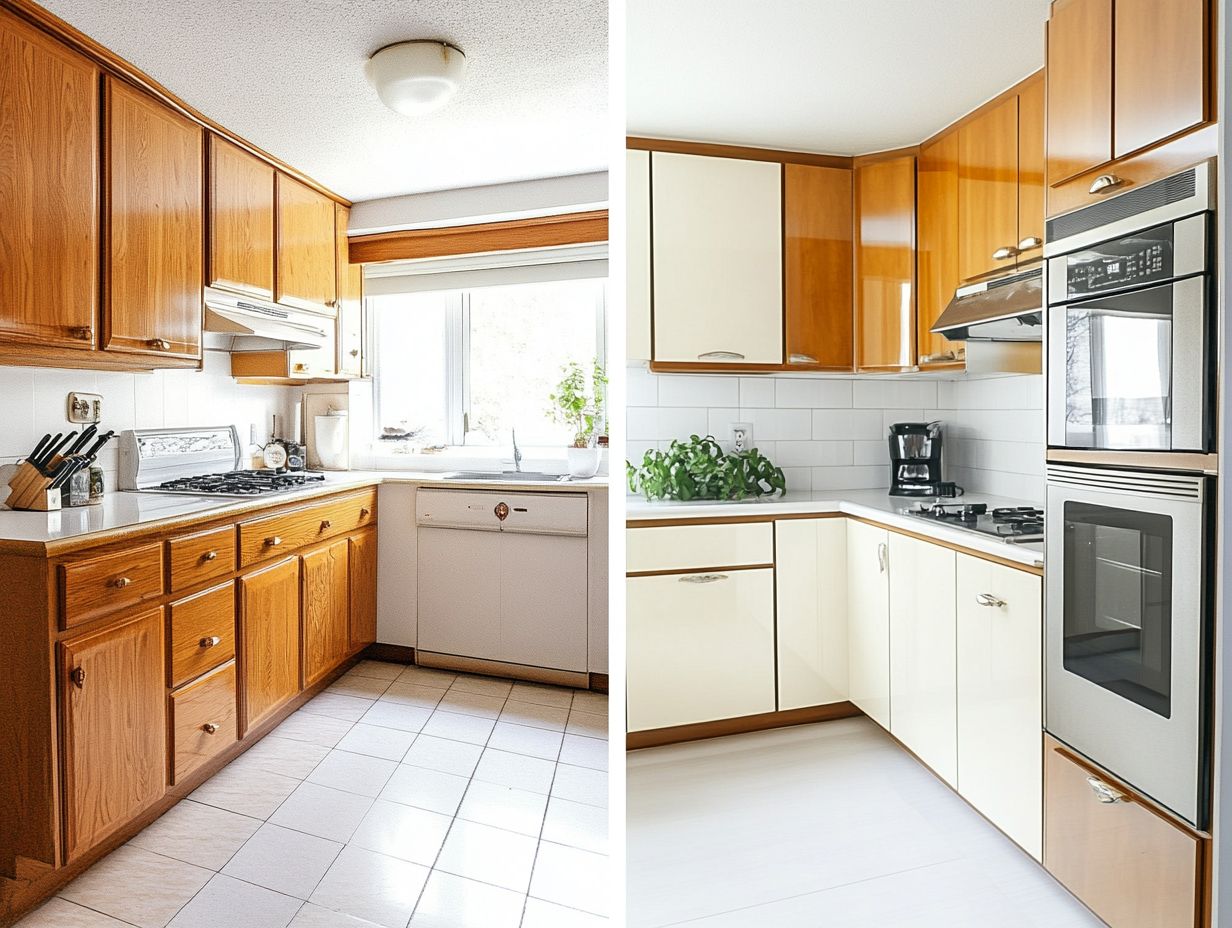
When you embark on a cabinet refacing project, equipping yourself with the right tools and materials is crucial for achieving a professional-looking finish.
Gather essential items, including:
- cabinet hardware
- MDF (Medium Density Fiberboard) for any replacement parts
- effective cleaning solutions like TSP and Liquid Sandpaper, which helps to smooth surfaces without traditional sanding, to properly prepare surfaces for priming and painting
Choosing quality products, like ExtremeBond Primer, enhances both durability and appearance.
Essential Supplies for the Project
High-quality painting materials are a must for your cabinet refacing project. You’ll also need the right hardware and precision tools for measuring and cutting.
To achieve a polished finish, a strong adhesive is essential for securing any new veneer or laminate. A durable primer will enhance paint adhesion and ensure a long-lasting appearance.
With various brushes and rollers at your disposal, you’ll be able to apply paint smoothly, reaching every corner and crevice with ease. Don’t underestimate the importance of measuring tools like a tape measure and square; they are vital for accuracy and will help you avoid miscalculations during installation.
Armed with these supplies, you’re one step closer to achieving a seamless cabinet transformation and elevating your entire space with minimal effort!
Step-by-Step Guide to Refacing Your Cabinets
A comprehensive step-by-step guide can transform this task into a seamless and efficient experience for any DIY enthusiast.
Get ready for an exciting makeover! Start by removing the old cabinet doors and hardware, setting the stage for a stunning transformation.
Removing Old Cabinet Doors and Hardware
The first step in your cabinet refacing journey is to remove the old cabinet doors and hardware. This essential action ensures that the new surfaces can be installed without any obstructions, providing a smooth canvas for the updates ahead.
Begin by gathering the necessary tools—think screwdriver, drill, and perhaps a pry bar, depending on your installation method. Carefully detach each door and label them for easy reinstallation later, if needed.
When removing the hardware, exercise caution to prevent any damage to both the cabinets and adjacent walls. By following these steps, you ensure a clean slate for the exciting changes to come and maximize the efficiency of the entire refacing process.
Applying New Veneer or Paint
Applying a new veneer or paint is pivotal in the cabinet refacing process. It gives your cabinetry a fresh, updated look that can dramatically transform your kitchen.
To achieve outstanding results, meticulous surface preparation is essential. Thoroughly clean your cabinets to eliminate grease and dirt, sand down the surfaces for a smooth base, and apply a primer tailored for either veneer or paint.
When selecting products, prioritize high-quality, durable paints and veneers designed specifically for kitchen environments, paying attention to moisture resistance and color longevity.
Utilizing techniques like layering and using the right brushes or rollers can elevate the finish, ensuring a professional and polished outcome that will leave your kitchen looking exquisite!
Transform Your Kitchen with New Doors and Hardware!
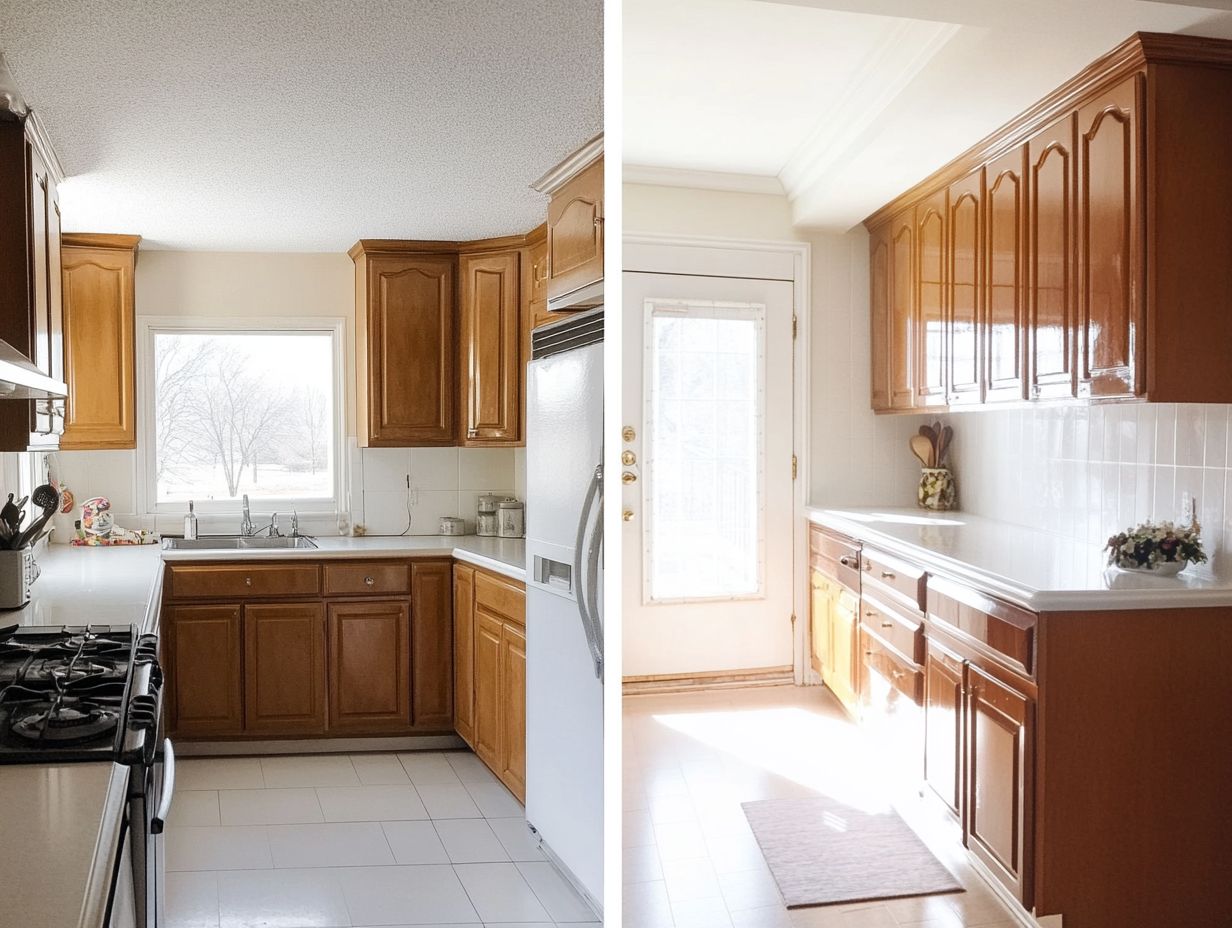
Installing new cabinet doors and hardware is the final touch in the cabinet refacing journey. This step brings your kitchen transformation to completion, enhancing both aesthetics and functionality.
For the best results, take precise measurements to avoid any installation issues. Common pitfalls, like misaligned hinges and uneven door fronts, can be easily avoided by double-checking your dimensions before diving in.
Select finishes that complement each other for a cohesive look. Choosing the right sheen for paint or hardware ensures a polished appearance.
By following these best practices, you can elevate your cabinetry while minimizing potential challenges.
Tips for Achieving a Professional Look
To achieve a polished, professional look in your cabinet refacing project, focus on detail and follow essential guidance.
- Start with precise measurements for a seamless fit.
- Select the right cabinet hardware to significantly enhance your kitchen’s aesthetic appeal.
Proper Measurements and Cutting Techniques
Accurate measurements and cutting techniques are vital for ensuring that your new cabinet doors and drawer fronts fit perfectly into existing frames.
This careful attention to detail enhances both the look and functionality of your cabinetry.
Using cutting tools like a miter saw and laser level helps improve accuracy. For example, a miter saw makes precise angled cuts, ideal for fitting corners perfectly.
Employ measuring tapes and squares to avoid common issues like misaligned doors or uneven edges. By carefully laying out measurements and double-checking before cutting, you can reduce waste and improve your project’s craftsmanship.
Choosing the Right Finishing Touches
The right finishing touches, such as cabinet hardware and paint colors, can transform your cabinet refacing project.
These elements not only boost aesthetic appeal but also improve functionality, creating a cohesive look throughout your kitchen or bathroom.
Sleek metal handles infuse modern flair, while antique finishes evoke nostalgia. Pairing hardware with muted or vibrant paint can set the tone for your space, allowing you to express your unique style.
Thoughtfully selecting textures and hues can turn ordinary cabinetry into stunning focal points that embody elegance and practicality. This attention to detail cultivates a balance between beauty and function.
Frequently Asked Questions
What is kitchen cabinet refacing?
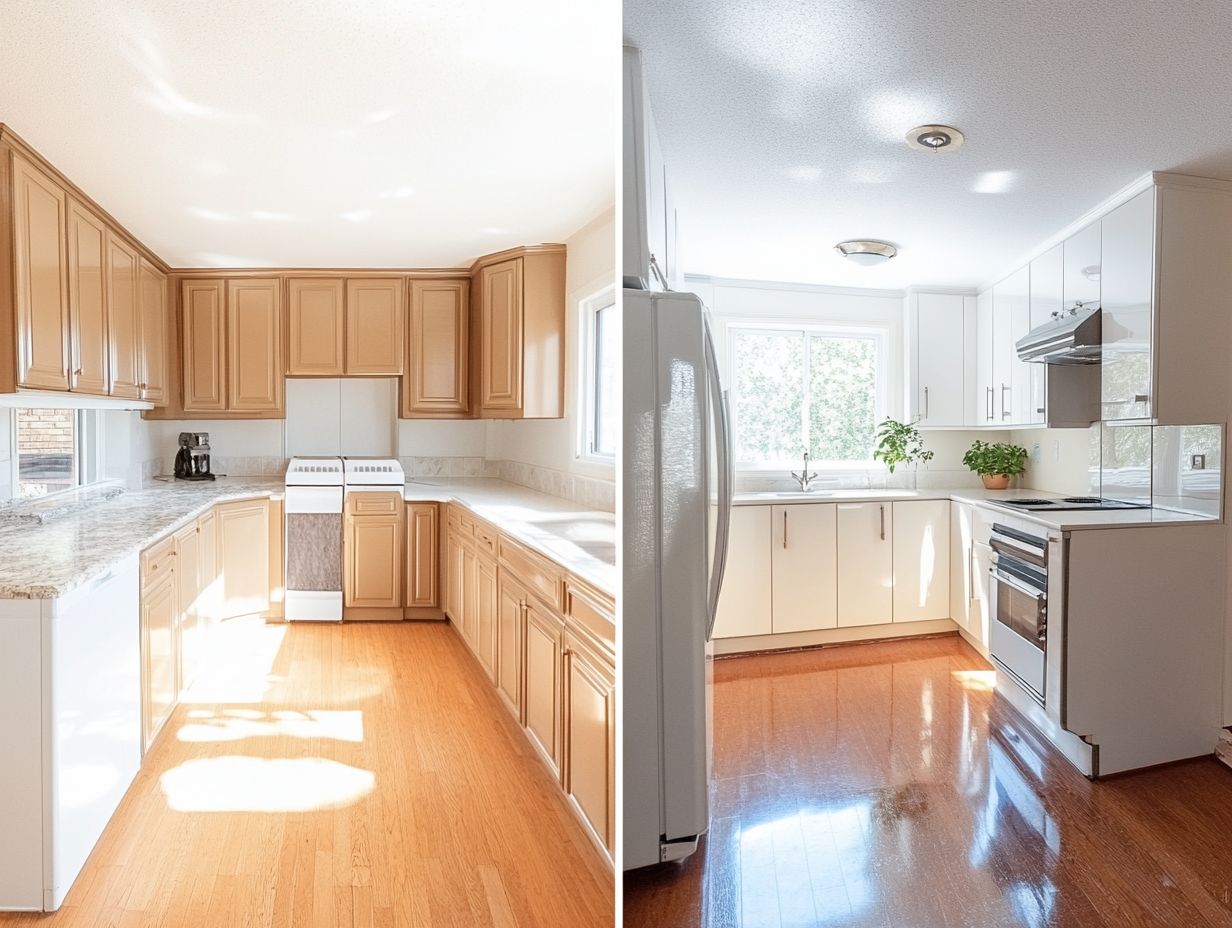
Kitchen cabinet refacing updates the appearance of your cabinets by replacing cabinet doors, drawer fronts, and hardware while retaining the existing cabinet boxes.
Why should I reface my kitchen cabinets?
Refacing kitchen cabinets is a cost-effective way to refresh your kitchen without the time and expense of a full remodel. It allows you to maintain your kitchen’s layout and functionality.
What is the difference between cabinet refacing and cabinet refinishing?
Cabinet refacing replaces the visible parts of the cabinets, while refinishing involves sanding and repainting or staining the existing cabinets. Refacing is a more extensive and long-lasting solution, whereas refinishing is more affordable but temporary.
Can I reface my kitchen cabinets myself?
While you can reface your cabinets yourself, it is a complicated process requiring specialized tools and skills. Hiring a professional is recommended for the best results.
Get started now, and watch your kitchen come to life!
What materials are used for cabinet updating?
Cabinet updating uses various materials like wood veneers, laminates, and hardware.
Choose high-quality options for a durable and attractive finish.
How long does cabinet updating take?
Transform your kitchen swiftly! The process usually takes 3 to 5 days.
The exact time may vary based on your kitchen’s size and project complexity.
