How to Build a DIY Kitchen Bar
Creating your own kitchen bar can truly elevate your space, transforming it into a stylish and functional gathering spot. Imagine the joy of hosting friends at your very own bar!
This guide showcases the numerous benefits of having a Do It Yourself (DIY) bar. It will enhance your home’s aesthetics and provide a vibrant area for entertaining guests. It delves into the essential tools and materials you’ll need, outlines the step-by-step construction process, and explores design and customization options. It also offers maintenance tips to ensure your bar remains in pristine condition.
Prepare to enhance your kitchen experience in a remarkable way!
Contents
- Key Takeaways:
- Essential Tools and Materials
- Step-by-Step Guide to Building a Kitchen Bar
- Design and Customization Options
- Maintenance and Care for Your DIY Kitchen Bar
- Frequently Asked Questions
- Can I build a DIY kitchen bar myself?
- What materials do I need to build a DIY kitchen bar?
- How much space do I need for a DIY kitchen bar?
- Do I need to hire a professional to help me build a DIY kitchen bar?
- How long does it take to build a DIY kitchen bar?
- Can I customize the design of my DIY kitchen bar?
Key Takeaways:
Build your own kitchen bar to save money and unleash your creativity. Gather essential tools and materials before starting your project. Follow a step-by-step guide for proper construction and customization.
Benefits of Building Your Own Kitchen Bar
Building your own kitchen bar brings a multitude of benefits. A custom kitchen bar saves you money. It also gives you the freedom to design a space that matches your needs and style.
A DIY bar becomes a vibrant gathering point for family and friends, infusing your home with a lively atmosphere. With resources from Home Depot and the right tools at your disposal, creating that perfect kitchen bar is not just a dream—it’s an attainable goal.
Beyond the cost savings, a Do It Yourself approach opens the door to endless customization options. You can select materials, colors, and finishes that resonate with your personal style.
Whether you envision a rustic wooden bar or a sleek, modern design, the possibilities are virtually limitless. Including seating arrangements encourages social interactions, whether you’re cooking or entertaining.
You can explore a treasure trove of design ideas at Home Depot. They offer an abundance of reference materials, including guides and tutorials. This wealth of information ensures that every step of your kitchen remodel is well-informed and thoughtfully executed.
This personalized touch enhances the kitchen’s aesthetic appeal and creates a functional space that genuinely reflects your lifestyle. Don’t miss out on creating the perfect gathering space today!
Essential Tools and Materials
To build your kitchen bar, gather the right tools and materials. A well-prepared toolkit will streamline your construction process and guarantee a high-quality finish.
Begin with the basics:
- A measuring tape for precise dimensions
- Circular and table saws for effortlessly cutting 2×4 and 2×6 lumber
- Construction adhesive for strong, secure bonds
Don’t overlook the caulk gun; it’s vital for applying clear, paintable caulk to fill gaps. This enhances both durability and aesthetic appeal.
What You’ll Need for the Project
Choose the right materials for your kitchen bar. This ensures it looks great and works well. Consider using unfinished oak or unfinished beech to create a warm, natural ambiance.
These materials are not only durable, but they also allow for a customized finish. You can choose to stain or paint your bar top to fit your vision perfectly.
Make the bar height appropriate for your bar stools to create a comfortable space for gatherings and meals. Incorporating wood countertops can truly elevate the overall aesthetic.
Maple and cherry are excellent choices, adding richness and character that enhances the visual impact of your bar. It’s crucial to seal the wood properly to protect against spills and wear.
Opt for a high-quality varnish (a clear finish that protects wood) or oil finish to significantly improve longevity and ease of maintenance. Choose and finish your materials wisely to create a space that is functional, inviting, and stylish.
Step-by-Step Guide to Building a Kitchen Bar
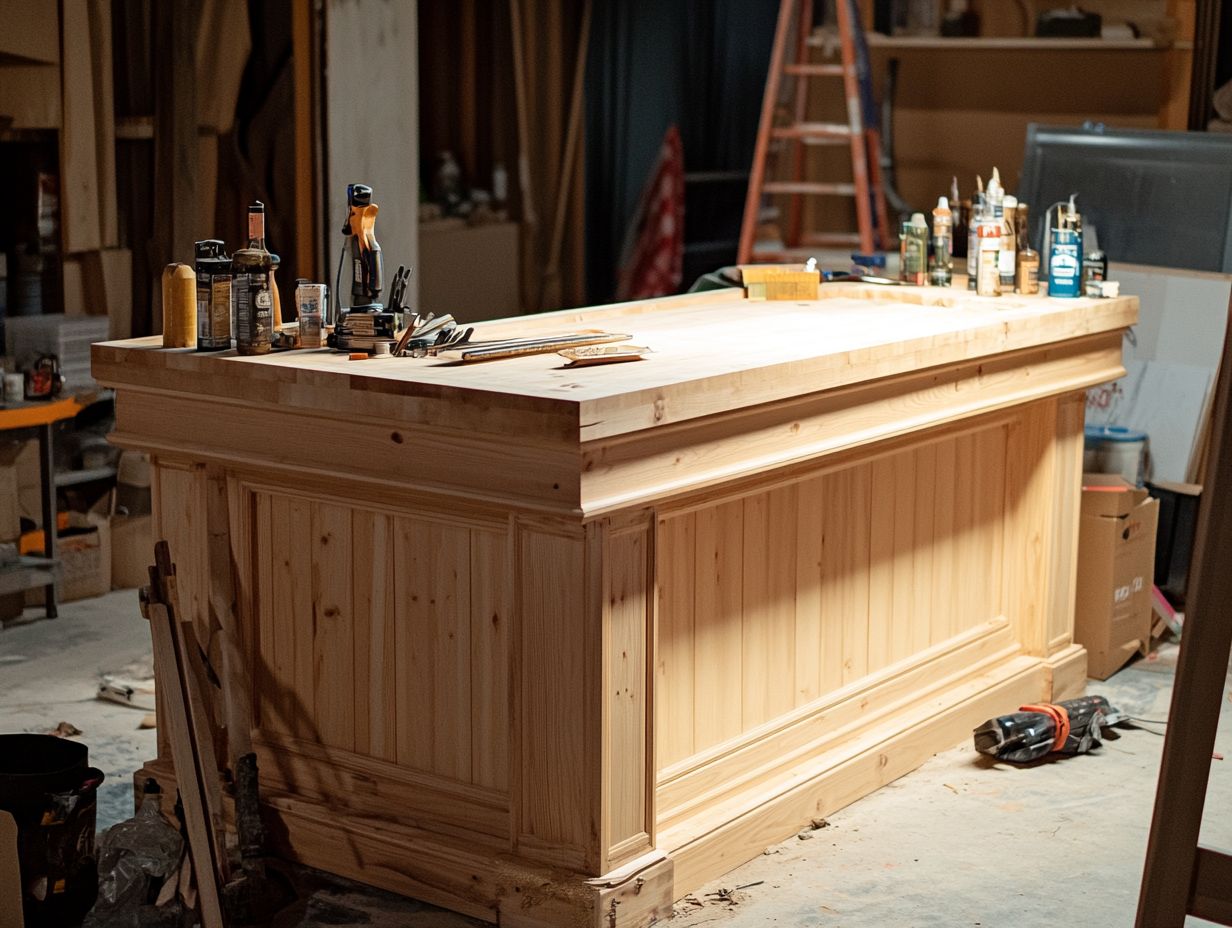
Embarking on the journey to build your kitchen bar can be a truly rewarding experience. Following a step-by-step guide makes the process remarkably straightforward.
Begin by crafting a solid bar frame that will support your bar top. Ensure it’s sturdy enough for daily use. Opt for high-quality materials, such as Rev-a-Shelf (a brand known for efficient kitchen organization), and consider melamine dividers for smart storage.
With clear assembly instructions and practical installation tips at your disposal, you can efficiently create a stylish bar that elevates your kitchen’s functionality to new heights.
Preparation and Planning
Preparation and planning are key to achieving a successful DIY kitchen bar project. Start by assessing your kitchen layout to pinpoint the ideal bar location — one that complements your existing decor and enhances the flow of the space.
Consider the dimensions of your cabinets and the available area. Ensure your bar fits seamlessly without overwhelming the kitchen.
Consulting with a contractor can offer valuable insights into structural considerations and design choices that will optimize your new bar.
Measuring your kitchen and cabinet dimensions is crucial for a flawless integration. This meticulous approach maximizes both storage and functionality while maintaining the overall aesthetic.
Explore various layouts, such as L-shaped or straight bars, that can harmonize beautifully with your kitchen’s architecture. Envision how lighting and seating arrangements will contribute to a welcoming ambiance, transforming your bar into a favored gathering spot for family and friends.
Balancing these elements will elevate your kitchen bar into a harmonious and purposeful extension of your home.
Construction Process
The construction process of your kitchen bar involves several crucial steps that guarantee durability and quality.
- Start by assembling the main structure with support brackets and pocket hole screws, firmly securing the frame for stability.
- As you move forward, pay close attention to caulking seams. This prevents water damage and elevates the overall aesthetics.
- Once the construction is complete, staining will infuse character into your bar, while a polycrylic finish (a durable protective coating) provides a protective layer that ensures longevity.
Each of these phases is essential to crafting a well-built piece that truly stands the test of time. After securing the frame, take a moment to double-check the evenness of the surface; any unevenness now could lead to complications down the road.
Regarding caulking, remember that it protects against moisture and delivers a polished look, seamlessly bridging the gaps between materials. Applying a polycrylic finish not only highlights the wood’s natural beauty but also wards off scratches and stains, making your kitchen bar both a stylish addition and a resilient one.
Design and Customization Options
When crafting your DIY kitchen bar, you’ll discover a wealth of design and customization options that enable you to truly personalize your space.
Think about how the overall bar design will harmonize with your kitchen’s aesthetic. Selecting the perfect bar top material and decorative brackets can significantly enhance visual appeal.
Pay careful attention to your choice of barstools, as they play a pivotal role in defining both comfort and style in your bar area.
By embracing furniture design principles, you can achieve a cohesive look that beautifully reflects your personal taste.
Adding Personal Touches to Your Kitchen Bar
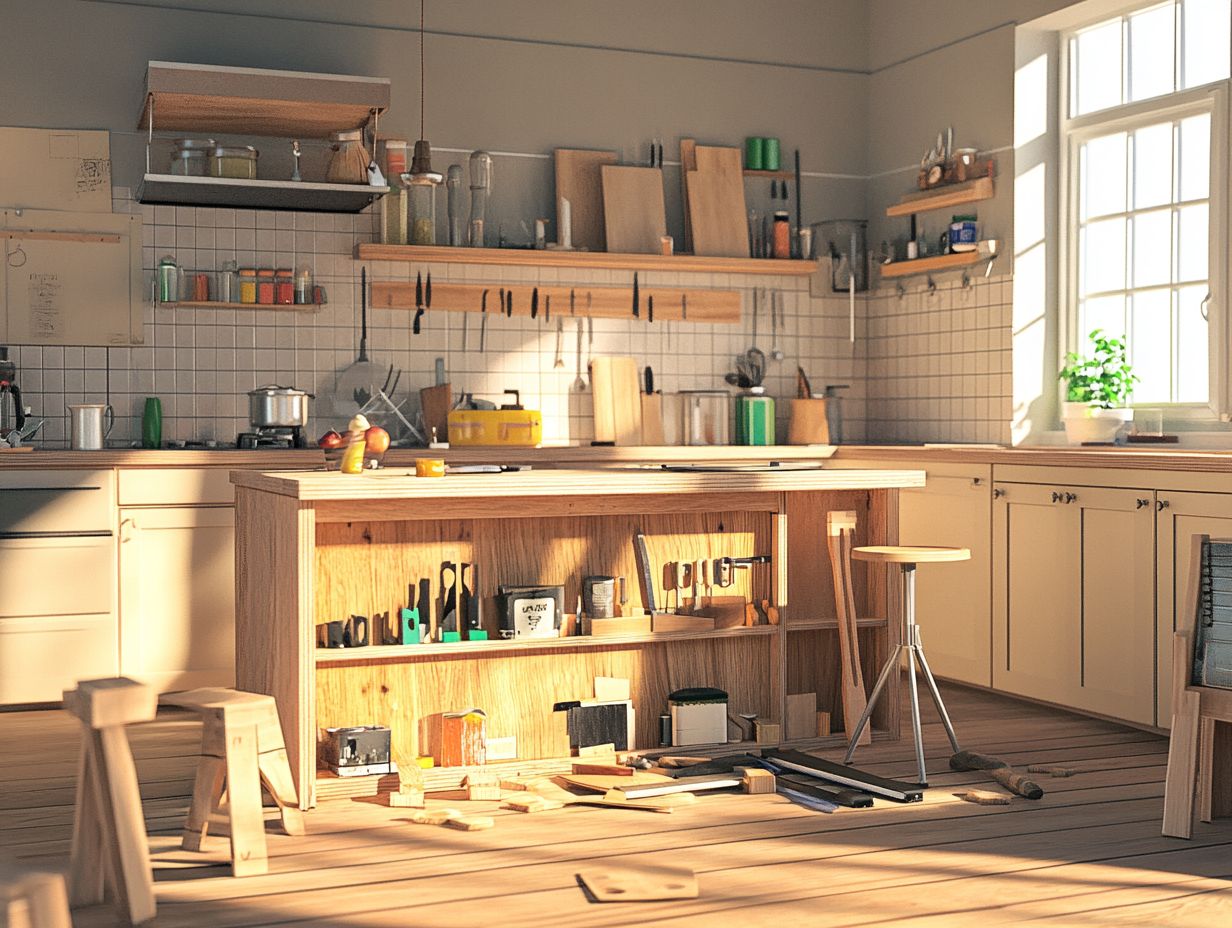
Adding personal touches to your kitchen bar can elevate it from a mere functional space to a striking focal point in your home.
By selecting colors that truly resonate with you—be it a daring shade or a calm pastel—you set the stage for an inviting atmosphere. Incorporating decor elements like stunning art pieces, unique glassware, or even a custom chalkboard menu can further enhance the vibe.
Don’t miss out on unique features like a built-in wine rack or illuminated shelves that showcase your favorite bottles, creating a visually captivating display.
Platforms like Pinterest and Instagram are treasure troves for home renovation enthusiasts, brimming with ideas that can ignite your creativity and help you envision the perfect setup tailored to your refined taste.
Now that you have the basics, grab your tools and start building your dream kitchen bar today!
Maintenance and Care for Your DIY Kitchen Bar
Caring for your DIY kitchen bar is crucial if you want it to stand the test of time while keeping its aesthetic charm.
The choice of bar top material significantly impacts the cleaning and maintenance methods you’ll need to use.
To keep it in prime condition, use appropriate cleaning products that won’t harm the finish or material.
Your bar can remain an inviting space for gatherings and meals, ready to impress your guests with its allure.
Tips for Keeping Your Bar Clean and Functional
Maintaining your kitchen bar can be effortless with a few simple tips that enhance both usability and aesthetics.
Start by choosing effective cleaning products specific to your bar’s materials to ensure spills and stains are addressed promptly.
Create an organized space that promotes efficiency, allowing your design to adapt seamlessly to your entertaining needs.
Using drawer organizers for utensils and drinkware makes it easier to access everything while ensuring each item has its designated spot.
Evaluate your current storage solutions; consider vertical options like shelves or hanging racks to free up valuable counter space.
Regularly decluttering is also wise—remove outdated items or anything that no longer fits your style.
Incorporating decorative bins or containers provides a cohesive look and helps keep everything in order.
A tidy kitchen bar not only looks better but also functions better, crafting a welcoming environment for your friends and family.
Frequently Asked Questions
Can I build a DIY kitchen bar myself?
Yes! With the right tools and materials, building a DIY kitchen bar can be a fun and manageable project for anyone with basic carpentry skills.
What materials do I need to build a DIY kitchen bar?
You will need wood or lumber for the bar’s structure, countertop materials (like granite or butcher block), screws, a drill, a saw, and other basic carpentry tools.
How much space do I need for a DIY kitchen bar?
The size of your kitchen bar will depend on your available space and desired design. Generally, a standard bar is about 42 inches tall and 24 inches deep, but you can adjust the dimensions to fit your kitchen.
Do I need to hire a professional to help me build a DIY kitchen bar?
If you have carpentry experience and feel confident in your skills, you can build a kitchen bar on your own. If not, it may be beneficial to consult a professional for guidance.
How long does it take to build a DIY kitchen bar?
The time required to build a kitchen bar depends on your skill level and the complexity of your design. It could take anywhere from a few hours to a few days to complete.
Can I customize the design of my DIY kitchen bar?
Absolutely! One of the perks of building a DIY kitchen bar is the chance to customize it to fit your style. Choose your favorite wood type, stain or paint color, and add unique features to make it your own.
What unique features would you add to your kitchen bar? Share your ideas with us!
