How to Install a DIY Kitchen Counter
Installing a DIY kitchen counter offers an exhilarating opportunity to transform your space without stretching your budget.
Whether you’re looking to upgrade a worn-out aesthetic or boost functionality, this guide will expertly navigate you through each step of the process.
From collecting essential materials and tools to dismantling old countertops and ensuring a solid foundation for your new cabinets, you’ll have all the information at your fingertips.
Discover how to measure and fit your countertop with precision, apply a professional finish, and maintain the stunning surface you’ve created.
Prepare to roll up your sleeves and craft a kitchen centerpiece that you’ll cherish for years to come!
Contents
- Key Takeaways
- Preparing for the Installation
- Removing Old Countertops
- Installing the Base Cabinets
- Cutting and Fitting the Countertop
- Finishing Touches and Maintenance
- Frequently Asked Questions
- What tools will I need to install a DIY kitchen counter?
- Do I need to remove my old kitchen counter before installing a new one?
- Can I install a DIY kitchen counter over existing cabinets?
- How do I measure for a new kitchen counter?
- What is the best material to use for a DIY kitchen counter?
- Do I need to seal my DIY kitchen counter?
Key Takeaways
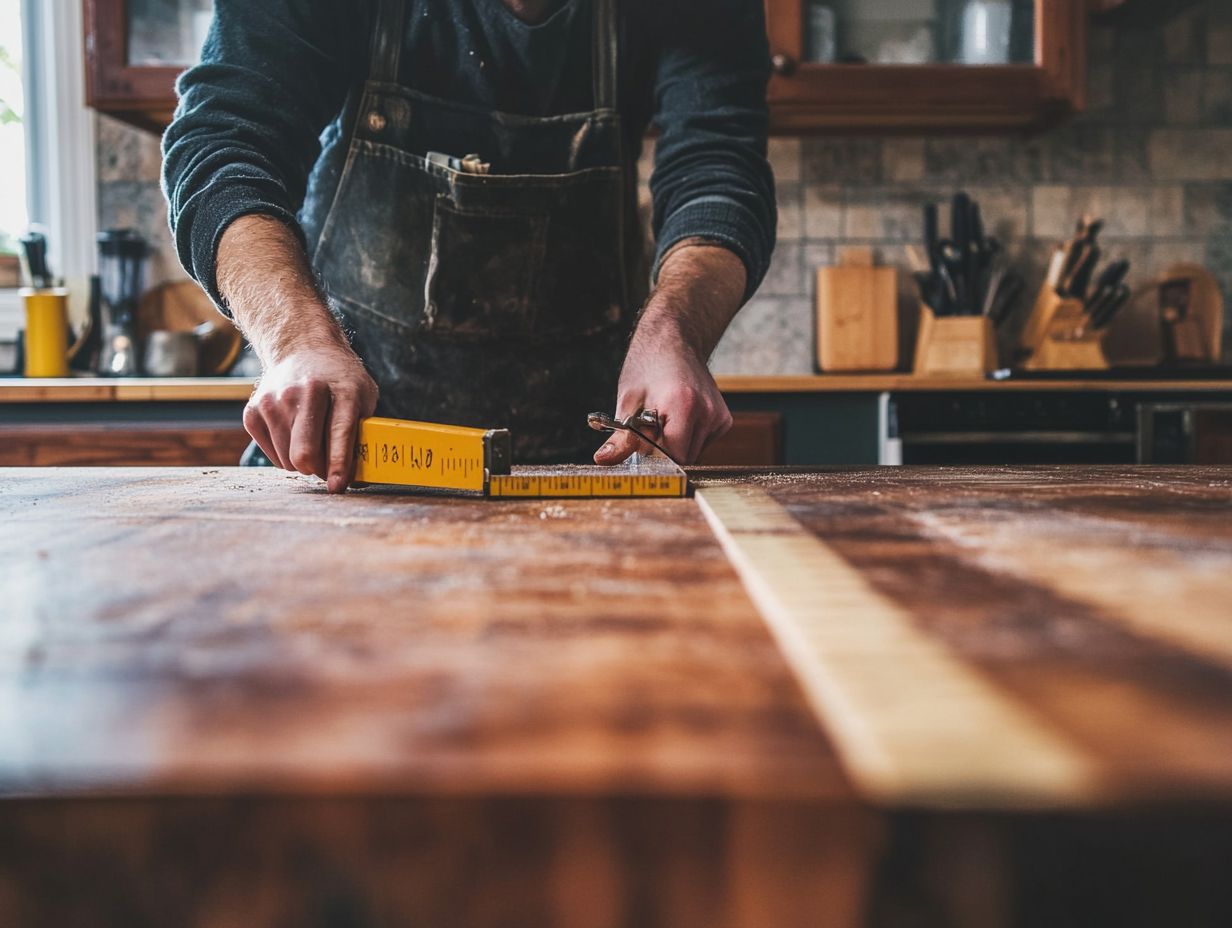
Measure carefully to avoid errors! Remove old countertops neatly for better installation.
Properly remove old countertops and install a level, sturdy base for a successful DIY kitchen counter installation. Take care when cutting and fitting the countertop to ensure a precise fit, and regularly maintain with sealant for longevity.
Preparing for the Installation
Preparing for the installation of your kitchen countertop is a vital step that requires careful planning and organization.
Whether you’re replacing an old countertop or installing a new laminate benchtop, understanding the tools and materials needed is essential.
Accurate measurements and the right adhesives are key components that will ensure your installation is efficient and durable.
Gather all necessary items before you start to avoid interruptions and ensure a seamless process from beginning to end.
Gathering Materials and Tools
Gathering the right materials and tools is essential for a successful kitchen countertop installation.
Equipping yourself with key items like jigsaws and circular saws is vital; these tools enable you to make precise cuts in various materials, such as plywood, which serves as the base material.
Clamps are crucial for securing pieces together, ensuring a sturdy assembly while the adhesive sets, creating the seamless look you desire.
Screws reinforce joints, boosting the strength and durability of your installation over time.
Let’s not overlook sandpaper; it’s essential for achieving a polished finish and smoothing out surfaces for a professional touch.
When combined, these components significantly enhance both the quality and longevity of your countertop installation.
Measuring and Planning
Accurate measuring and thoughtful planning are essential steps in installing a kitchen countertop.
Without these critical elements, you risk mismatches, resulting in a countertop that fails to fit seamlessly with existing cabinetry or around sinks.
Take comprehensive measurements of both the cabinets and countertop areas to ensure angles are precise for unique kitchen layouts.
Consider planning for cutouts, including spaces for sinks and cooktops.
Allowing for adequate overhangs enhances functionality and elevates aesthetic appeal, offering support while maintaining a sleek appearance.
Removing Old Countertops
Removing old countertops in your kitchen may seem intimidating, but with a thoughtful approach and right precautions, you can tackle it confidently.
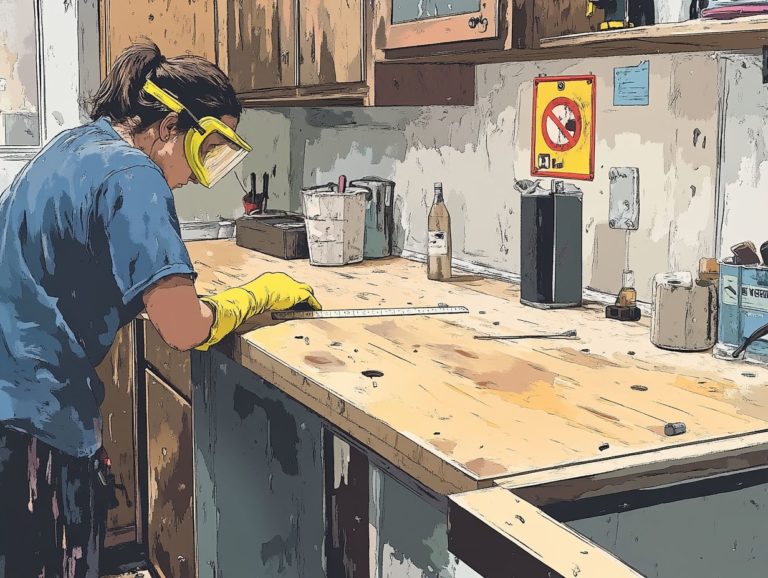
Start by prioritizing safety; wear protective gear and prepare your workspace meticulously.
- Disconnect any plumbing and electrical appliances near the sink.
- Gently pry off the existing countertop, taking care not to damage the cabinets below.
This project calls for patience and a keen eye for detail to ensure everything goes smoothly without mishaps.
Now, are you ready to transform your kitchen?
Steps for Safe and Efficient Removal
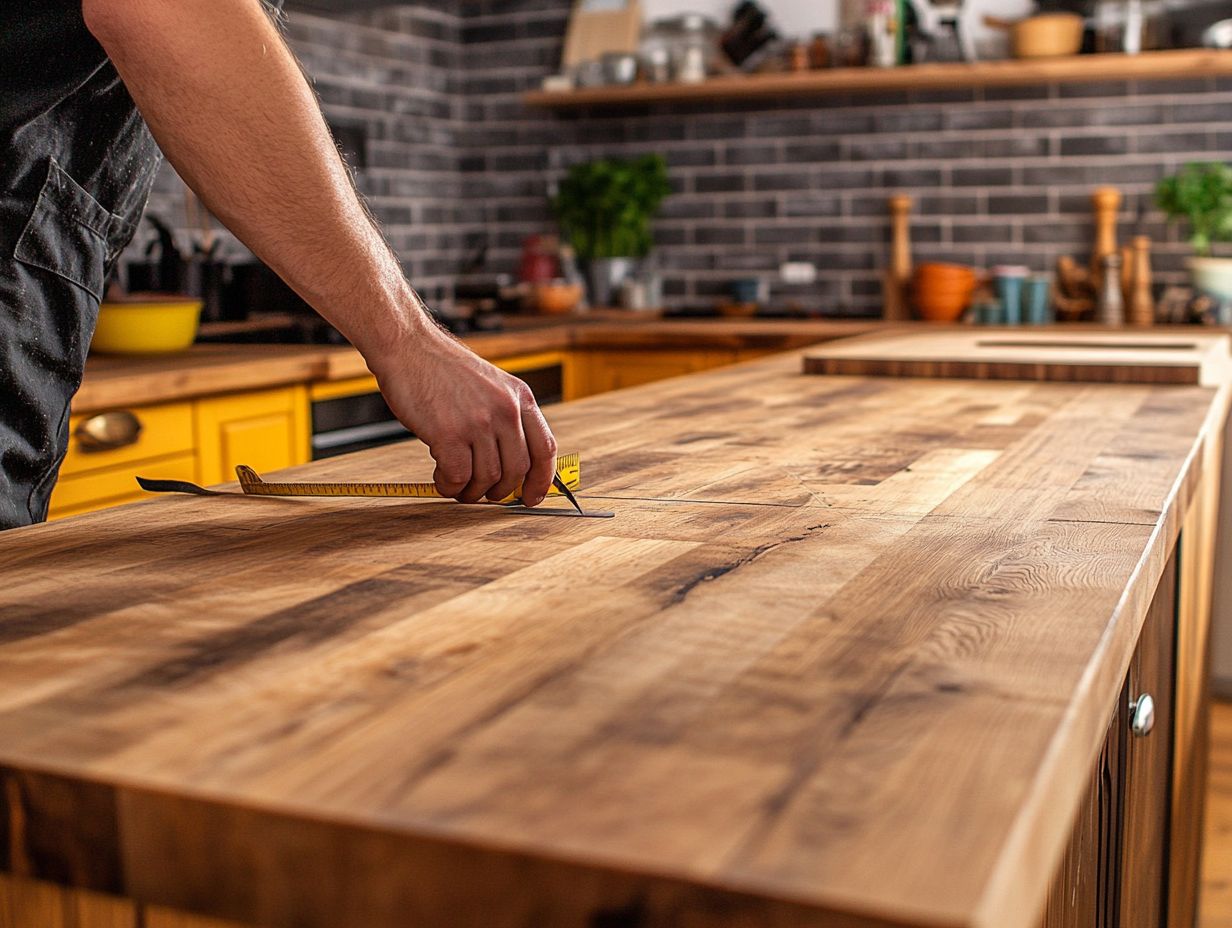
Ready to transform your kitchen? Follow these steps for safe and efficient countertop removal.
- Start by preparing your workspace. Clear the area of any unnecessary items to create a safe environment.
- Gather the necessary tools, including a screwdriver, pry bar, and utility knife. Put on your safety goggles and gloves for protection.
- Next, disconnect the sink and any appliances connected to the countertop. Be sure to turn off water and electrical supplies beforehand.
- With the sink out of the way, use the pry bar to gently lift the old countertop from its base, applying steady pressure.
- As you work, remain vigilant of any sharp edges or debris. Have a disposal plan ready to manage waste effectively.
- Dispose of old materials properly. This keeps the area tidy and safe.
Installing the Base Cabinets
Installing the base cabinets in your kitchen with precision is essential for achieving a flawless countertop installation. They serve as the foundation that provides the necessary support and structure.
Before embarking on the countertop installation, ensure that your base cabinets are level and sturdy. This step is crucial. Inconsistencies can lead to uneven surfaces and complications.
Investing the time to properly secure and align your cabinets will yield benefits in the long run.
Ensuring a Level and Sturdy Base
Ensuring a level and sturdy base for your cabinets is essential for the success of your kitchen installation. A well-aligned setup not only elevates aesthetic appeal but also guarantees functionality in your daily routines.
To achieve this, use a level; simply place it on the cabinet surfaces to check for any discrepancies. If adjustments are necessary, don’t hesitate to insert shims (thin pieces of material) underneath for perfect alignment. Once your cabinets are positioned expertly, secure them together using screws in the pre-drilled holes to provide that all-important stability.
For added assurance, consider attaching the cabinets to the wall with L-brackets or directly through the back panels. This step will prevent any shifting, ensuring a long-lasting and resilient installation that you can rely on for years.
Cutting and Fitting the Countertop
Cutting and fitting your new countertop demands precision and a keen eye for detail to achieve that flawless fit and finish.
Begin by meticulously measuring the dimensions of your workspace, accounting for any angles or cutouts required for sinks and appliances.
When it comes time to cut the countertop material, use a jigsaw or circular saw with care, making sure to produce clean edges for a seamless installation. The accuracy of your cuts will significantly influence how effortlessly the countertop fits onto your cabinets.
Measuring and cutting your countertop with precision is essential for achieving that perfect fit in your kitchen space.
Start by ensuring you have a reliable measuring tape at your disposal. Take multiple measurements across different areas to account for any inconsistencies in your cabinetry. When marking the countertop, use a fine-tipped pencil for clarity. Label areas designated for cutouts, such as sink or appliance locations—this detail can save you from headaches later.
For the cutting process, a jigsaw will be your best ally; it allows for intricate curves and clean edges. Always use clamps to secure your countertop firmly, minimizing any movement during the cut, and don’t skimp on safety—wear protective eyewear.
By following these steps, you’ll be on your way to a seamless and professional-looking installation that will elevate your kitchen aesthetic.
Fitting and Securing the Countertop
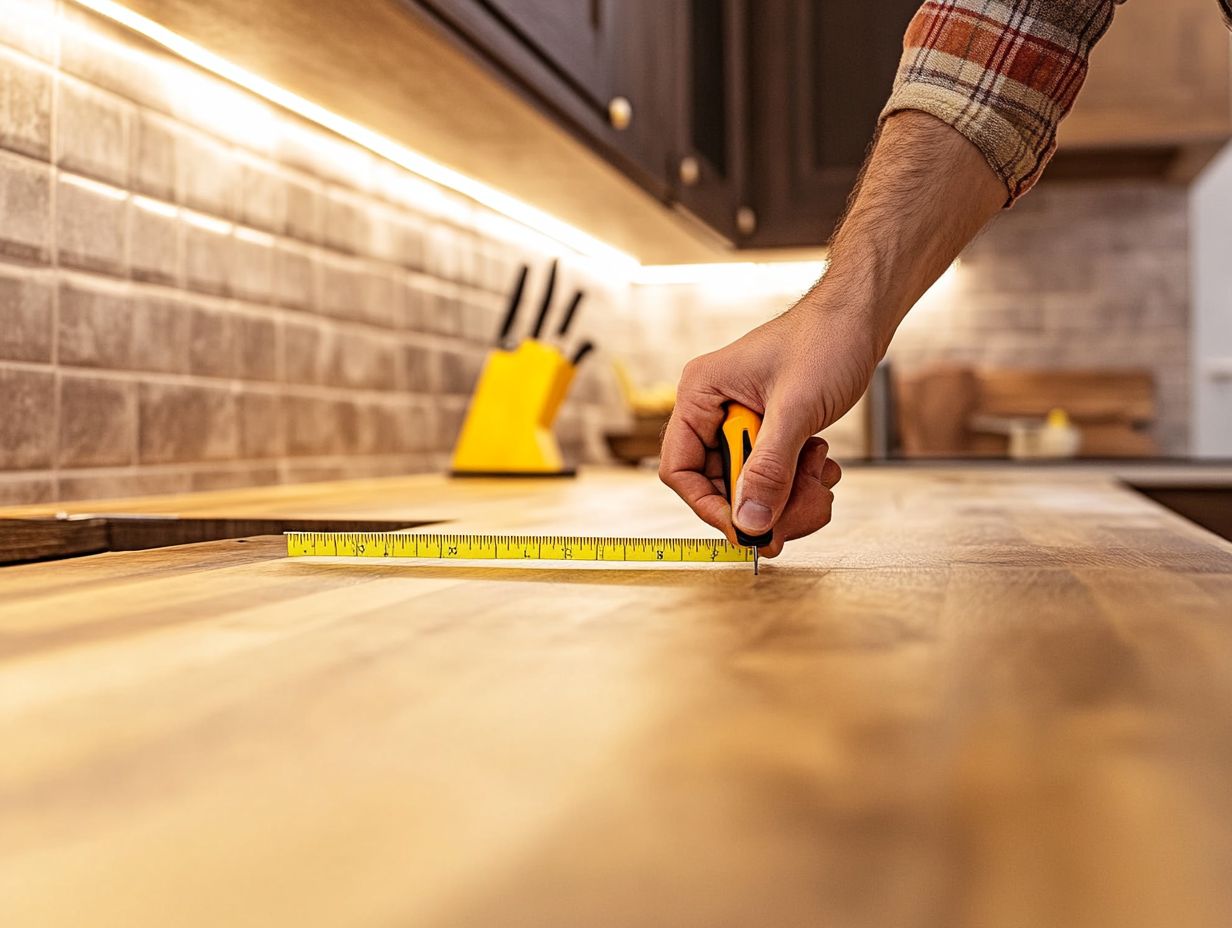
Fitting and securing your countertop properly is essential for achieving both durability and an aesthetically pleasing finish. Ensure your cabinets are level before you start the installation process.
Once everything is aligned, applying a high-quality adhesive specifically designed for countertop materials creates a strong hold. While the adhesive cures, use clamps to hold the countertop in place to prevent any movement and ensure a seamless finish.
Regularly check for levelness during this stage; this lets you make adjustments, leading to a professional look that enhances your space’s overall appeal.
Finishing Touches and Maintenance
The finishing touches on your kitchen countertop installation are essential for protection and aesthetic allure. After securing your new countertop, applying a high-quality sealant is crucial. This not only enhances durability but also provides resistance against moisture and stains.
Regular maintenance is key to ensuring the longevity of your countertop, whether it’s laminate, wood, or another material. By taking care of your kitchen installation, you’ll keep it looking immaculate for years to come.
Applying Sealant and Proper Maintenance Tips
Applying sealant to your countertop is essential for ensuring its longevity and aesthetic appeal. This protective coating safeguards against stains and scratches while enhancing the material’s inherent beauty.
To get started, clean and dry the countertop surface thoroughly. After that, apply a suitable sealant using a clean cloth or brush. Allow it to dry for at least 24 hours for optimal results.
You should plan for reapplication every 6 to 12 months, depending on the material, usage, and surrounding conditions. For ongoing maintenance, regularly wipe down the surfaces with a soft cloth and a mild cleaner to prevent any buildup.
Avoid harsh chemicals or abrasive cleaners, as these could undermine the sealant’s effectiveness.
Watch this video to see the entire process in action!
Frequently Asked Questions
What tools will I need to install a DIY kitchen counter?
To install a DIY kitchen counter, you will need:
- Measuring tape
- A level
- A saw
- A drill
- A screwdriver
- A caulking gun
- A putty knife
Do I need to remove my old kitchen counter before installing a new one?
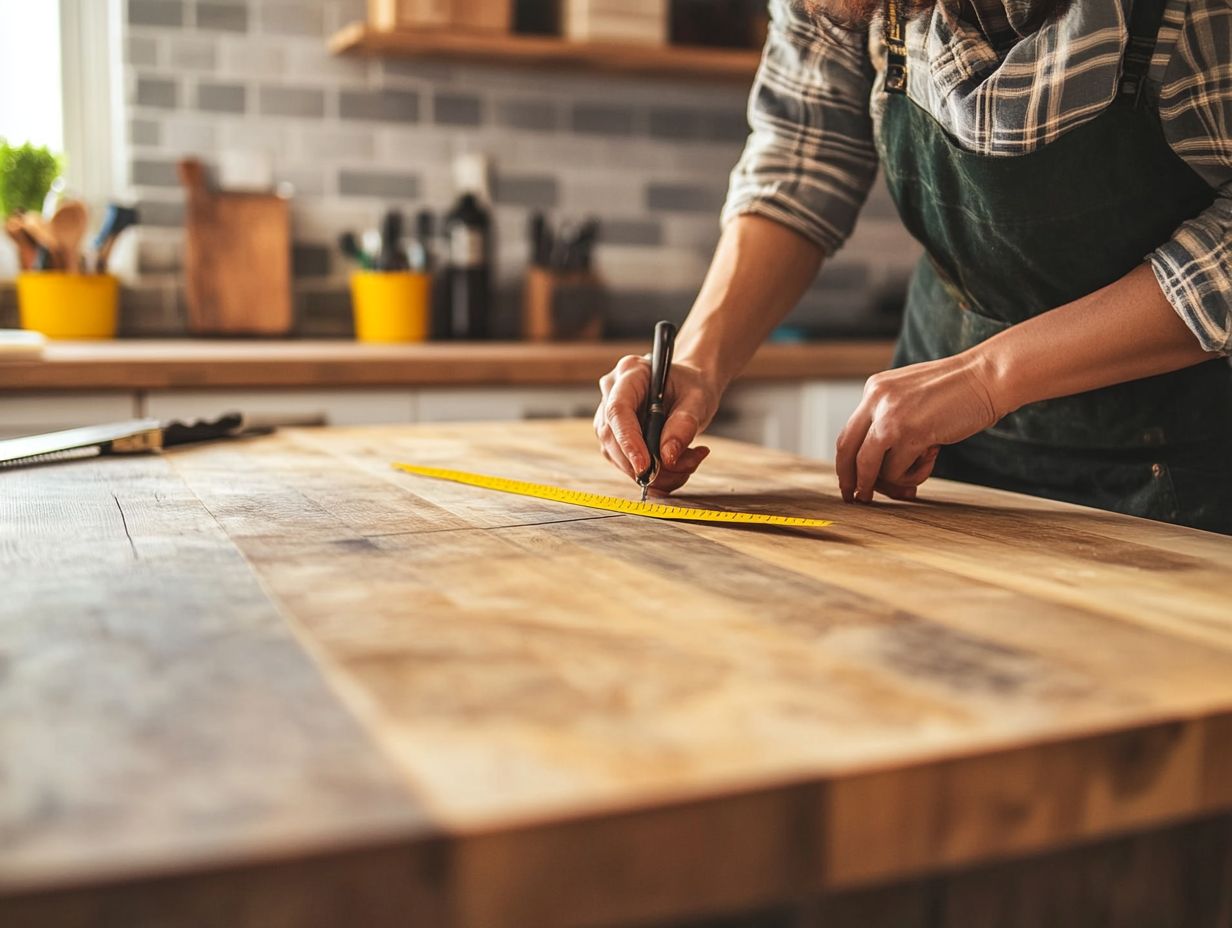
Yes, removing your old kitchen counter is recommended. This sets the stage for a fantastic new look and ensures a clean and proper installation.
Can I install a DIY kitchen counter over existing cabinets?
Yes, you can install a DIY kitchen counter over existing cabinets as long as they are in good condition and can support the weight of the new counter.
How do I measure for a new kitchen counter?
Measure the length and depth of your cabinets, adding an extra inch for overhang. Also, measure the width of your cabinets and add an extra half inch for the overhang on each side. Don’t forget to consider the height of any appliances that will be placed under the counter.
What is the best material to use for a DIY kitchen counter?
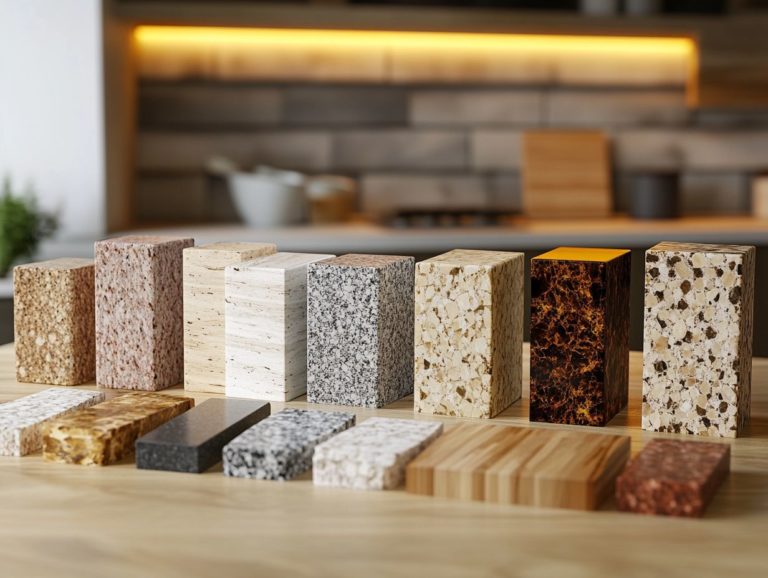
The best material depends on your budget and personal preference. Some popular options include:
- Laminate
- Butcher block
- Granite
Do I need to seal my DIY kitchen counter?
Yes, sealing your DIY kitchen counter is important to protect it from water damage and staining. Use a food-safe sealant for countertops that will come in contact with food.
Start today to transform your kitchen!
