How to Install Open Shelving in Your Kitchen
Open shelving has become a popular trend in kitchen design. It blends functionality with elegance, allowing you to display cherished dishware while keeping essentials within reach.
Dive into the benefits of open shelving. Learn how to choose the right materials and styles, and follow our step-by-step installation guide. You’ll also find valuable maintenance tips to keep your shelves looking great.
Get ready to transform your kitchen!
Contents
Key Takeaways:
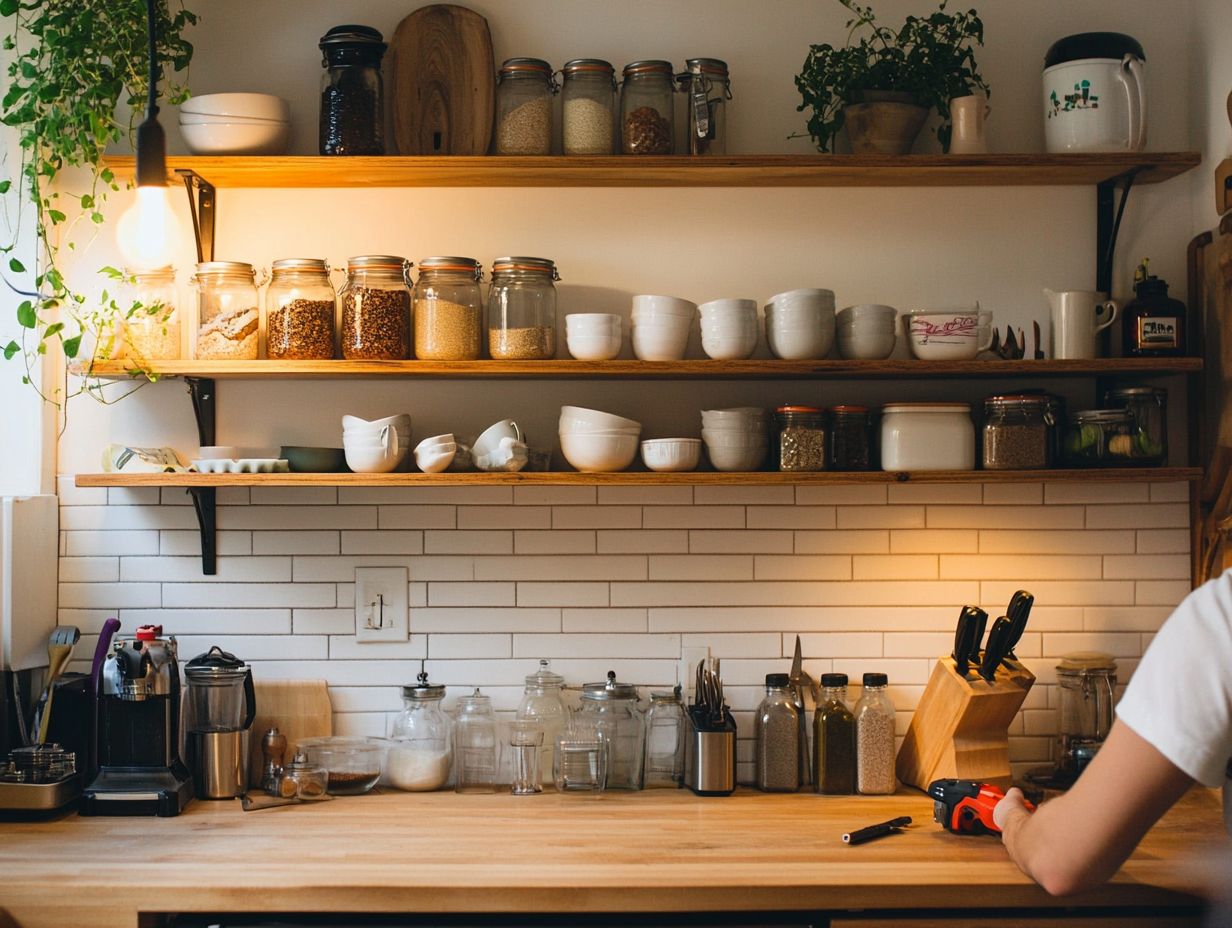
Open shelving is both practical and stylish. When choosing your shelves, consider materials and styles that fit your kitchen’s design.
Proper planning is key for successful installation.
What is Open Shelving?
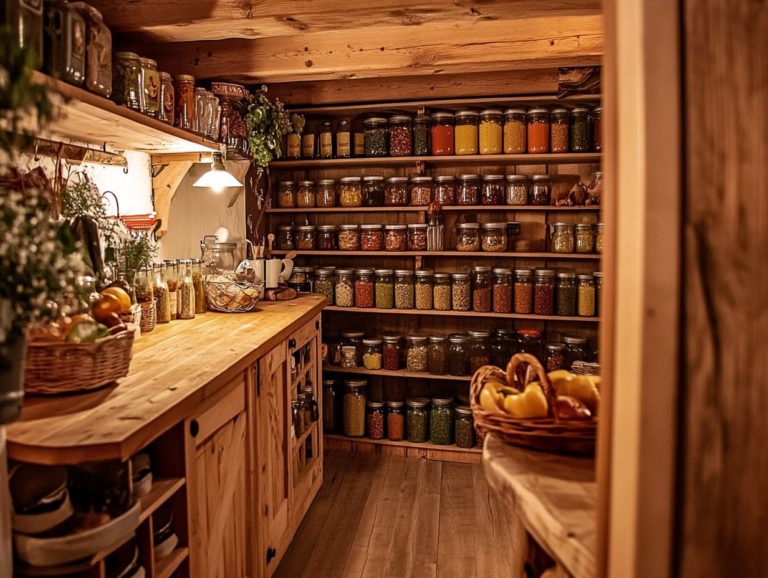
Open shelving is a stylish way to maximize space in your kitchen. It combines practical storage with beautiful displays of dishes and decor.
This approach can make your kitchen feel more inviting and organized. You can easily access your essentials while showcasing your personal style.
Types of open shelving include:
- Wall-mounted
- Corner
- Modular designs
Each type has unique benefits for your kitchen layout. This versatile solution enhances accessibility and allows for easy updates.
If you love DIY projects, explore sources like Pinterest for ideas and guides to create stunning open shelving that fits your kitchen.
Benefits of Open Shelving
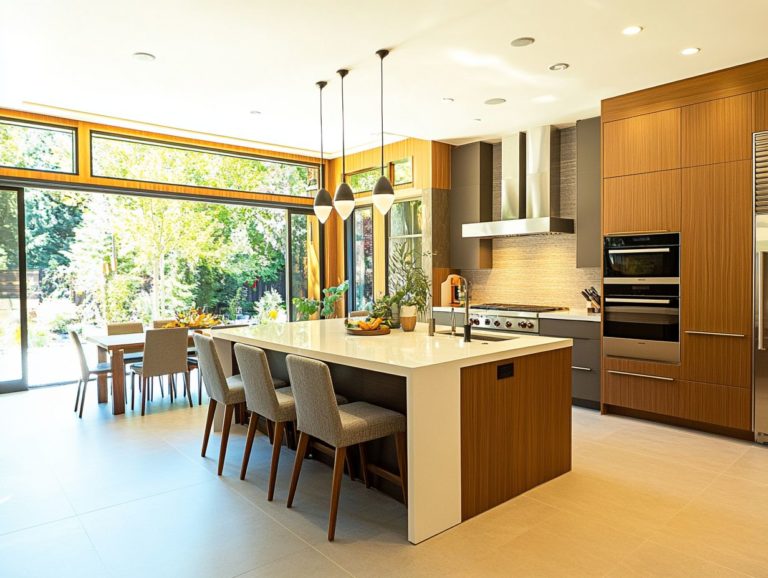
Open shelving brings many advantages to kitchen design. It improves accessibility, enhances visual appeal, and makes your space feel larger.
This is especially helpful for those looking to optimize storage while keeping a sleek look. By using floating shelves, you can display your favorite dishes and accessories.
Functional and Aesthetic Advantages
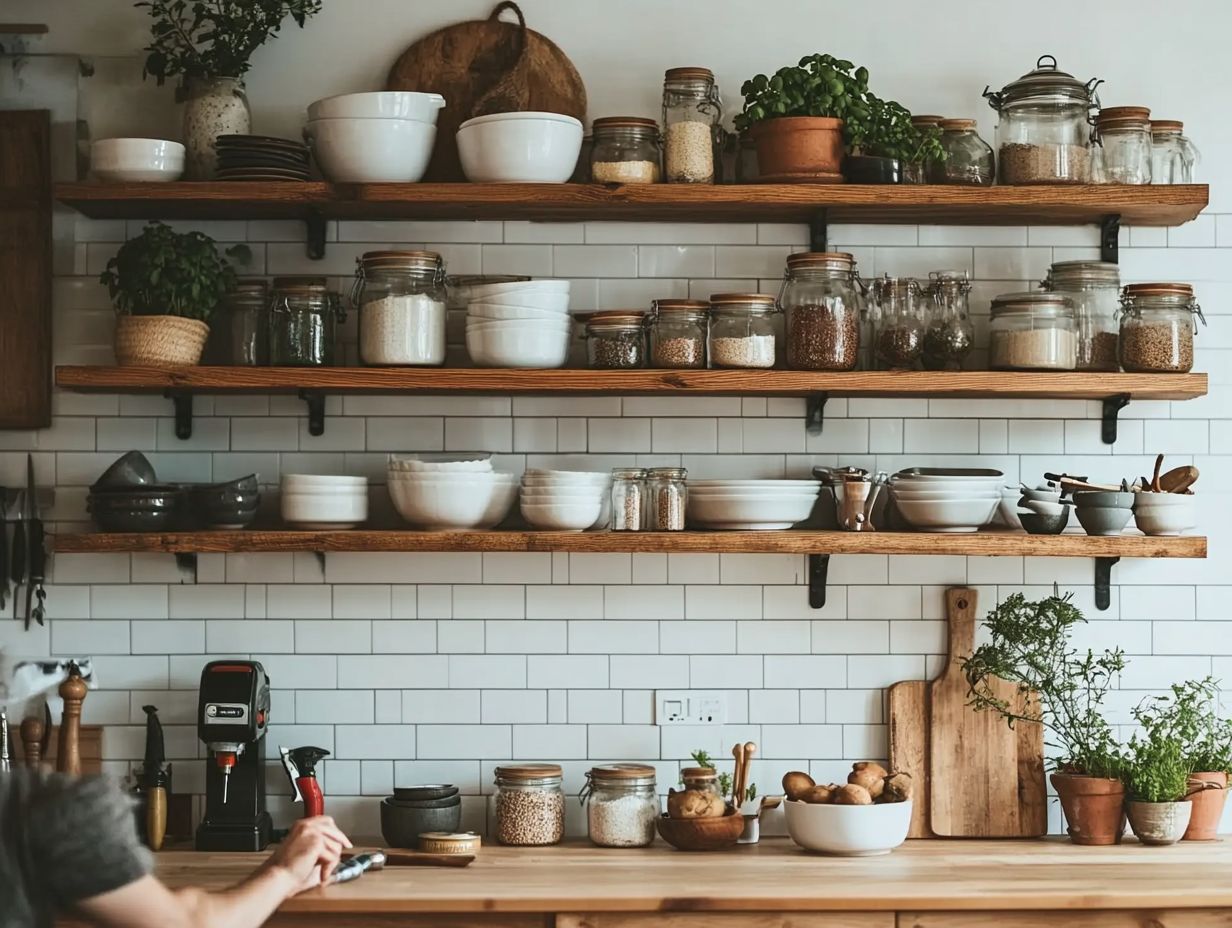
The benefits of open shelving are clear. You gain easy access to your kitchen items while adding a modern touch to your decor.
Choose from a variety of styles, like sleek floating shelves or custom wood options. This way, practicality meets beauty.
Using open shelving gives you the flexibility to arrange your items. Keep your kitchen organized and everything within reach.
Adapting your display is a breeze. Change layouts or update decor to maintain a functional and inviting kitchen.
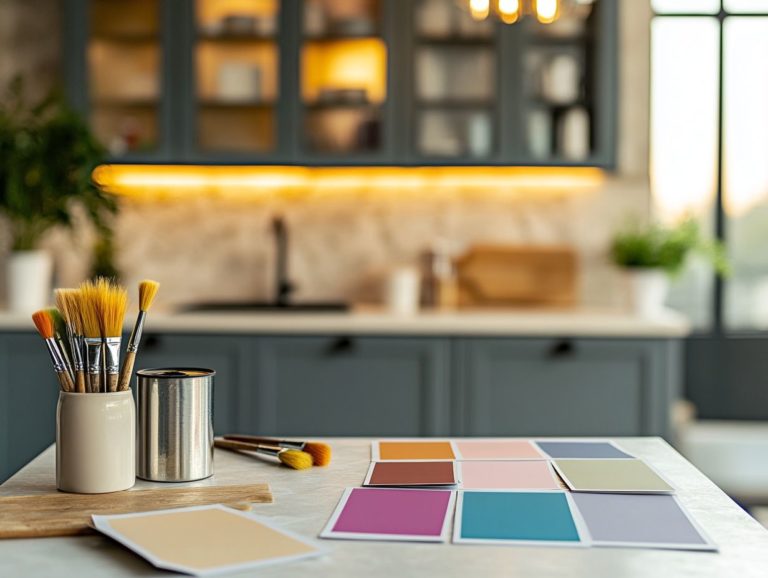
Thoughtful color coordination can create a beautiful balance, making your shelves a focal point.
To style your shelves, mix decorative items with everyday essentials. Adding potted herbs or colorful dishes enhances visual appeal and keeps your kitchen practical.
Choosing the Right Type of Open Shelving
When choosing the ideal open shelving for your kitchen, it is essential to think about a range of materials, styles, and sizes that will harmonize with your overall design and functional requirements.
Consider options like wooden shelves, floating shelves, or even custom designs from retailers such as Home Depot and Amazon. These choices can help you achieve the perfect balance between aesthetics and practicality, ensuring your kitchen stays organized and visually stunning.
Materials, Styles, and Sizes
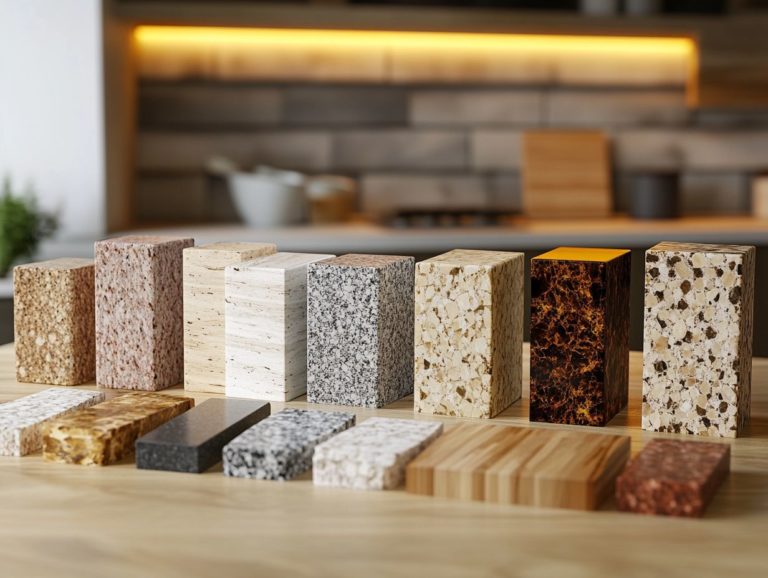
The materials, styles, and sizes of open shelving are crucial considerations when enhancing your kitchen’s functionality and aesthetic appeal. Whether you choose wood kitchen shelving, floating shelves, or a unique custom design, each option brings its own character.
Different wood types, such as mahogany or pine, can add warmth and depth to your kitchen. Adjustable sizes provide tailored solutions that meet your specific needs.
Your decision between built-in and floating designs can dramatically influence the dynamics of your space. Floating shelves offer a sleek, modern touch, while built-ins seamlessly integrate to maximize storage potential.
The contrast between the warmth of hardwoods and the clean lines of engineered materials can set entirely different moods. Choose based on your personal taste and existing décor.
By thoughtfully combining these elements, you can create an inviting environment that dazzles the eye and serves as a practical storage solution for everyday items, enhancing both the charm and usability of your kitchen.
Preparing for Installation
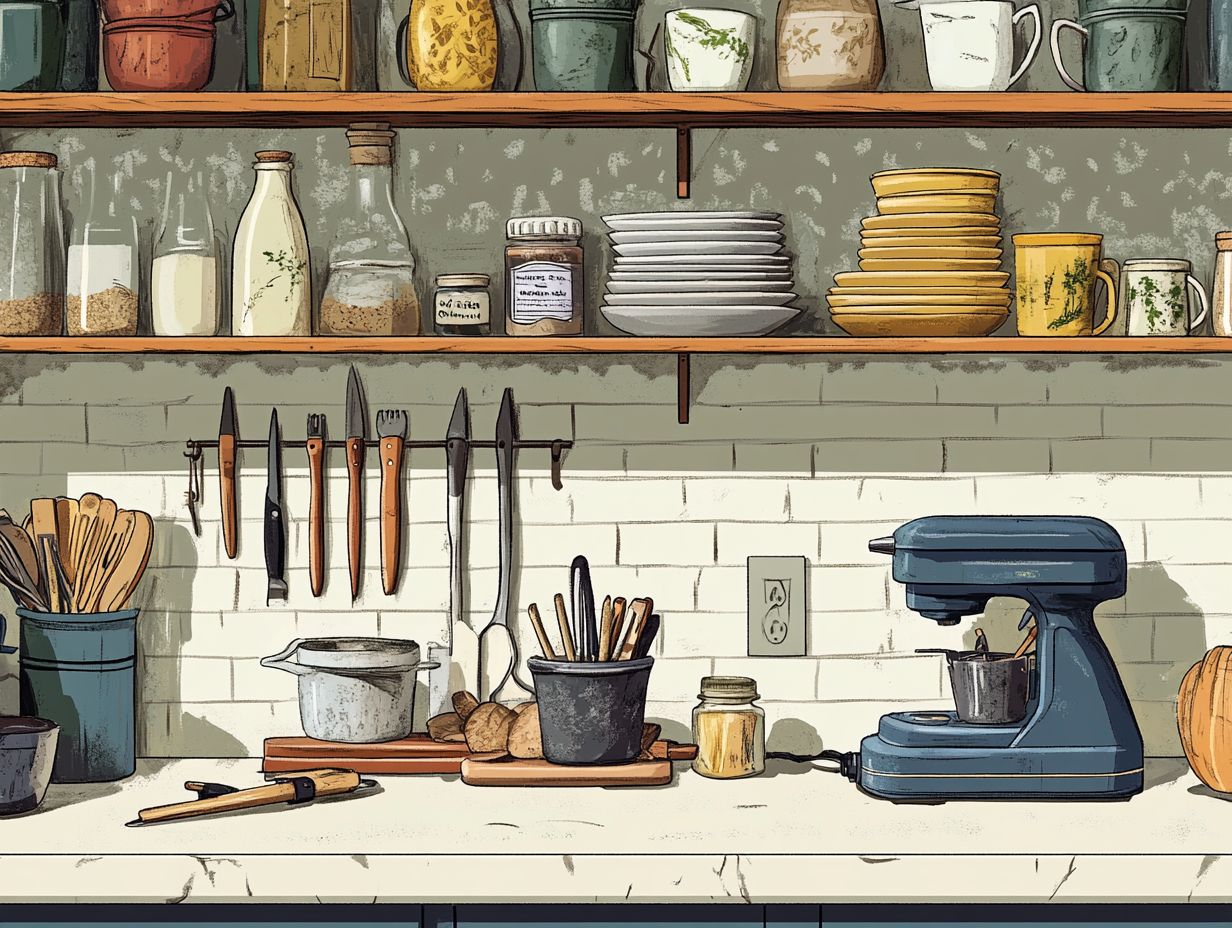
Preparing for the installation of open shelving requires careful planning, especially when selecting the right tools and materials for a successful kitchen renovation project.
You will want to gather essential equipment, including:
- a drill,
- measuring tape,
- shelf brackets.
Take time to determine the layout and height for your floating shelves. Ensure that they serve a functional purpose while enhancing the overall aesthetic of your kitchen design.
Tools and Materials Needed
To successfully install floating shelves, you will need a selection of tools and materials. Strong anchors, shelf brackets, a drill, and a stud finder ensure stability and durability.
Having these essentials at your fingertips will streamline the installation process. This provides a solid foundation to showcase your kitchen decor. Keep a level handy to ensure your shelves are perfectly aligned, enhancing their appeal.
Opting for high-quality wood or premium composite boards will support your items effectively and elevate the overall look of your space.
If you prefer a more straightforward approach, pre-designed shelf kits are available, complete with all necessary components, making installation smoother.
Knowing your wall type helps you choose the best supports for your shelves, ensuring they remain secure and functional.
Get these details right, and you’ll impress everyone with your professional-looking shelves!
Measuring and Planning
Measuring and planning are essential steps to ensure the successful installation of open shelving. They allow you to determine shelf height and fit them into your kitchen renovation.
Accurately assessing the available space and visualizing how the shelves will integrate into your kitchen layout is key to achieving that cohesive look you desire. Start by grabbing a reliable measuring tape to gauge the dimensions of your walls, keeping an eye out for obstacles like windows or appliances.
These initial measurements lay the groundwork for figuring out the best shelf placements. Make a rough sketch or use digital design tools to visualize where the shelves will go and how they’ll complement your kitchen decor.
When planning shelf heights, think about the items you’ll display. Keep frequently used cookware within easy reach while reserving higher spots for decorative pieces that deserve a little spotlight.
By implementing these thoughtful DIY techniques, you enhance functionality and elevate your kitchen into a stylish focal point.
Step-by-Step Guide to Installing Open Shelving
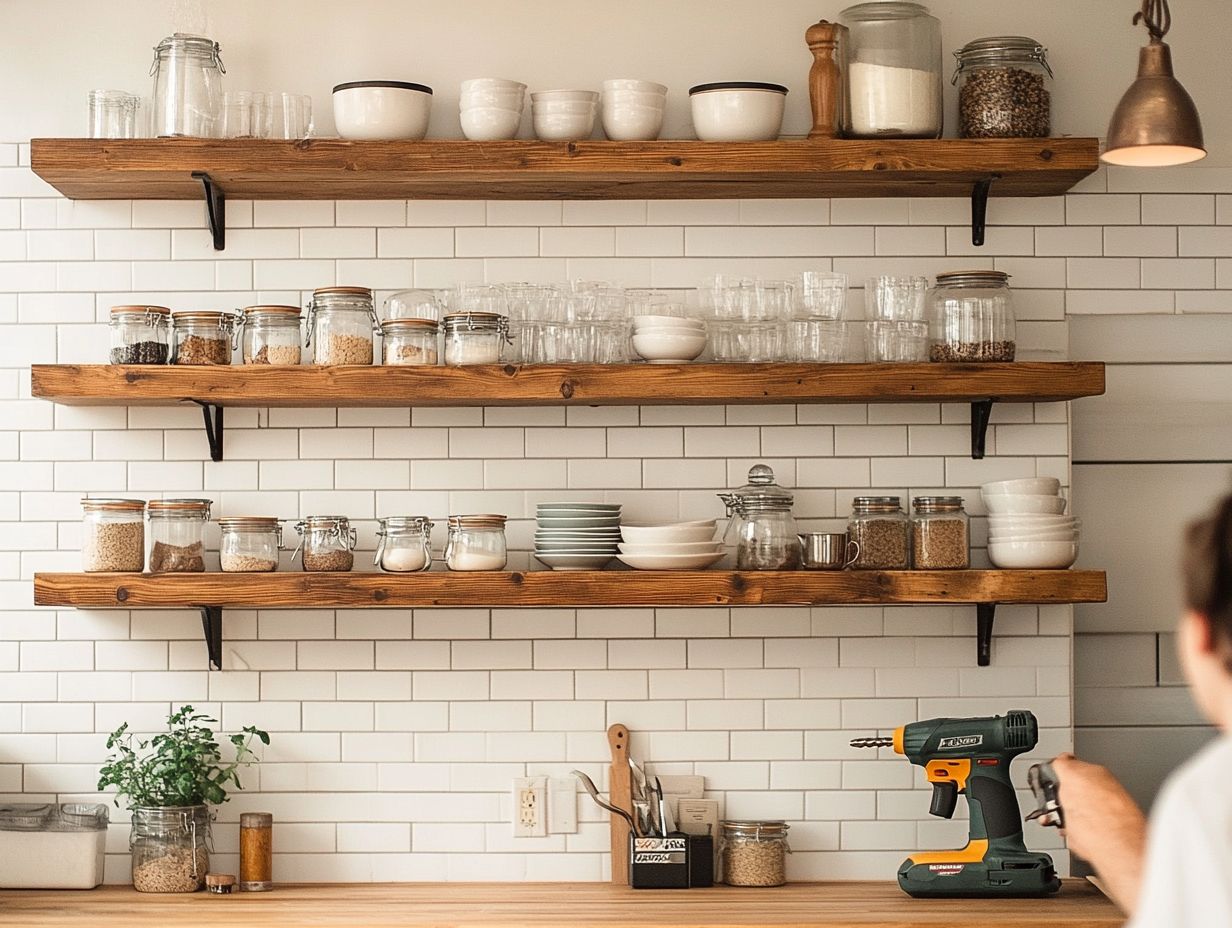
Installing open shelving is a straightforward DIY task. Follow a step-by-step guide for best results.
With careful installation of brackets and shelves, you can achieve lasting functionality. This method allows you to create stunning floating kitchen shelves while enhancing your kitchen decor.
Mounting Brackets
The first step is to carefully attach the brackets. These are important for keeping your shelves steady.
Start by using a stud finder to locate the studs in your wall—typically spaced either 16 or 24 inches apart. Once you’ve found them, grab a level and mark the position for each bracket. This ensures everything aligns beautifully for optimal support.
As you secure the brackets, choose screws that fit snugly into the wall studs. Double-check that everything remains level before tightening completely. Your attention to detail here will pay off!
Attaching Shelves
Once your brackets are secure, it’s time to attach the shelves. This is where your design truly comes to life!
Select the right type of shelf based on material and load capacity. When positioning the shelf, use a level to ensure it sits evenly.
For wooden shelves, consider pre-drilling holes to make screw placement easier and reduce the risk of wood splitting. Remember to place heavier items toward the center for better balance.
For a polished finish, sand and either paint or stain the shelves. This way, your shelving will serve a functional purpose while being visually appealing.
Securing and Finishing Touches
Securing your shelves properly is crucial. Adding finishing touches can make them both stable and stunning!
Apply a clear coat stain or sealant to protect the wood and elevate the look of your open shelving. For added support, consider using wall anchors or brackets, especially for heavier items.
Experiment with various shades of stain to highlight the natural grain of the wood. Selecting a suitable sealant is important for moisture protection.
Well-maintained shelves enhance your home’s decor and extend the longevity of materials used.
Maintenance and Care for Open Shelving
To keep your kitchen looking great, proper care for open shelving is essential. Regular cleaning and thoughtful arrangement will preserve their appeal.
Embrace simple cleaning routines and clever organizing strategies. This will ensure your open kitchen shelves continue to shine as a standout feature of your home decor.
Don’t wait! Start your DIY open shelving project today and give your kitchen the makeover it deserves.
Cleaning and Organizing Tips
Keeping your open shelving clean and organized is essential for both function and appearance. Clutter can easily undermine the beauty of your kitchen.
To create a harmonious look, start by sorting items by use and appearance. Group similar dishes, glasses, and decorative pieces together.
Make sure frequently used items are easy to reach. Regularly check your shelves and remove anything that you don’t use or that no longer serves you.
Dust and wipe down the shelves to keep buildup away. Consider using decorative trays or baskets to organize smaller items.
This can spruce up your shelves while keeping everything neat! It adds texture and ties your kitchen decor together.
